Als POS

Display your ride and post power figures, dyno runs, drag and circuit times.
User avatar
Alspos
Flucking kwankers
Posts: 4107
Joined: Thu Jan 08, 2004 2:09 pm
Location: Melbourne
Contact:

Post by Alspos »

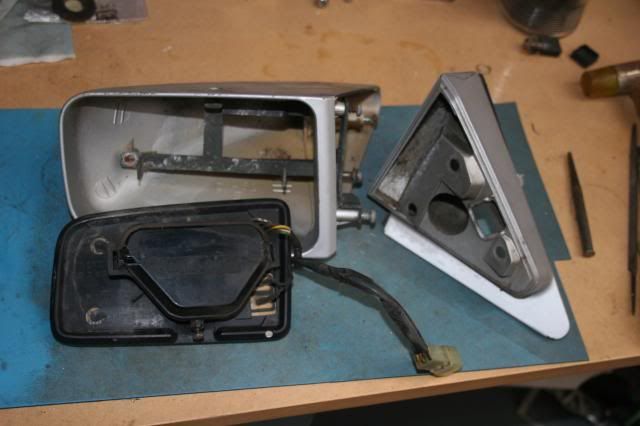
JDSTAZ45 wrote:Excellent write up on the manual mirrors. Nice work! They are so much lighter than the electric mirrors.
I wonder if you can incorporate the internals of the manual mirror and use on the Conquest housing??
The LHS is the problem case as it does not come across enough to view from the driving position on RHS drive cars, together with the wiring issue on JA's.

Also, get some decals on that freshly painted car. It looks almost naked :D Plenty on ebay!

:beer :beer
I don't think they are lighter, I don't have any good scales to weigh them accurately though. More metal inside manual one, cast base is bigger on electric.

And there would be buckleys chance of grafting internals from one to the other.
Image

I personally like the clean look of the car now...if people don't know what it is then I'm happy to keep them guessing.
User avatar
kiwi_EX
I like starions more
Posts: 172
Joined: Wed May 17, 2006 5:27 pm
Location: Auckland, NZ

Post by kiwi_EX »

Excellent Al, you are the master of write-ups!
1988 Mitsubishi Starion EX Widebody
1987 Mitsubishi Starion EX
1991 Mitsubishi L200 Double Cab Sport
2010 Holden Colorado Ute
User avatar
Alspos
Flucking kwankers
Posts: 4107
Joined: Thu Jan 08, 2004 2:09 pm
Location: Melbourne
Contact:

Post by Alspos »

First....attempted artsy photography....fail :(

Image

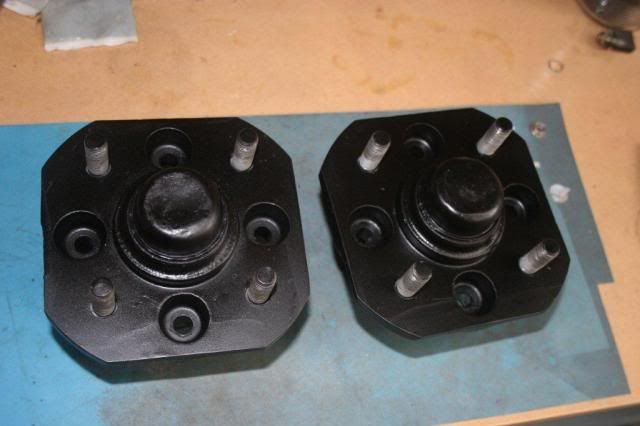
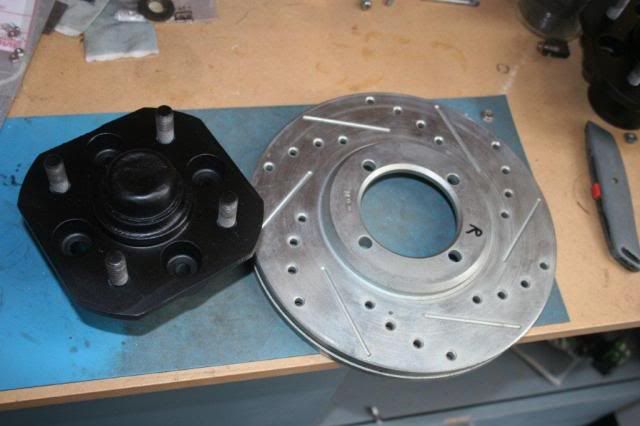
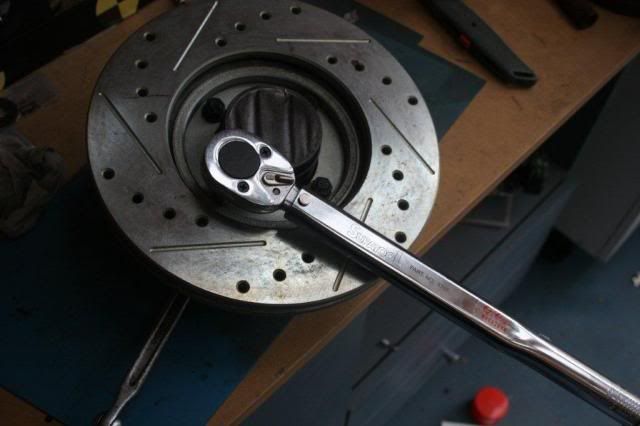
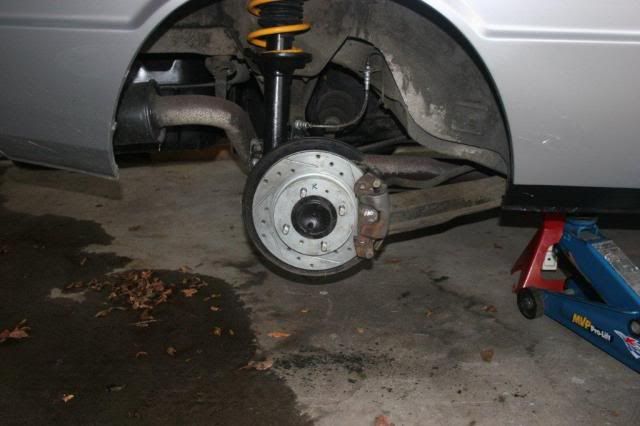
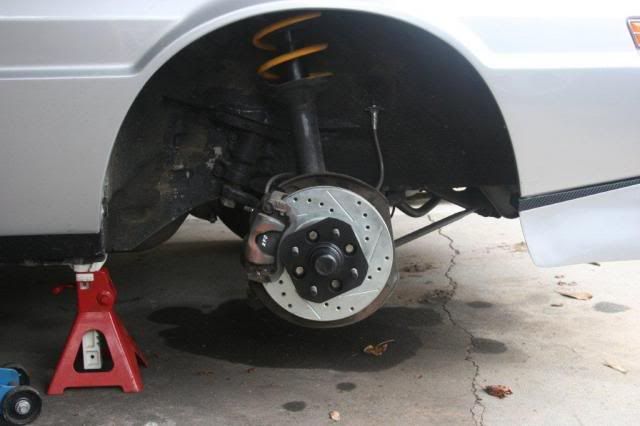
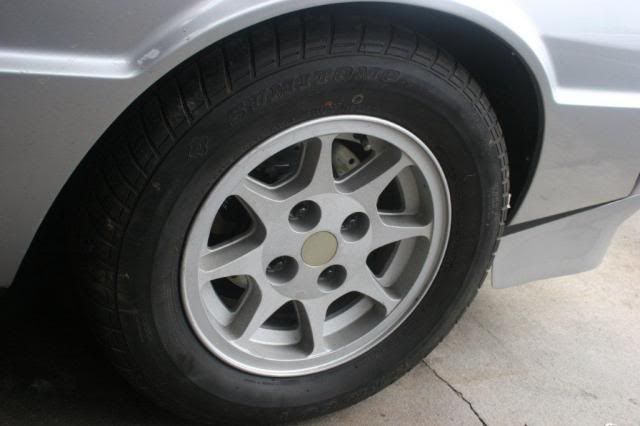
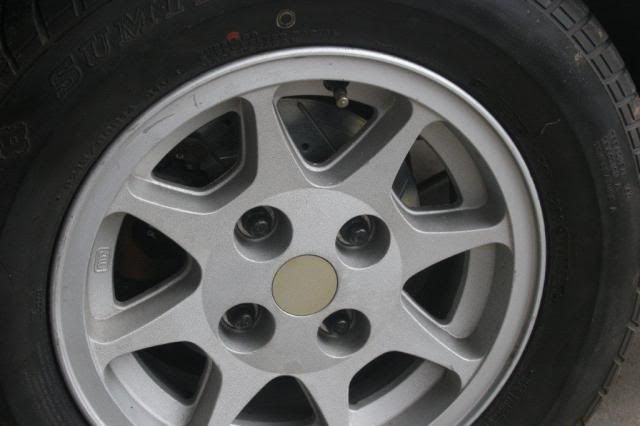
Bought some brake bits....painted, reassmbled, installed.

Image

Image

Image

Image

Image

Image

Might bed them in tonight....if the rain stops!
User avatar
Alspos
Flucking kwankers
Posts: 4107
Joined: Thu Jan 08, 2004 2:09 pm
Location: Melbourne
Contact:

Post by Alspos »

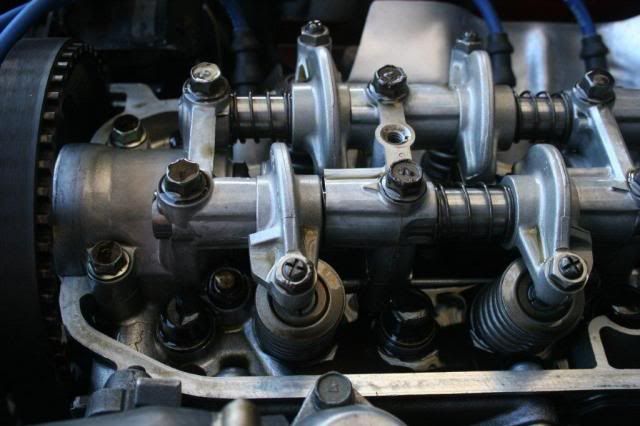
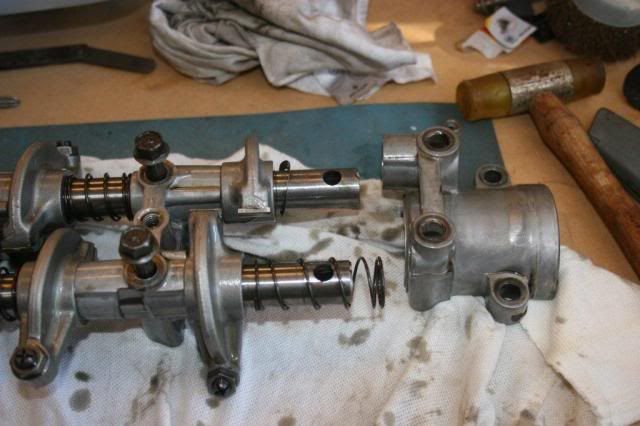
Do you ever wake up at night and think of something you really should check...or may have forgotten to do? Well...I did. I needed to check the valve to rocker clearances, as there's been a bit of chatter here lately about it. So...warmed up, valve cover off and I noticed something.....

Image

Found it yet?
.
.
.
.
.
.
.
.
The first rocker tip doesn't quite line up with the valve as the wave washer is on the wrong side of the rocker! Fluck me....I have no idea when/why/how but it does need to be fixed.

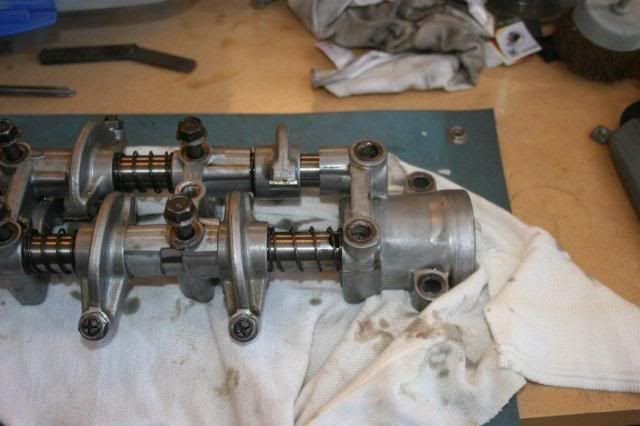
So....this may be the wrong way to go about it but i simply undid all the bolts holding the rocker gear down and removed it, leaving all the bolts in their holes. Cam didn't move...and I didn't try to move it so all looked good once apart.

Then on the bench, pulled out the first 2 long bolts and this allows the frame to be gently tapped along the cam shafts. Swap wave washer, push it back together and drop the bolts back in to hold it in place.

Image

Image

Reinstalled on the engine after pouring some oil over the exposed cam, tightened the bolts and adjusted all the valve clearances. A simple job turned into a longer exercise...but glad i picked it up now before any damage was done.
Komeuppance
Enthusiast
Posts: 607
Joined: Fri Nov 16, 2007 3:50 pm
Location: Oregon, USA
Contact:

Post by Komeuppance »

Haha!! Good catch. Don't want to scare you, but you sure all your wave washers are in the correct direction?? *cue scary music*

I've fully assembled 1 or 2 valve trains, only to realize that one thing is off, and then having to pull em apart again lol.

-Robert
Image
Now: Australian Compatible!
User avatar
Alspos
Flucking kwankers
Posts: 4107
Joined: Thu Jan 08, 2004 2:09 pm
Location: Melbourne
Contact:

Post by Alspos »

Komeuppance wrote:Haha!! Good catch. Don't want to scare you, but you sure all your wave washers are in the correct direction?? *cue scary music*

I've fully assembled 1 or 2 valve trains, only to realize that one thing is off, and then having to pull em apart again lol.

-Robert
Errr....it's a washer that's wavy....hopefully it's not handed (now you got me freaking out!) And I checked the diagram 3 times to make sure there should only be one
User avatar
Alspos
Flucking kwankers
Posts: 4107
Joined: Thu Jan 08, 2004 2:09 pm
Location: Melbourne
Contact:

Post by Alspos »

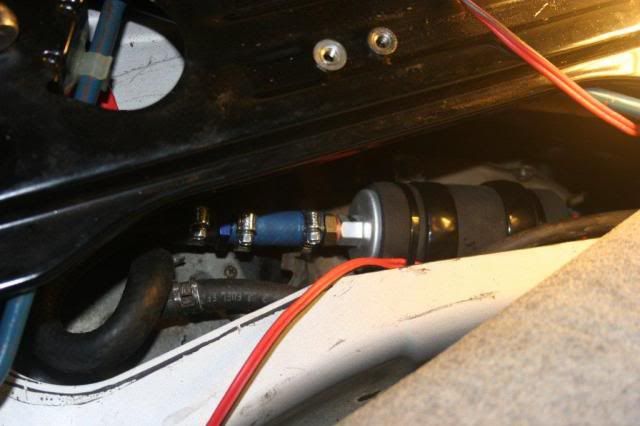
Well...I had an issue with no power under boost (in this thread) New fuel pump installed and the world is rosy again.

Image
redzone
racking my brains
Posts: 5900
Joined: Thu Oct 06, 2005 10:46 pm
Location: sunshine coast qld
Contact:

Post by redzone »

Hi Al, your technique is perfectly fine, BUT, I hope you put some silicone sealer under the front of the front cam cap, next to the seal, or you will get an oil leak that you would think is the cam seal but actually isn't ;)
Fibreglass airdams $370, fibreglass front bumpers $260, reco drag links $165, alloy radiators $925 (unpolished), h/l switch rebuilds $125, all plus freight.
Coxs Automotive (07)54433507 3/5 Service st Maroochydore Q

www.facebook.com/coxsautomotive
www.coxsautomotive.com.au
User avatar
Alspos
Flucking kwankers
Posts: 4107
Joined: Thu Jan 08, 2004 2:09 pm
Location: Melbourne
Contact:

Post by Alspos »

Ahhh...no I didn't, thanks for that. I didn't notice anything there when I pulled it apart so I just assumed (obviously incorrectly) that it was fine the way it was.

When I re-torque the head bolts I will look over that area closer and blob a bit in there. And keep an eye on it in the meantime.
redzone
racking my brains
Posts: 5900
Joined: Thu Oct 06, 2005 10:46 pm
Location: sunshine coast qld
Contact:

Post by redzone »

There's always something eh! :beer
Fibreglass airdams $370, fibreglass front bumpers $260, reco drag links $165, alloy radiators $925 (unpolished), h/l switch rebuilds $125, all plus freight.
Coxs Automotive (07)54433507 3/5 Service st Maroochydore Q

www.facebook.com/coxsautomotive
www.coxsautomotive.com.au
User avatar
Alspos
Flucking kwankers
Posts: 4107
Joined: Thu Jan 08, 2004 2:09 pm
Location: Melbourne
Contact:

Post by Alspos »

Going to reinstall a few bits from my old car.

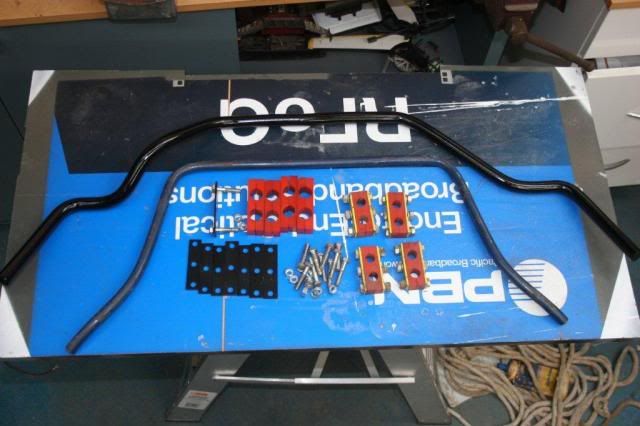
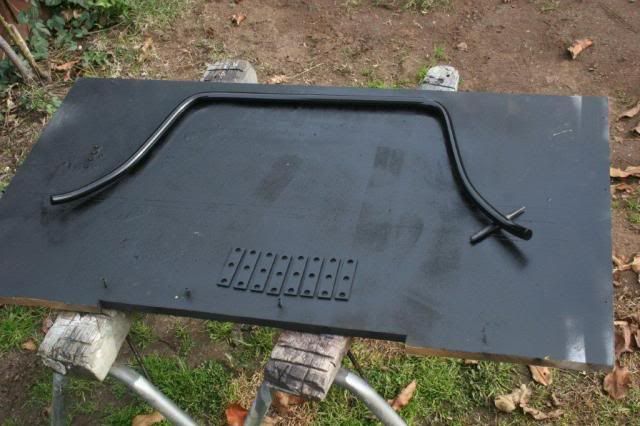
First, the twins. What was I thinking? Yellow, blue, red.... :roll:

Image

Anyway, changing the colour. Cold weather is not helping the paint dry though.

Image

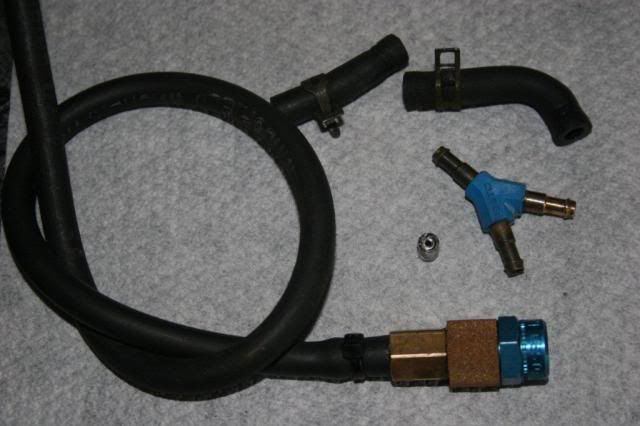
And my boost bleed valve setup.

Image

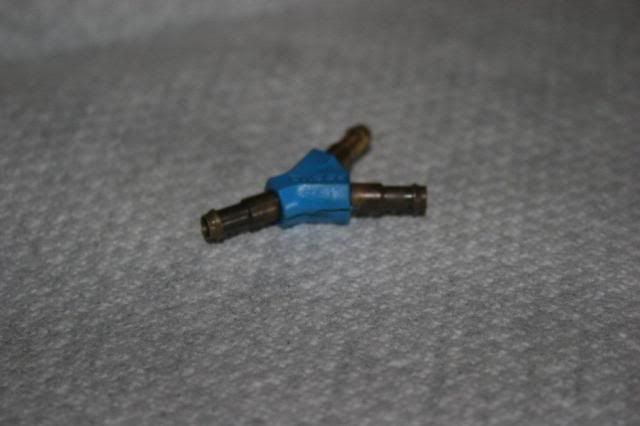
But my tee has a crack and doesn't hold air :(

Image

Anybody need one, I'll buy two when I find where to get them!
enthuzed
Austarion Occupant
Posts: 3578
Joined: Tue Apr 06, 2004 1:21 pm
Location: Melborno
Contact:

Post by enthuzed »

Masters sell el cheapo plastic ones & you'll probably find they have brass ones too
Reduce fuel costs by 15-20% & cut emissions by 1/3rd...
Increase engine performance & prolong engine life...
How?
Click the website button below & watch the 3 minute video.
User avatar
Alspos
Flucking kwankers
Posts: 4107
Joined: Thu Jan 08, 2004 2:09 pm
Location: Melbourne
Contact:

Post by Alspos »

enthuzed wrote:Masters sell el cheapo plastic ones & you'll probably find they have brass ones too
I think I'll shy away from plastic being right next to the turbo and all.

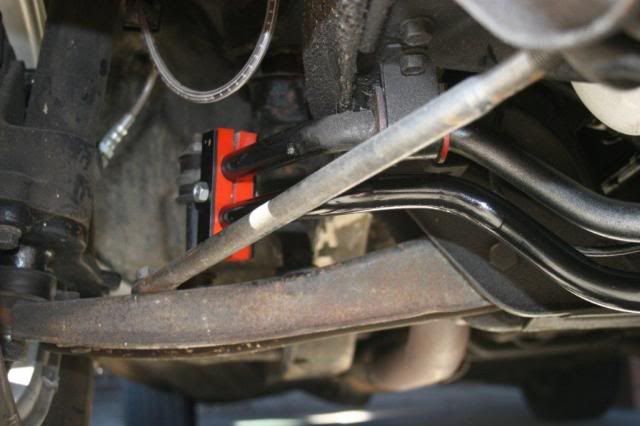
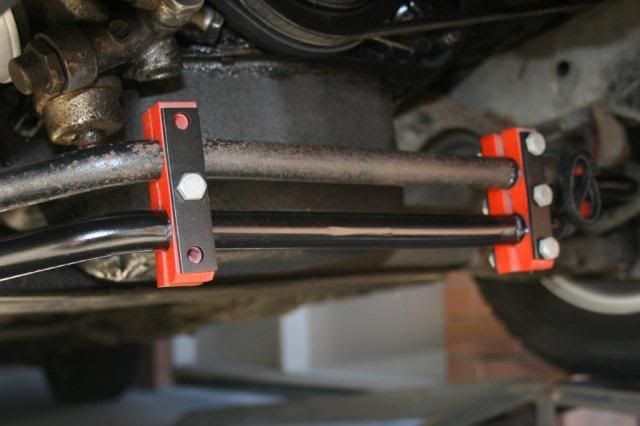
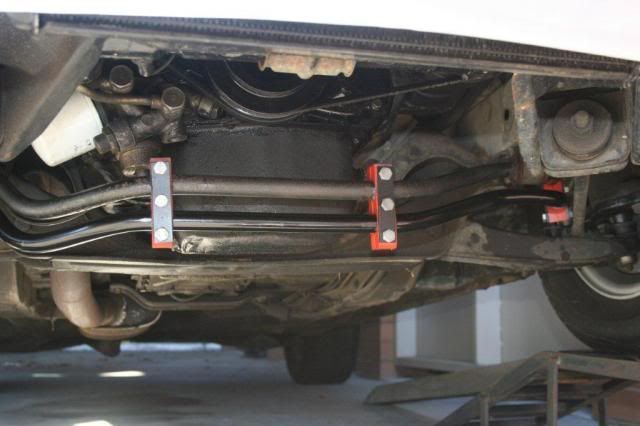
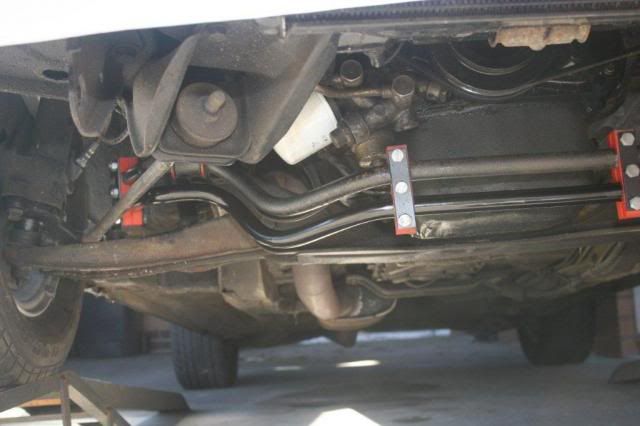
Twins in.

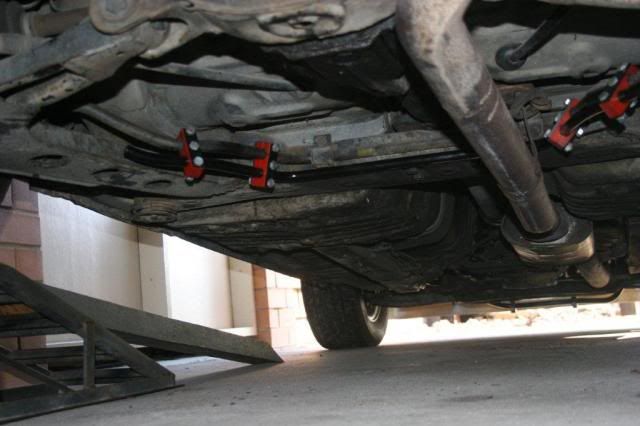
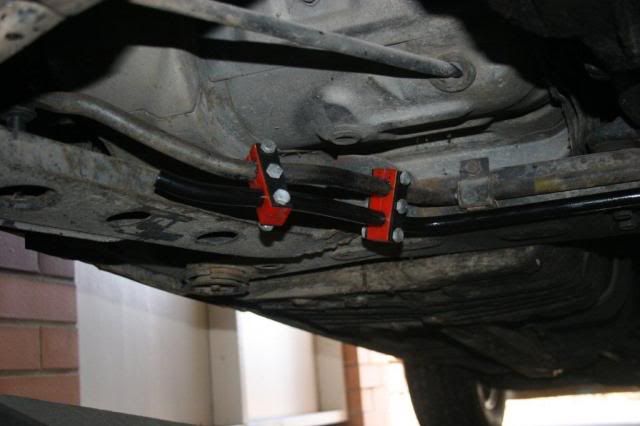
Will muck around with the position of the front end links if the car is too taily on the street. The rear one is not really adjustable....I can't get brackets on the horizontal part of the bar as a pivot point. It is what it is I guess.

Anyway....some pics.

Front.

Image

Image

Image

Image

Image

Rear is a bit of a pain to get in, you have to drop the exhaust off it's hangers so the bar can fit over it. And of course there's a join in my exhaust right where the bar goes over it just to give that little less room.

Image

Image
User avatar
niss720
Mine is bigger than yours
Posts: 277
Joined: Sun Apr 10, 2011 1:26 am
Location: Adelaide

Post by niss720 »

where did you get the brackets to run twin sways? i would be interested in giving them a go if i could get those brackets easy enough. :)

How does it handle with twin sways? I already have coil overs but imagine it may be almost too stiff with dual sway bars? :pimp :beer
Parting Blue JA Starion

Mercedes W126 420sel
Blue JA Starion (parting)
Silver JA Starion, 45000kms, coilovers
4G63 VR4 cordia
User avatar
Alspos
Flucking kwankers
Posts: 4107
Joined: Thu Jan 08, 2004 2:09 pm
Location: Melbourne
Contact:

Post by Alspos »

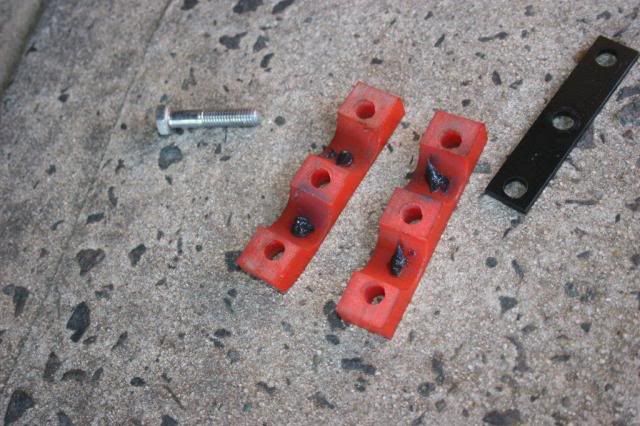
I made the brackets myself, some steel plate and nolathane like material that I bought from an industrial plastics seller. A bit of design, loads of drilling and a bit of cutting produced them. Not hard to do, just time consuming.

JJH has also made something similar using brackets he got from a Corolla (thread here, no pics :( )
I'm using 21mm brackets & bushes from 1981 Corolla; picked up 8 of each for around $30 at wreckers. Currently using bushes sourced from wreckers and the attachment is still very firm.

So far I'm happy with the results, but haven't done any track or rally work with this setup.
As for how it handles, there is less body roll and the rear is a bit easier to break loose.....but I have only driven it around the block and not over 60. My guess is I will need to make the front stiffer to counter the extra stiffness in the rear. But that's a process for the future.
Post Reply

Who is online

Users browsing this forum: No registered users and 43 guests