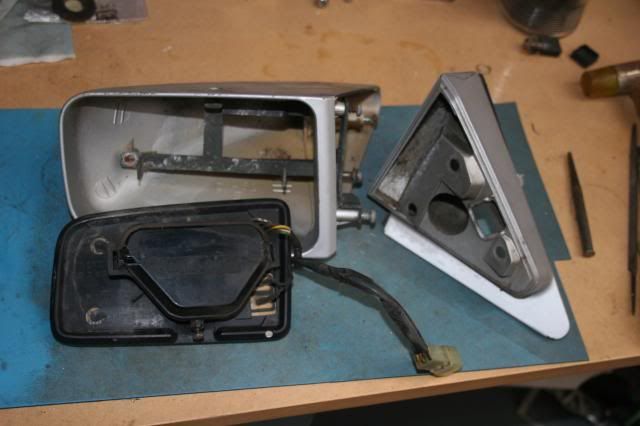
I don't think they are lighter, I don't have any good scales to weigh them accurately though. More metal inside manual one, cast base is bigger on electric.JDSTAZ45 wrote:Excellent write up on the manual mirrors. Nice work! They are so much lighter than the electric mirrors.
I wonder if you can incorporate the internals of the manual mirror and use on the Conquest housing??
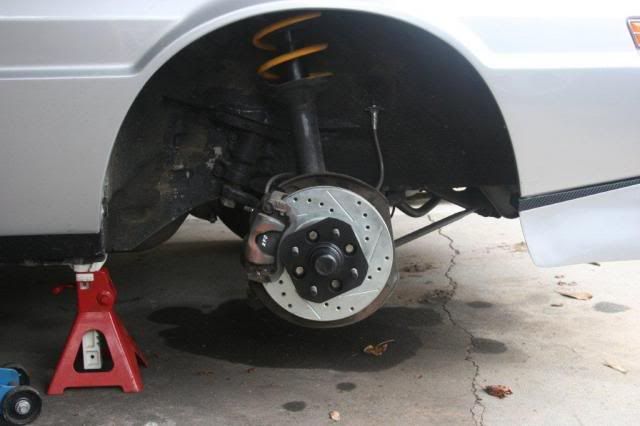
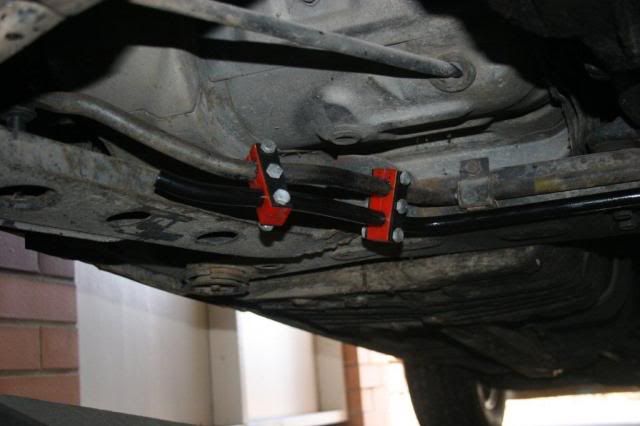
The LHS is the problem case as it does not come across enough to view from the driving position on RHS drive cars, together with the wiring issue on JA's.
Also, get some decals on that freshly painted car. It looks almost naked :D Plenty on ebay!
:beer :beer
And there would be buckleys chance of grafting internals from one to the other.
I personally like the clean look of the car now...if people don't know what it is then I'm happy to keep them guessing.