Rear Strut inserts - my guide
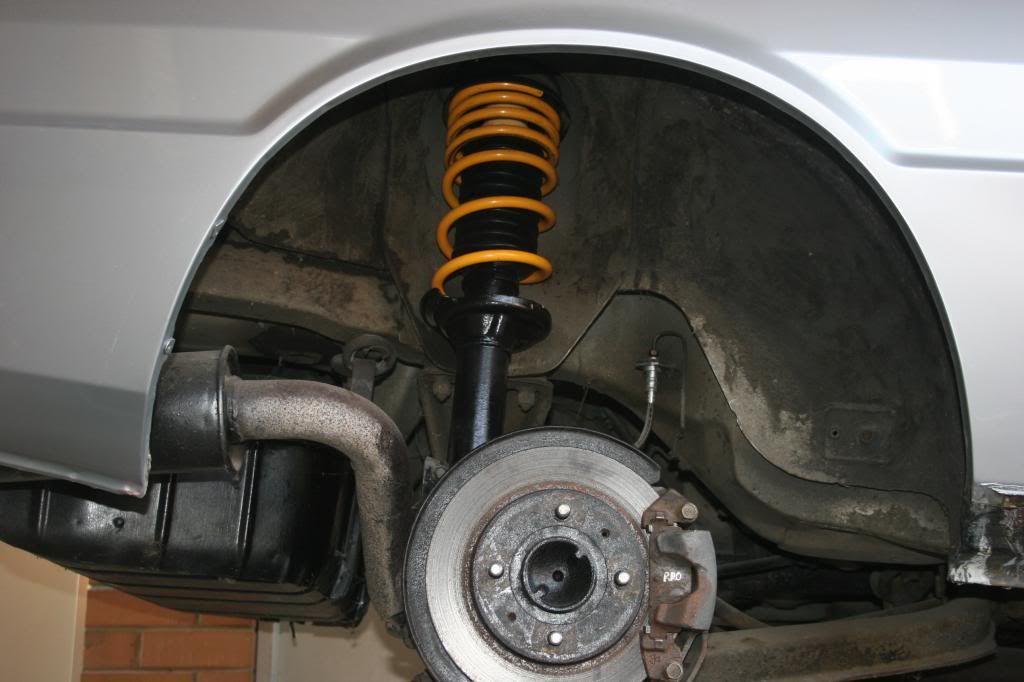
I have decided that as I have some bits lying around and a need, I would document my journey in replacing the struts in the rear of my JA.
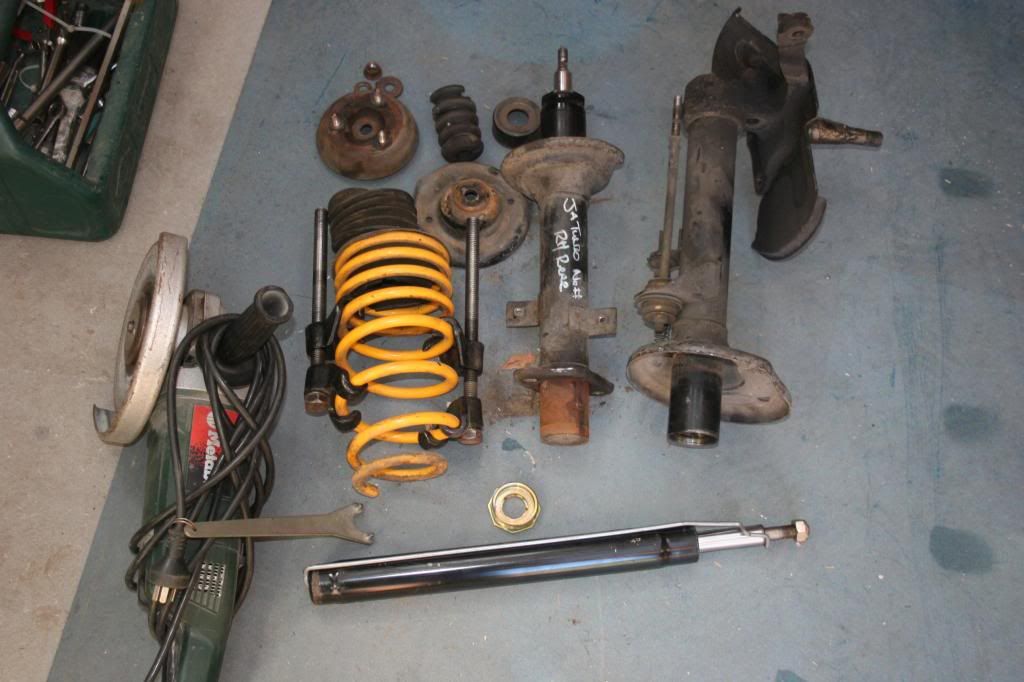
Parts I have.
Stock rear struts/springs - $0 existing on the car
VN Commodore front strut inserts $0 (I was going to put them in my VN but sadly it was killed) Ebay has struts from $80 to $200 etc.
VN struts (from the local Commodore wrecker) cost $50
Angle grinder - $0
Spring compressor - $0
Spanners - $0
Stay tuned :)
Last edited by Alspos on Tue Feb 12, 2013 1:56 pm, edited 2 times in total.
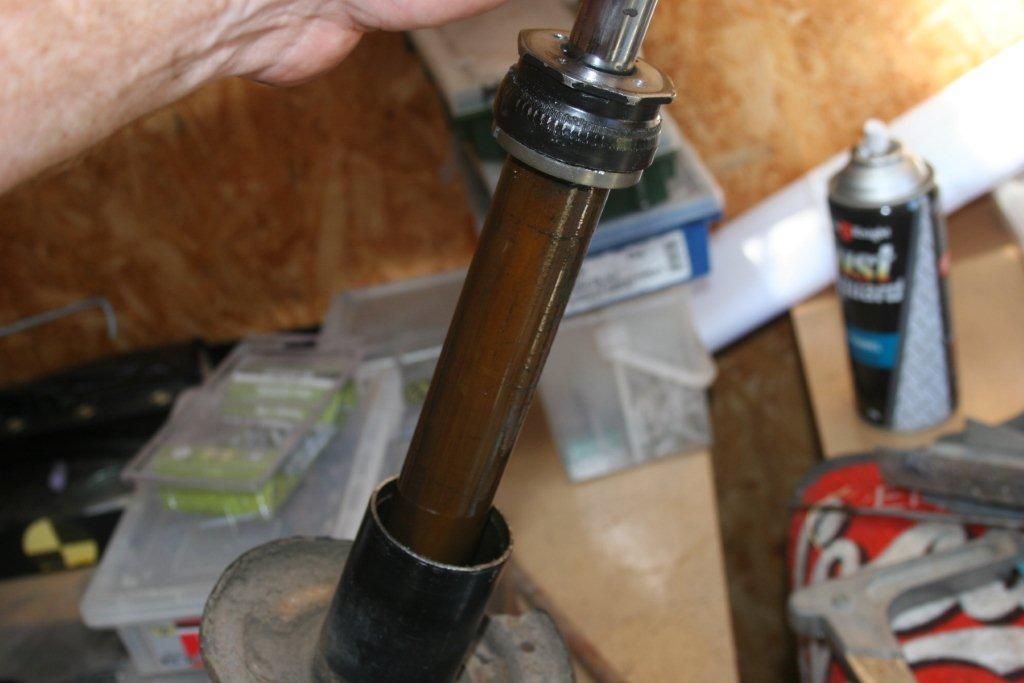
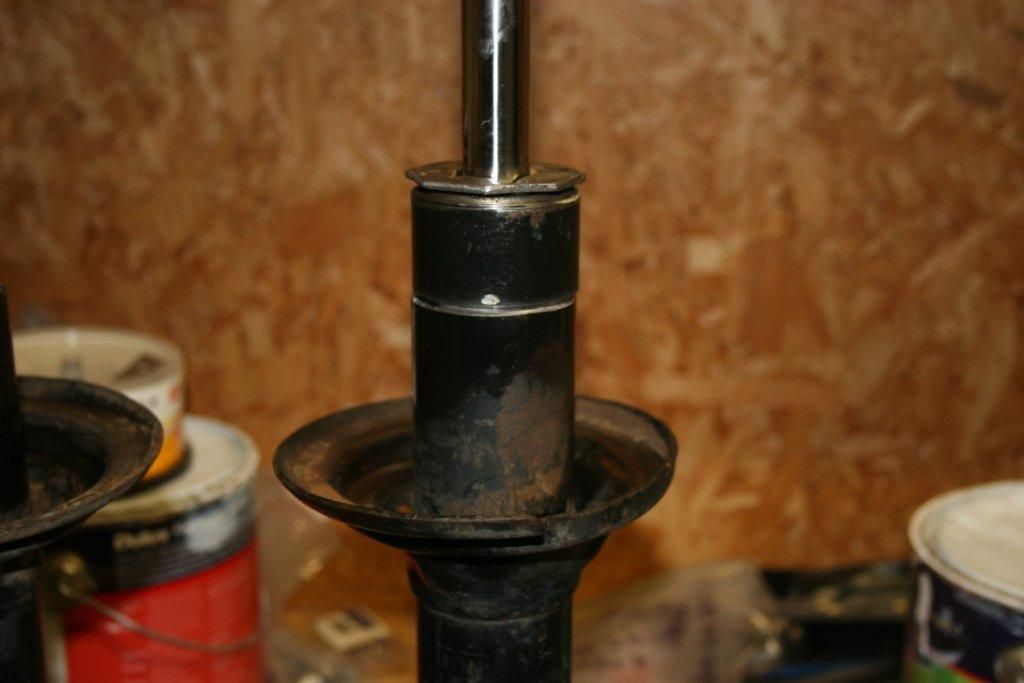
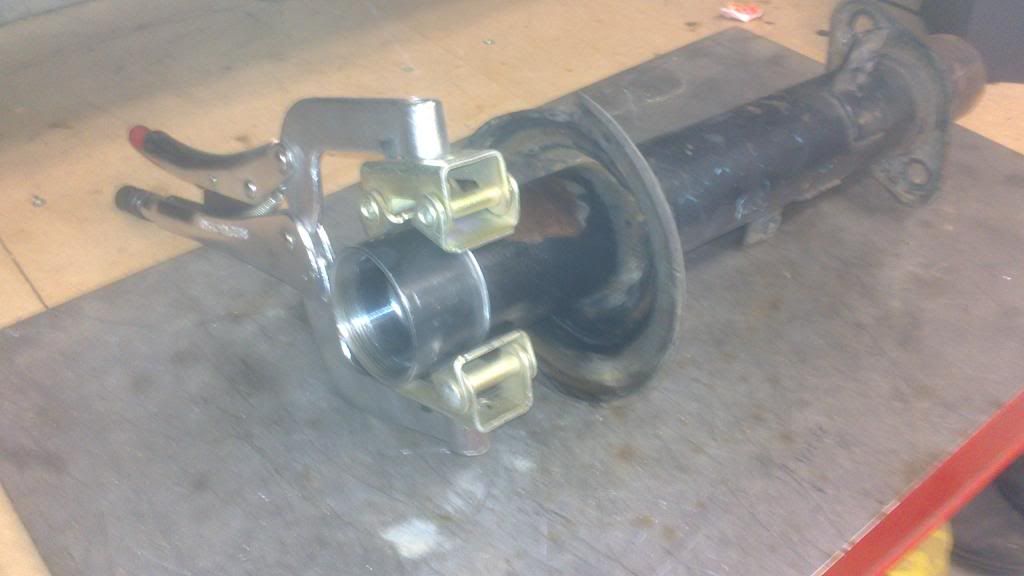
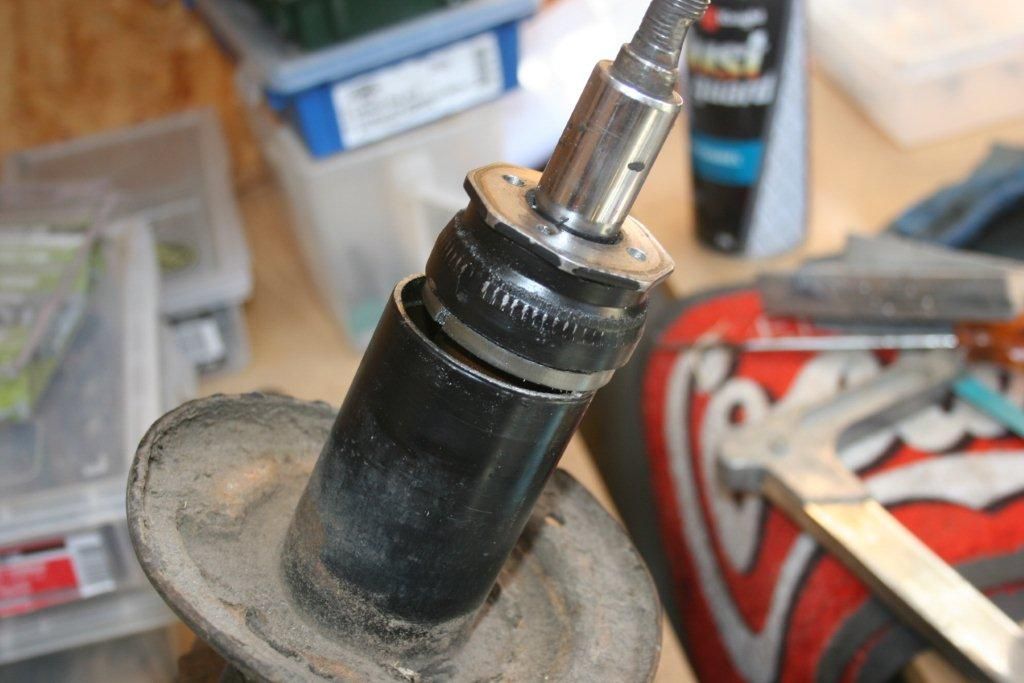
So...I cut around the tube carefully just at the line that ran around the strut (seemed as good a place as any)
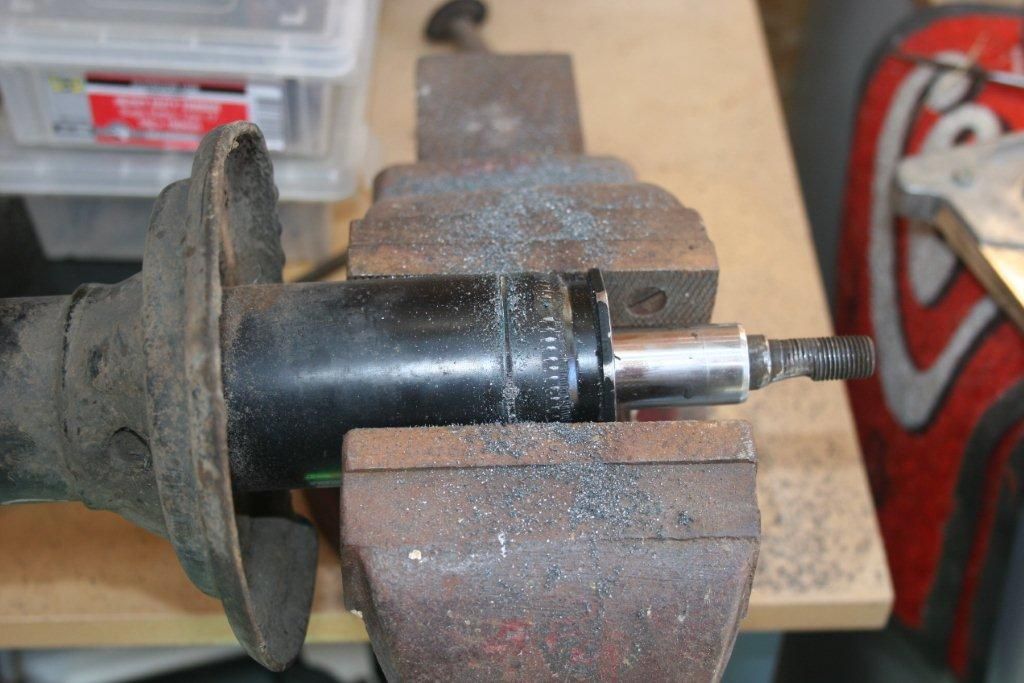
Then the insert simply pulls out
Looking inside the JA strut, it's machined and the machining finishes about 8mm down inside the tube. So I figured that when it gets welded I'll use the thicker part to weld to for that extra bit of security.
I chopped the JA strut down to this line.
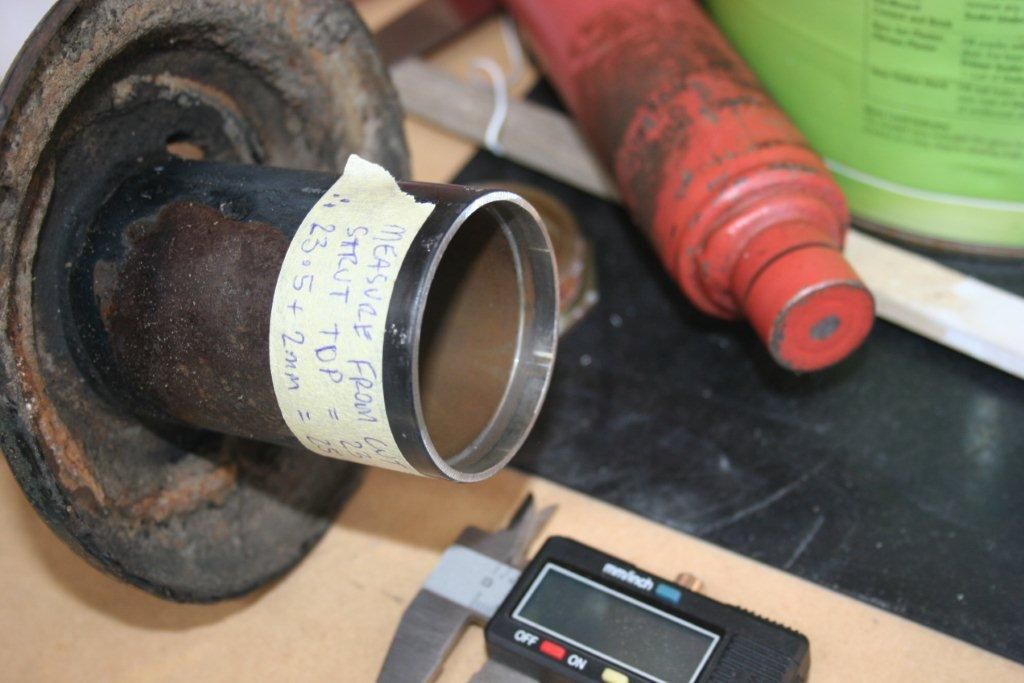
Before I started chopping up the VN strut, I put the insert in and measured the distance from the top of the insert to the top of the sleeve, it measured 1.8mm (I'll use 2mm)
Then I put the nut on, tightened it up to see how close the nut is to the thread...measured about 3mm. But the only number I need is 2mm for this exercise.
I then put the insert into the JA sleeve and measure the amount of insert sticking out.
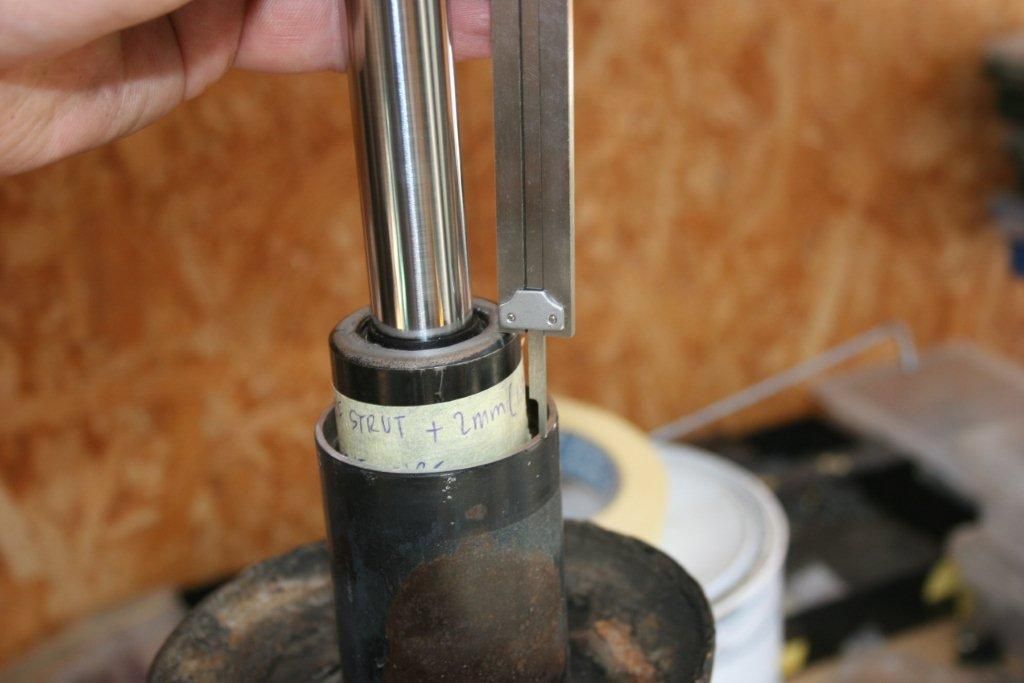
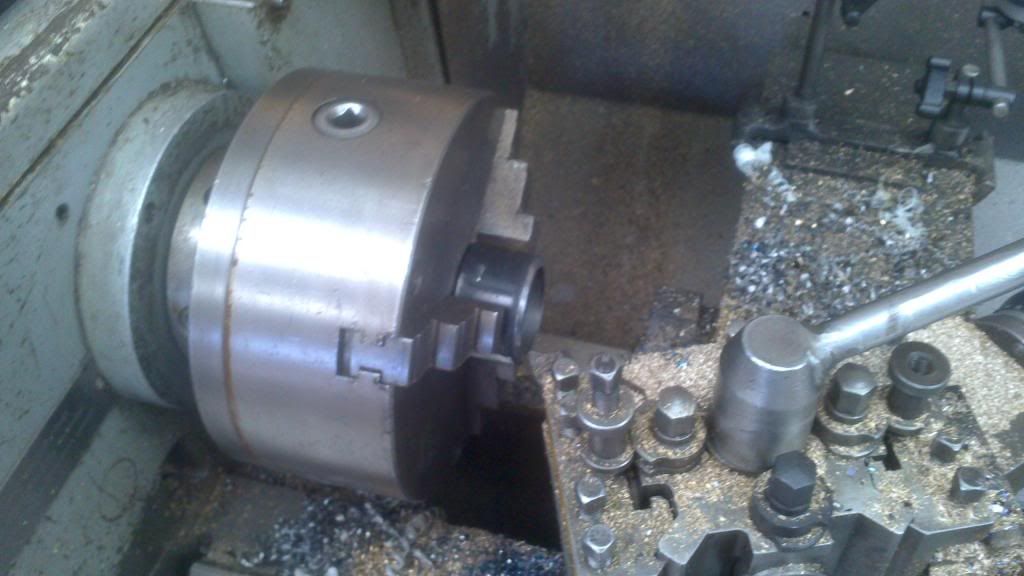
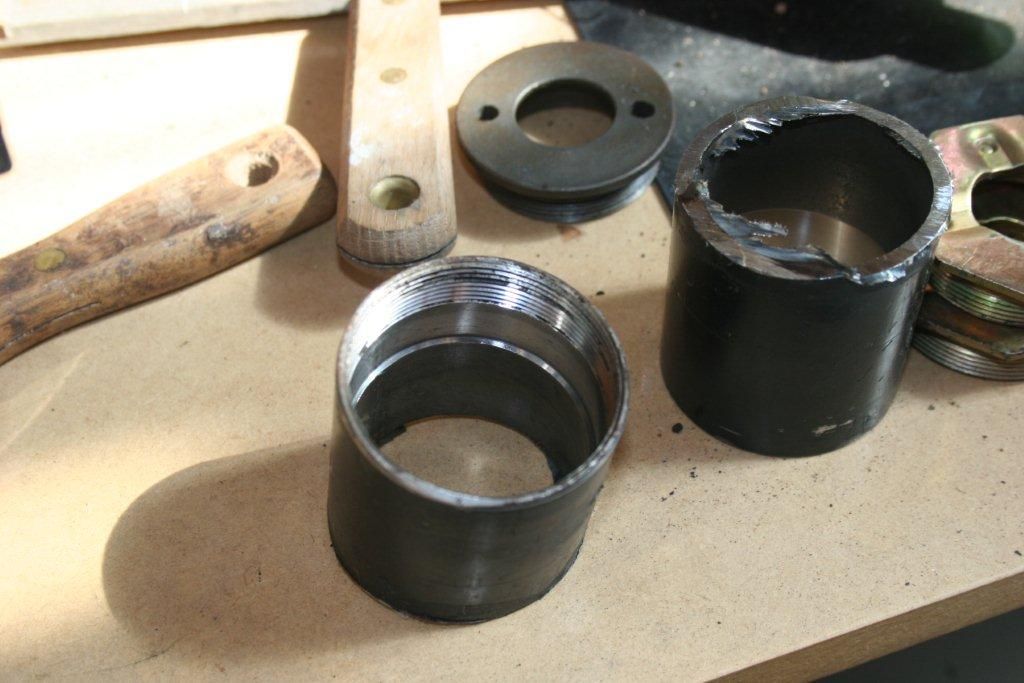
It measured 31mm. So....31mm (to the top of the insert) + 2mm (cos the sleeve sits 2mm higher than the insert top) = 33mm, this becomes the length of my new sleeve. I've rough cut them, next job is to cut them down to the right height. You'll also notice the machined step inside the VN sleeve, the cut will be below the sleeve in the thicker part.
Thanks JK :D
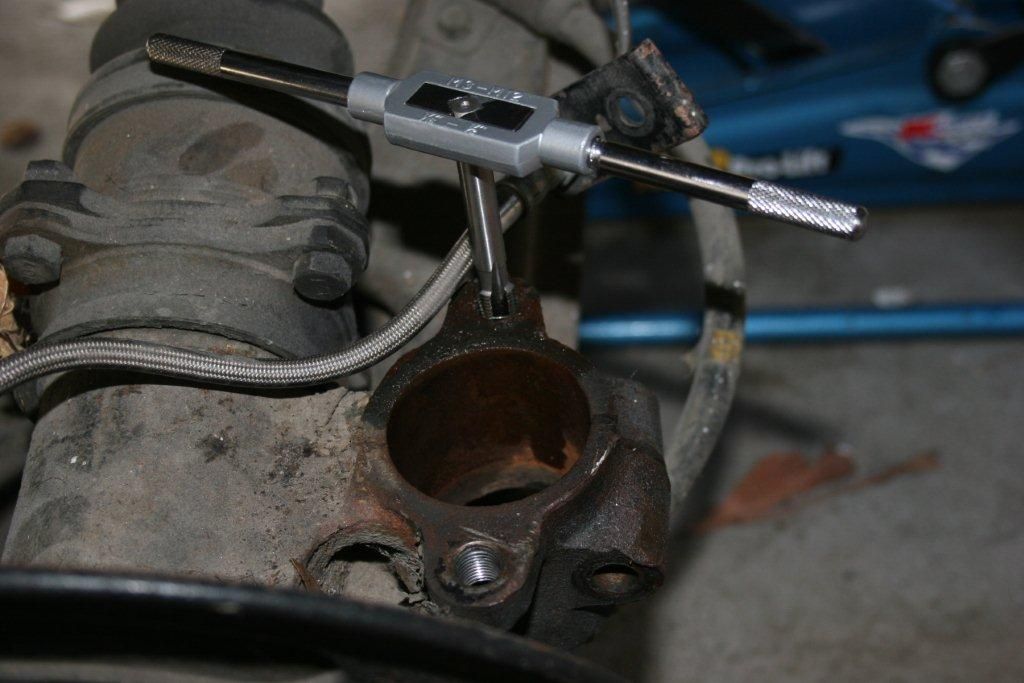
Now.....I found one of the bolts in the rear had crap in it and tore the thread up a bit as it unscrewed. I bought a tap to suit (M12x1.25) and cleaned it all out.
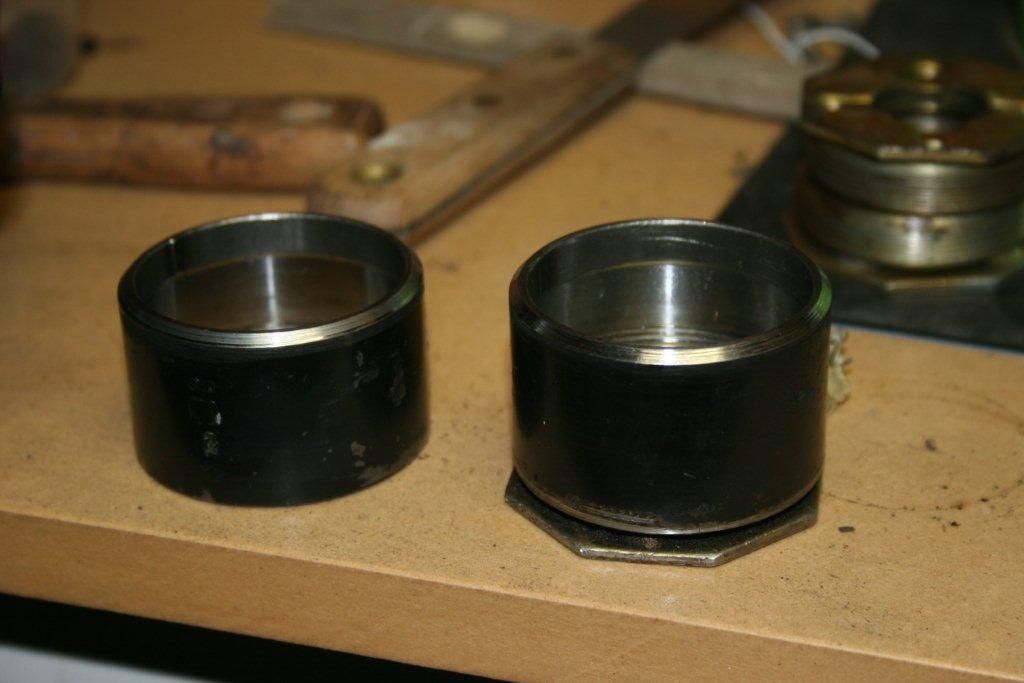
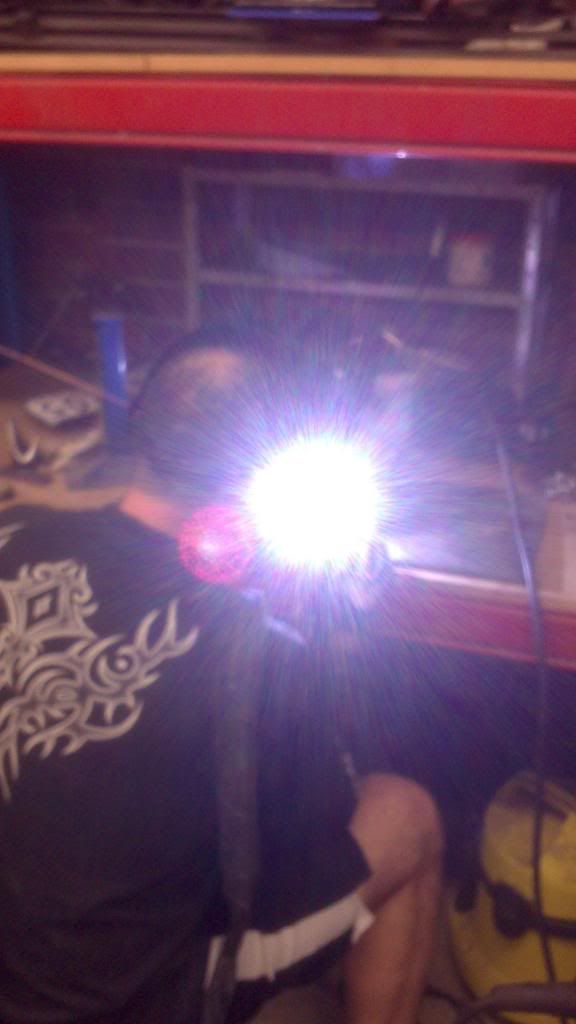
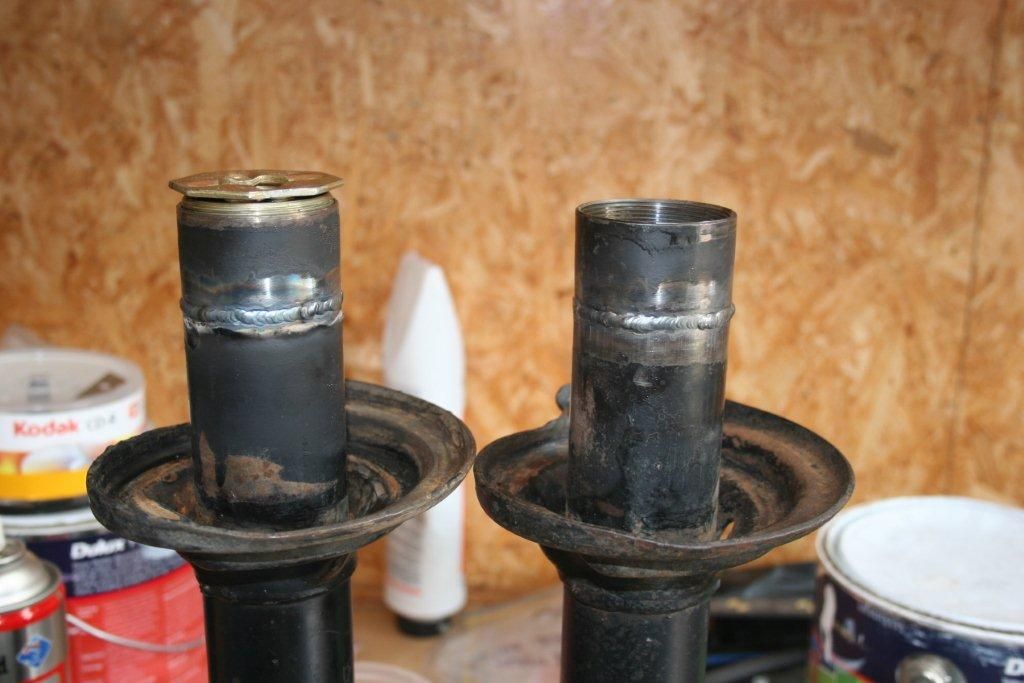
Welding up the sleeves. Thank you Pater for your fabulous work!
Artist at work!
The finished welded sleeves.
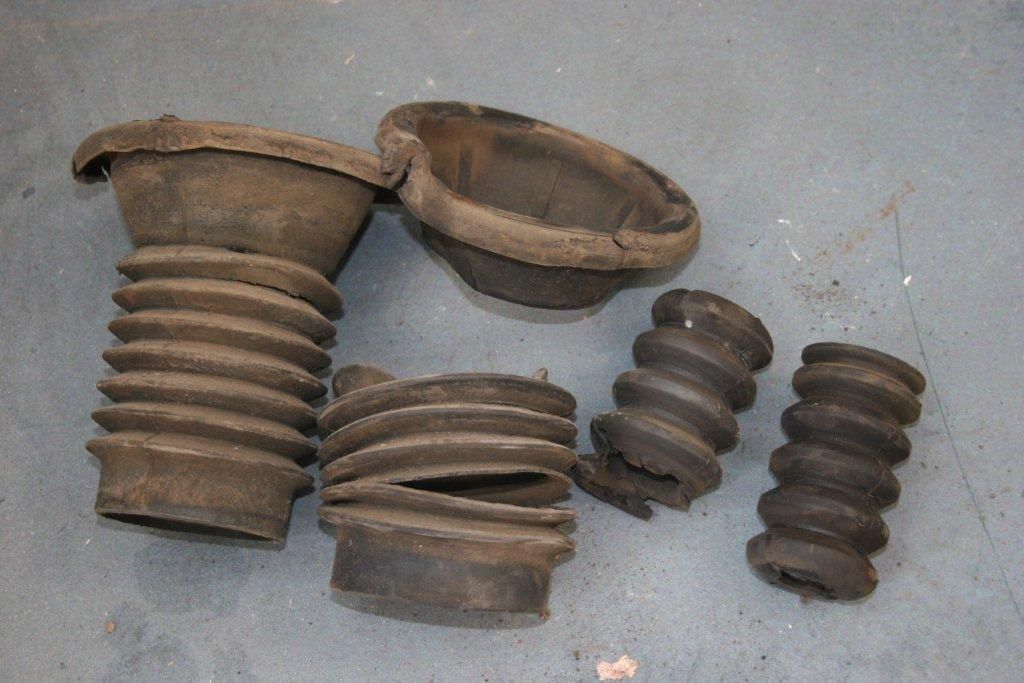
Now some of you may find that 30 year old rubber boots may have a slight bit of wear and tear on them. Finding replacements is like fossiking for rocking horse poop.
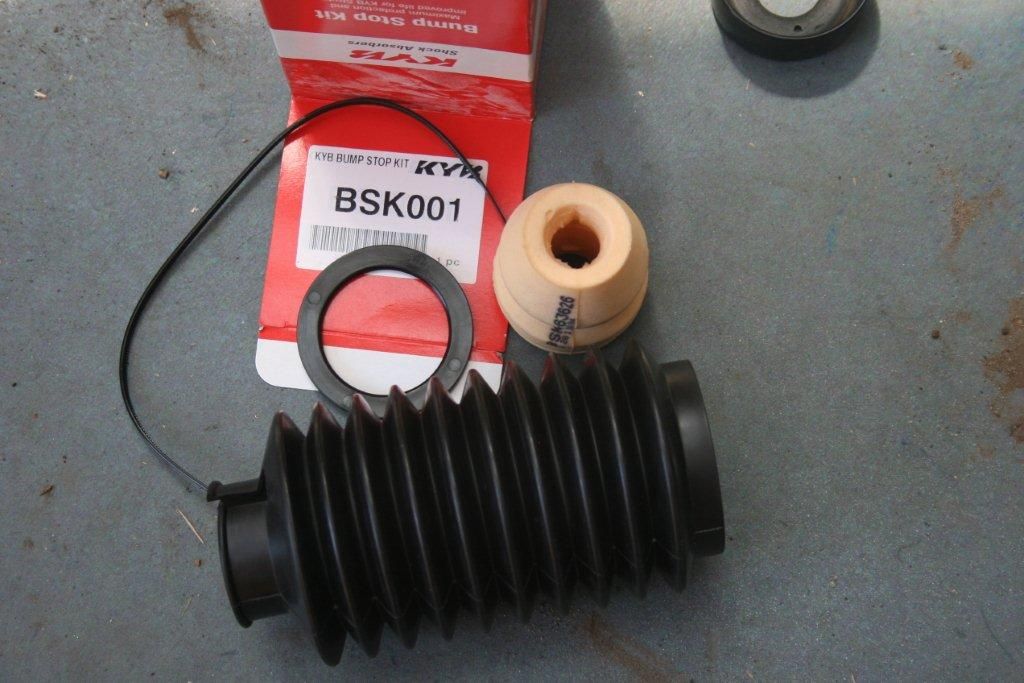
So...if it's good enough for a VN commodore... a new bump stop kit BSK001 will hopefully do the trick
After a lick of paint the assembly begins.
I put the strut insert in and screwed up the nut. As I don't have a 54mm A/F spanner I gripped the nut in the vice to and tigthened it all up (sorry, no photo)
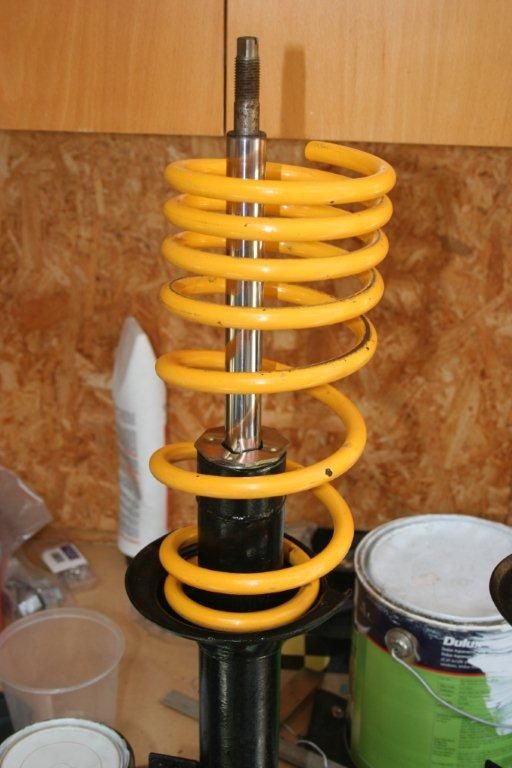
Spring first.
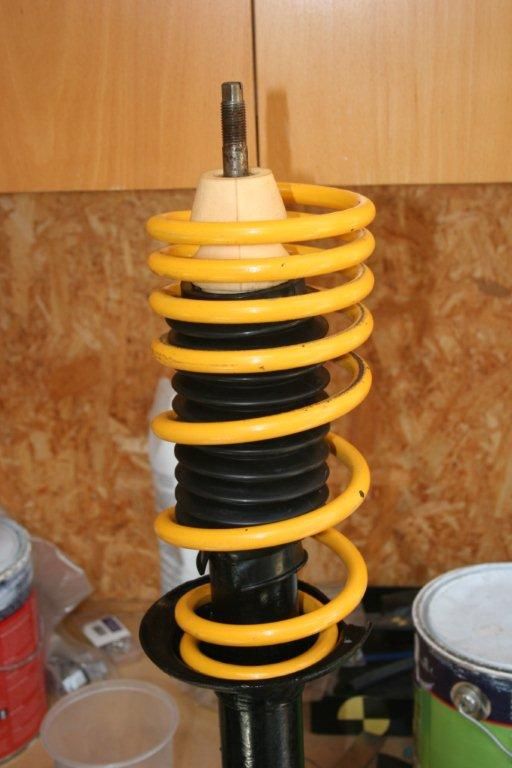
Then the dust cover. Put the plastic ring on the bump stop then fit the rubber boot on the ring. Slip the whole assembly over the shaft.
Last edited by Alspos on Sun Feb 17, 2013 8:03 pm, edited 1 time in total.
Ok...you with me so far?
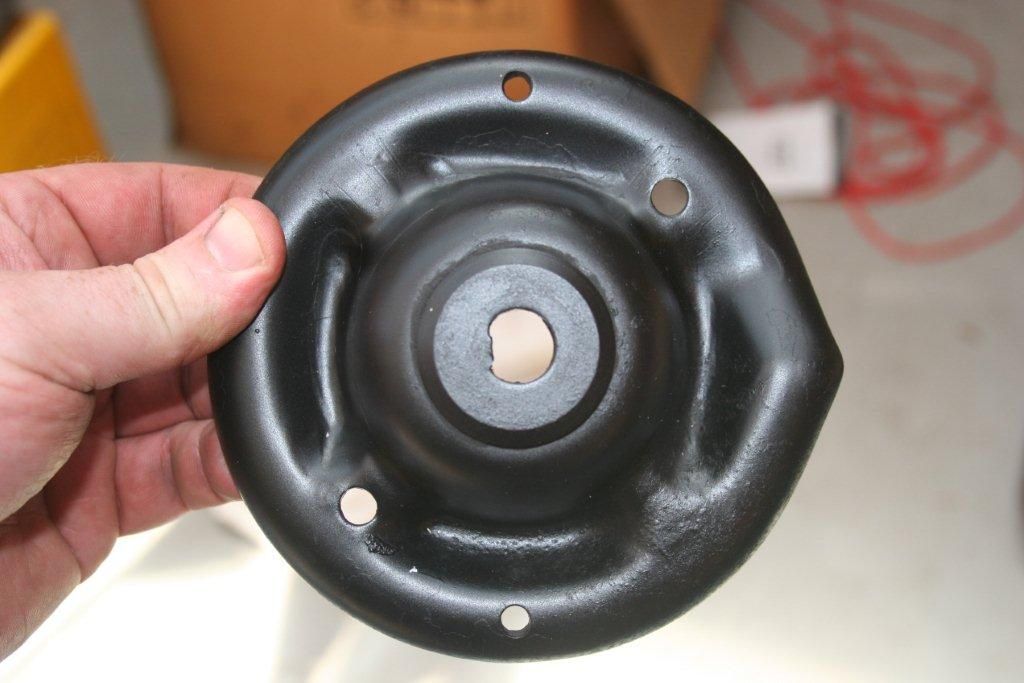
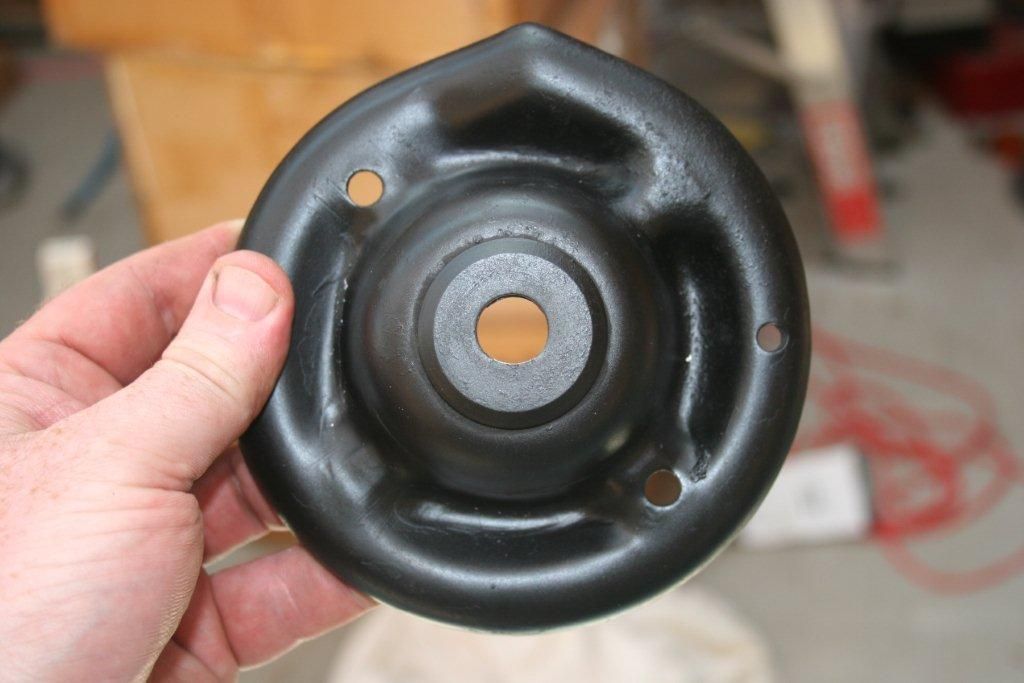
The top spring cup has a D hole in it. The strut shaft is round. From Kindergarten we should know that these two don't fit together.
I put a burr in my drill and gently rounded the hole.
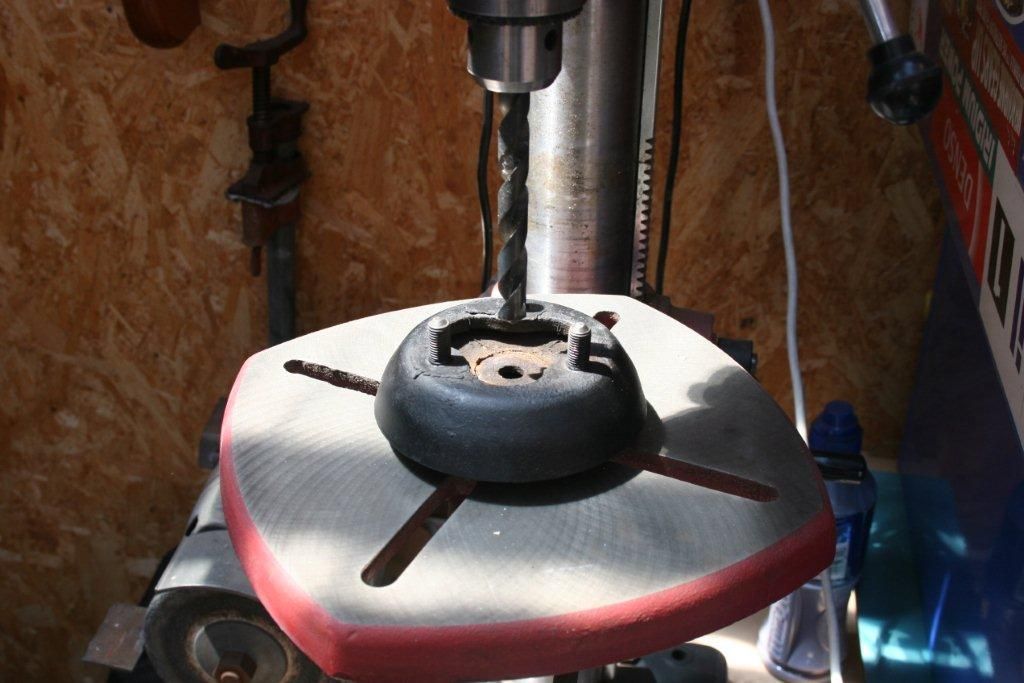
Same with the strut top that goes into the car body....the hole in the centre is 12mm, the threaded part of the new strut is 14mm. I don't have a 14mm drill so...
Drilled 13mm
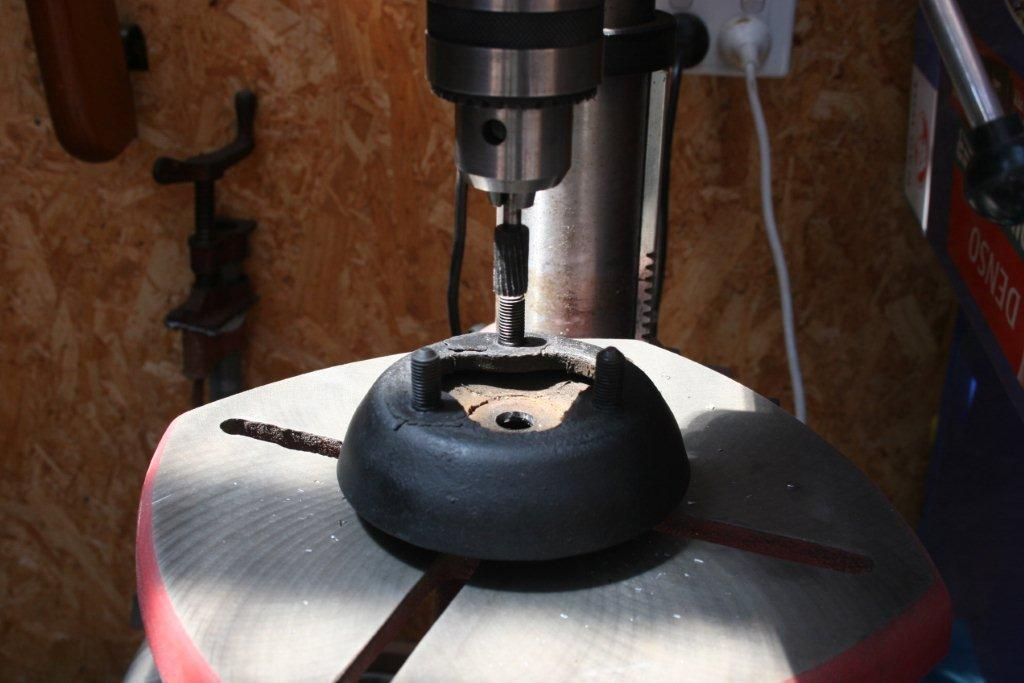
Then used the burr to eat the hole out to 14mm.
The washer will also need to be drilled larger to suit. I used the 15mm drill I had to do it, the slightly bigger hole won't make any difference.
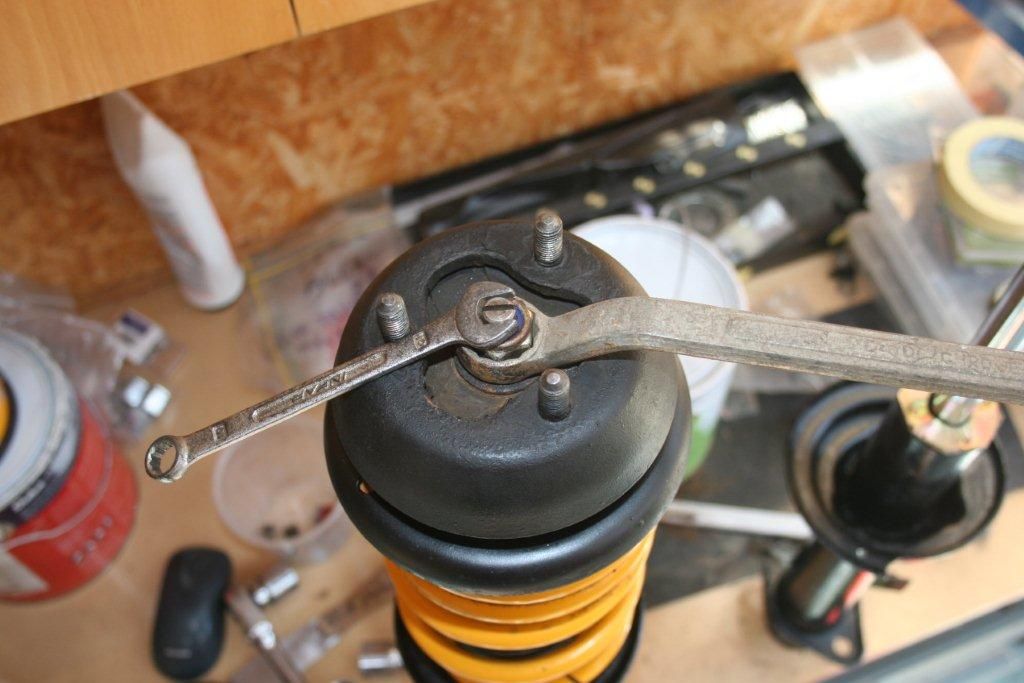
Then the locknut gets screwed onto the top. As there is no D on the spring cup anymore, the whole shaft will turn when you do it up. Lucky there is a flat on the strut shaft to hold while you do up the nut. You'll need a 10mm spanner for the top, 7/8 I used for the nut (or 22mm)
I compared the lengths of the original and VN strut to confirm it wouldn't bottom out during use. The shafts are nearly identical lengths when fully extended. The threads on top vary a bit though. The VN thread is a fair bit longer. Depending how worn the cup is that goes into the body, you may need to use an extra washer under the nut when doing up the thread...or the top may be loose. When you do it you'll see what I mean.
Then I did up the cable tie onto the dust boot (do it last in case you need to pull it all apart for some reason)
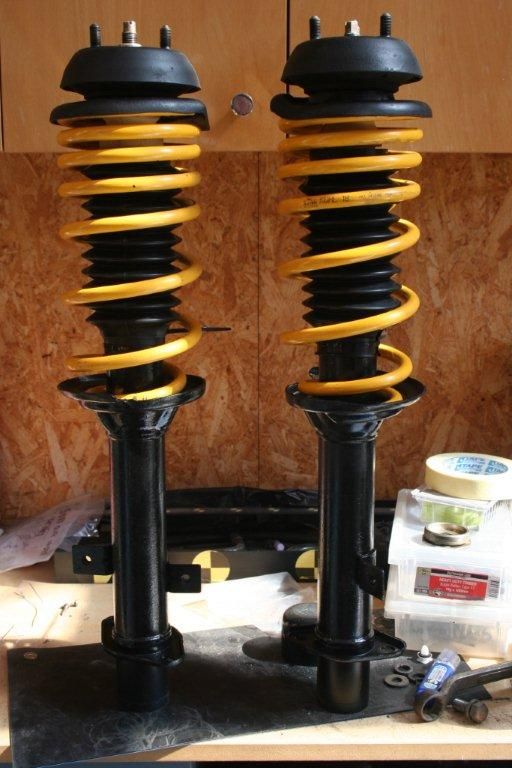
And the finished product
-
- racking my brains
- Posts: 5900
- Joined: Thu Oct 06, 2005 10:46 pm
- Location: sunshine coast qld
- Contact:
Maybe he was blinded by that flashy thing?
Fibreglass airdams $370, fibreglass front bumpers $260, reco drag links $165, alloy radiators $925 (unpolished), h/l switch rebuilds $125, all plus freight.
Coxs Automotive (07)54433507 3/5 Service st Maroochydore Q
www.facebook.com/coxsautomotive
www.coxsautomotive.com.au
Coxs Automotive (07)54433507 3/5 Service st Maroochydore Q
www.facebook.com/coxsautomotive
www.coxsautomotive.com.au
- Starion VR4
- almost postwhore
- Posts: 1293
- Joined: Fri Jan 09, 2004 5:08 pm
- Location: Brisbane
Who is online
Users browsing this forum: No registered users and 5 guests