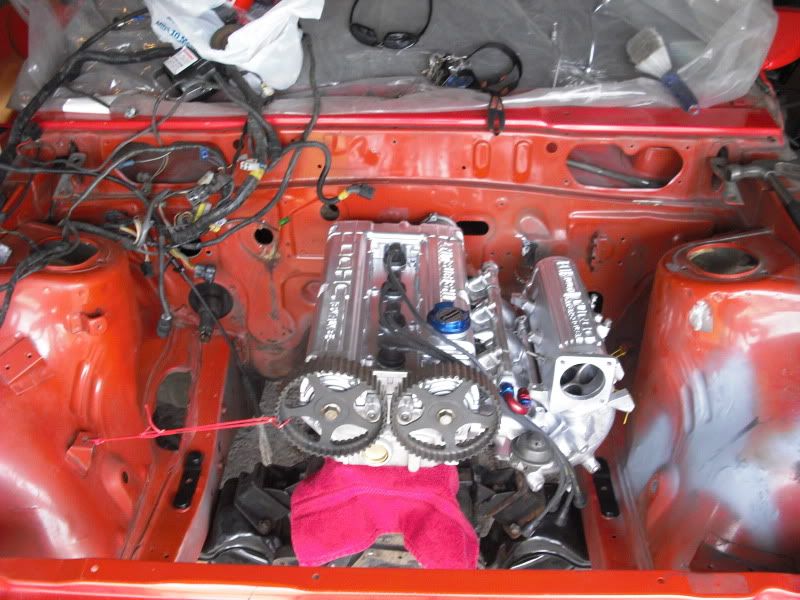
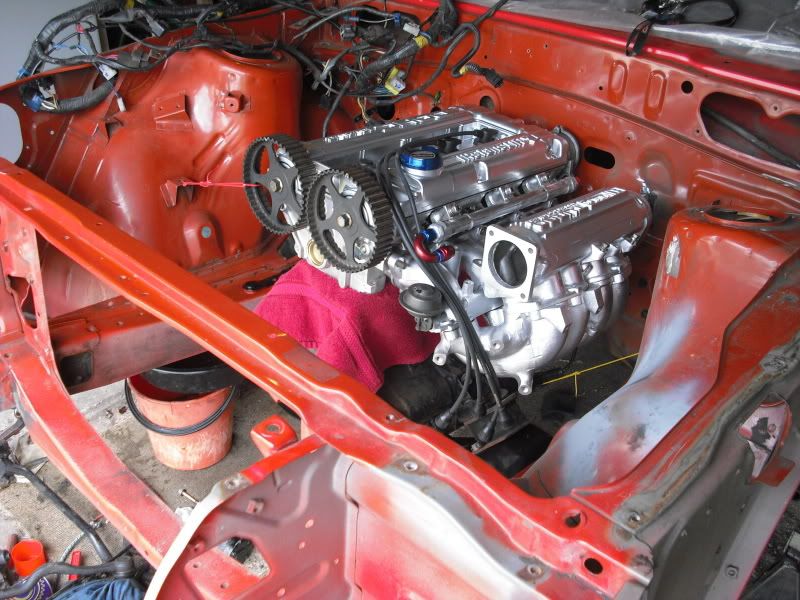
Lunacy's Targa Car Build
Nice looking thermostat adaptor. LOL
Just some advice though. Test fit the inlet manifold before you go any further and check the clearance on the outlet pipe of the adaptor against the flange of the inlet manifold.
You will find, like I did that,you will have to make a choice of either grinding a bit off the inlet manifold flange or cut the outlet pipe at an angle and have it re tig'd to steer it away from the back of the head to give you some clearance. Not much is needed but the flange sits further out than the head which I wasnt savvy to when I had these made. There is plenty of meat on the neck so dont be worried about welding it.
Nice work btw. Lot of effort going into this build. You and JAS have some pretty tasty Starions between you :beer
Never argue with an idiot, it brings you down to their level and they beat you with experience.
no kidding.. that doesn't even look like it's a custom made part eh?WANTSOM wrote:Nice looking thermostat adaptor. LOL
bloody kiwis..WANTSOM wrote:Nice work btw. Lot of effort going into this build. You and JAS have some pretty tasty Starions between you :beer
quest wrote:don't try explaining that to her tho..... just leave. lolWANTSOM wrote:Personally, I find sloppy boxes very unsatisfying. I like them tight and taught to the point that if you dont have to push to get it in then its probably too old and time to get a new one :P
Thanks for that info :) Il hopefully be finished degreasing, cleaning and painting my inlet manifold in the next day or 2 so will check it then.WANTSOM wrote:Nice looking thermostat adaptor. LOL
Just some advice though. Test fit the inlet manifold before you go any further and check the clearance on the outlet pipe of the adaptor against the flange of the inlet manifold.
You will find, like I did that,you will have to make a choice of either grinding a bit off the inlet manifold flange or cut the outlet pipe at an angle and have it re tig'd to steer it away from the back of the head to give you some clearance. Not much is needed but the flange sits further out than the head which I wasnt savvy to when I had these made. There is plenty of meat on the neck so dont be worried about welding it.
Nice work btw. Lot of effort going into this build. You and JAS have some pretty tasty Starions between you :beer
No drama if i need to get it welded, as have a nice pile of jobs for my welding guy at the mo :)
Im lucky that i have alot of spare time to work on the car, but have pretty much changed what was gonna be a nice tidy up to a do it once do it right build leaving nothing untouched. Have discovered a pedantic side i never knew i had haha!!!

I can relate to that!!! Things can get out of hand very easilyLunacy wrote: pretty much changed what was gonna be a nice tidy up to a do it once do it right build leaving nothing untouched. Have discovered a pedantic side i never knew i had haha!!!
1984 Sigma Super, Turbo Wagon
1990 GSR-VR 50,000ks
1984 GSR II 4G63 302kw atw at 24psi
http://www.facebook.com/marvinmartiannz


1990 GSR-VR 50,000ks
1984 GSR II 4G63 302kw atw at 24psi
http://www.facebook.com/marvinmartiannz


Well the last few days have been alot of spending - have been buying up all the fittings for the fuel system.
So far have bought a bosch 044 pump, inline filter, heaps of speedflow fittings and braided hose.
Need to get under the car now and measure up the length of lines from rear to front of the car, then run and attach them, as well as plumbimg up the surge tank.
That should all be done by xmas at least.
Tomorrow im also picking up a spare block to use as a mock up, so i can make up brackets in engine bay for fuel reg, coil packs etc.
All the old brackets have been cut off too so starting fresh with minimal clutter hopefully in the bay when its done.
If i can get that done before new years, then engine bay can get painted while im away at work in January :)
Couple more pics
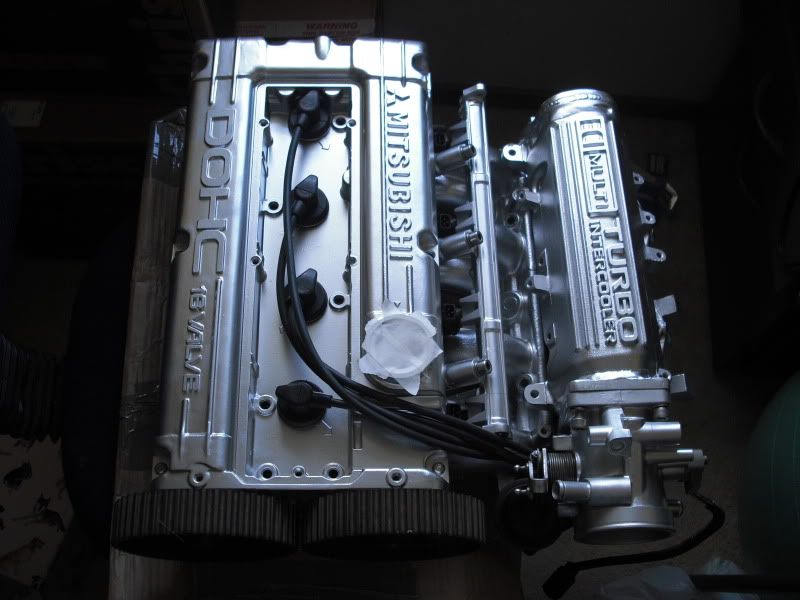
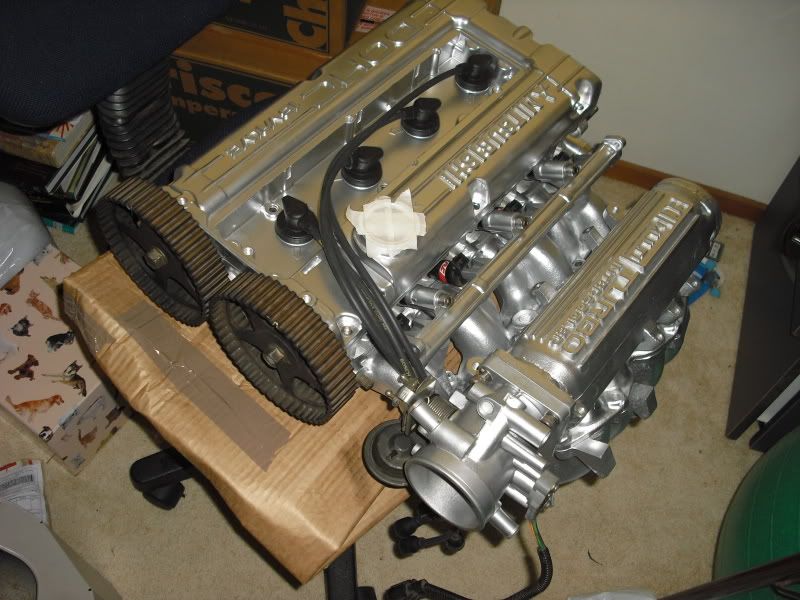
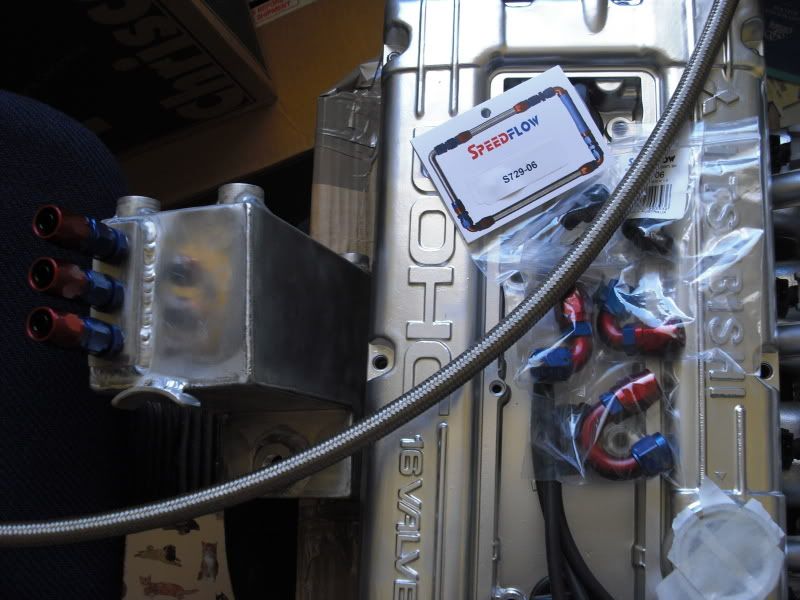
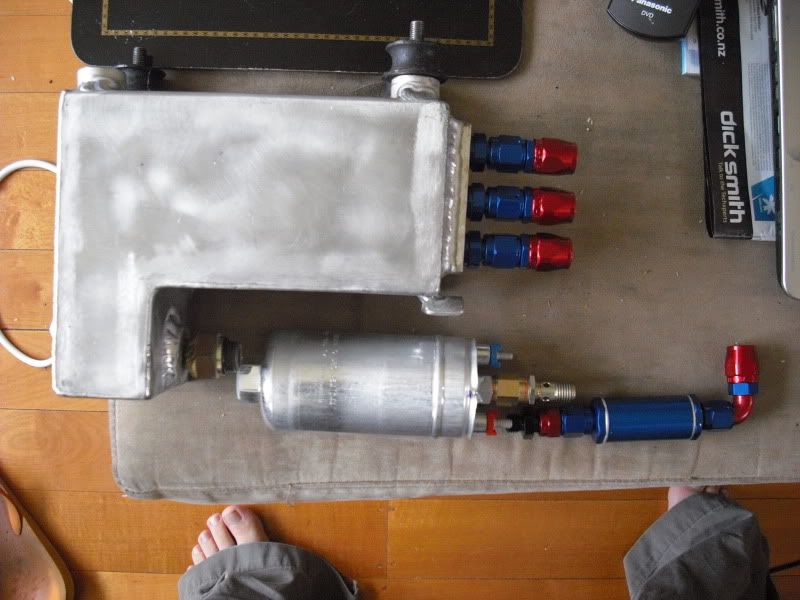
The bosch 044 is a HUGE unit compared to the Walbro!
So far have bought a bosch 044 pump, inline filter, heaps of speedflow fittings and braided hose.
Need to get under the car now and measure up the length of lines from rear to front of the car, then run and attach them, as well as plumbimg up the surge tank.
That should all be done by xmas at least.
Tomorrow im also picking up a spare block to use as a mock up, so i can make up brackets in engine bay for fuel reg, coil packs etc.
All the old brackets have been cut off too so starting fresh with minimal clutter hopefully in the bay when its done.
If i can get that done before new years, then engine bay can get painted while im away at work in January :)
Couple more pics


The bosch 044 is a HUGE unit compared to the Walbro!
Last edited by Lunacy on Mon Jul 09, 2012 2:49 pm, edited 1 time in total.

Dont forget to use the Loctite sealer (577) on the surge tank fittings and make sure the tank is clean inside :)
That inlet manifold looks great :beer
That inlet manifold looks great :beer
1984 Sigma Super, Turbo Wagon
1990 GSR-VR 50,000ks
1984 GSR II 4G63 302kw atw at 24psi
http://www.facebook.com/marvinmartiannz


1990 GSR-VR 50,000ks
1984 GSR II 4G63 302kw atw at 24psi
http://www.facebook.com/marvinmartiannz


Yeah have got same stuff branded under ENZED as that sealer was nearly 60 bucks and only came in big bottle!!!JAS wrote:Dont forget to use the Loctite sealer (577) on the surge tank fittings and make sure the tank is clean inside :)
That inlet manifold looks great :beer
Surge tank has had major clean out as ive re-tapped all the threads on it which put more crap in there that i def didnt want going thru the pump.
Was pretty stoked with how inlet came out, amazing what a gd clean and a coat of paint does :)

It was what i had available at the time :) It will be well big enough for what i need anyway, and shouldnt be an issue to hook up.Bitza wrote:No offense........but why did you go with the XF throttle body?
The El one is larger and you can utilise the air bypass to control everything.
Worked a treat on the cordia.

-
dirtygalant
- nearly postwhore
- Posts: 1446
- Joined: Sun Jun 19, 2005 7:27 pm
- Location: Sunny Brisbane Australia!
Looking great mate.
Couple of things you might want to consider for bling...
Fidanza adjustable cam gears x2 can be had for around $250US a set.
www.sparktechignitions.com plug and play coil on plug with awesome looking spark plug coverplate that you can get laser etched with anything you like (Lunacy) for instance :)
Couple of things you might want to consider for bling...
Fidanza adjustable cam gears x2 can be had for around $250US a set.
www.sparktechignitions.com plug and play coil on plug with awesome looking spark plug coverplate that you can get laser etched with anything you like (Lunacy) for instance :)
Cheers :) This head is just to get her up and running initially as its just a rebuilt standard vr4 one. Eventually when ive racked up a few hours in the seat and got used to how the car handles with that power etc, il be building up an evo head with all the goodies like port and polish, O/S valves, double springs,titanium retainers, new lifters, cams and cam gears.Entaran wrote:Looking great mate.
Couple of things you might want to consider for bling...
Fidanza adjustable cam gears x2 can be had for around $250US a set.
www.sparktechignitions.com plug and play coil on plug with awesome looking spark plug coverplate that you can get laser etched with anything you like (Lunacy) for instance :)
Guess thats like the stage 2 package :)
Have actually been looking at COP setups recently, those ones on that site are very nice!

Who is online
Users browsing this forum: No registered users and 3 guests
