Lunacy's Targa Car Build
Well this is copied over from SQC so hasnt just happened overnight, i dont work that fast haha, its pretty much my last couple of months progress on the car.
Plans at the moment are as follows:
1) Remove all rear suspension, fuel tank, subframes, diff, torque tube and sway bar. DONE
2) Have all above sand blasted and powder coated DONE
3) Replace all bushes in rear end with poly ones
4) Rebuild axles and rear callipers
5) Replace all fuel filters and lines, install walbro pump
6) Install new damper adjustable shocks and ground control coilovers
7) Full DOHC 4g63 build with 20g turbo :)
Will update progress pics as i go.
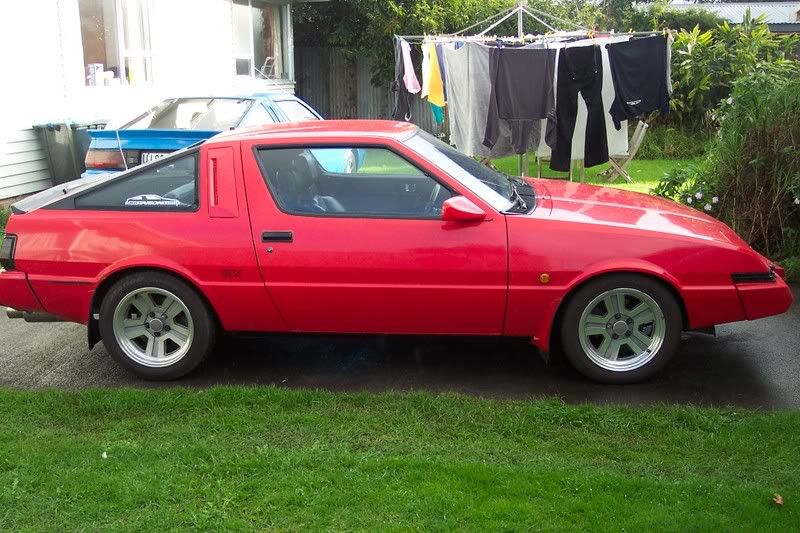
Heres the car before she went up on the stands:
Few pics of dropping the tank:
After a bit of dust cleaned off, was a layer about half an inch thick on the top:
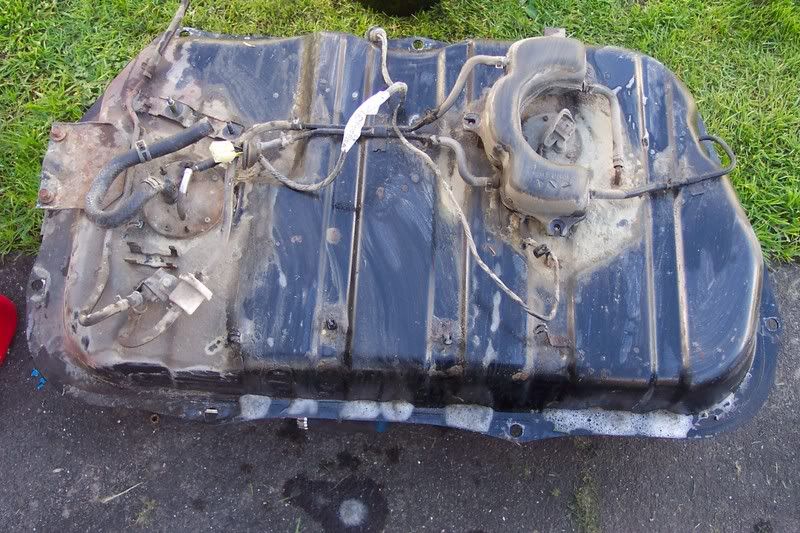
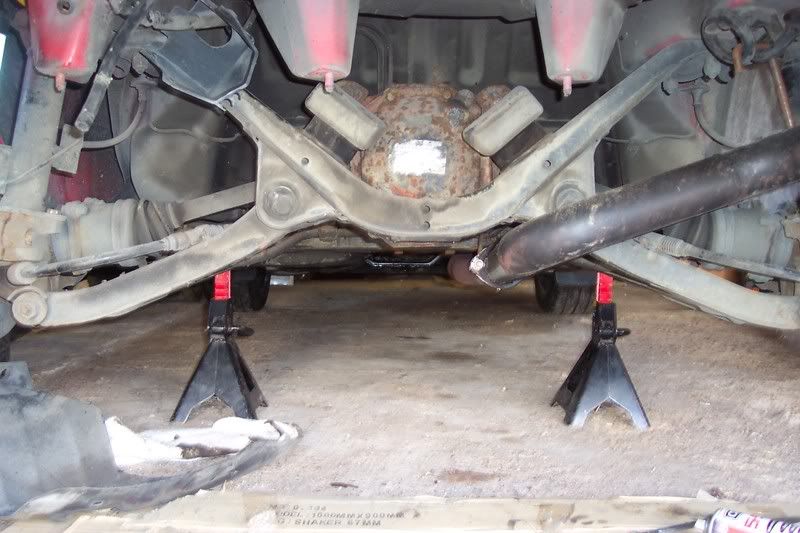
Undercar with tank removed:
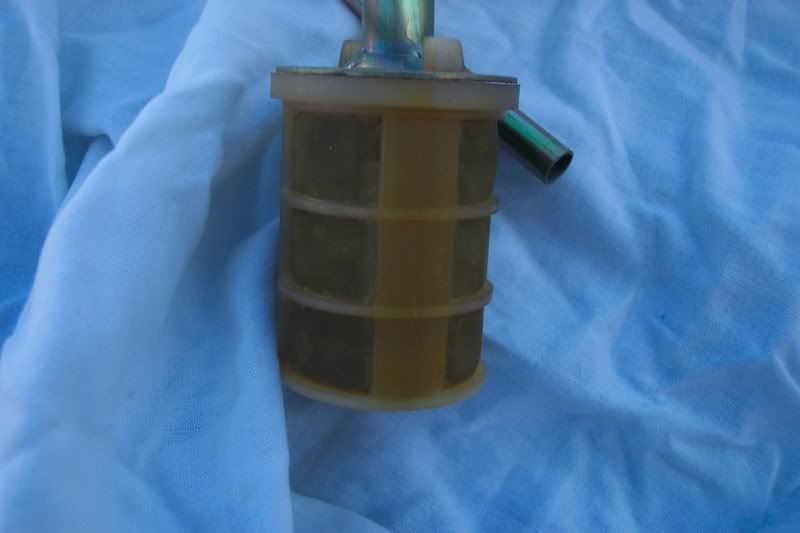
Not a bad state for a 22 year old fuel filter:
More to come soon
Last edited by Lunacy on Sun Mar 17, 2013 4:03 pm, edited 16 times in total.
Few more pics:
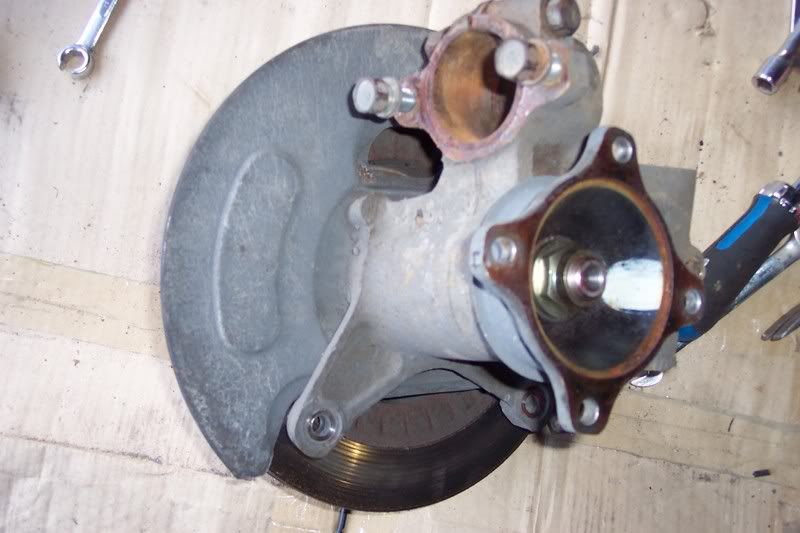
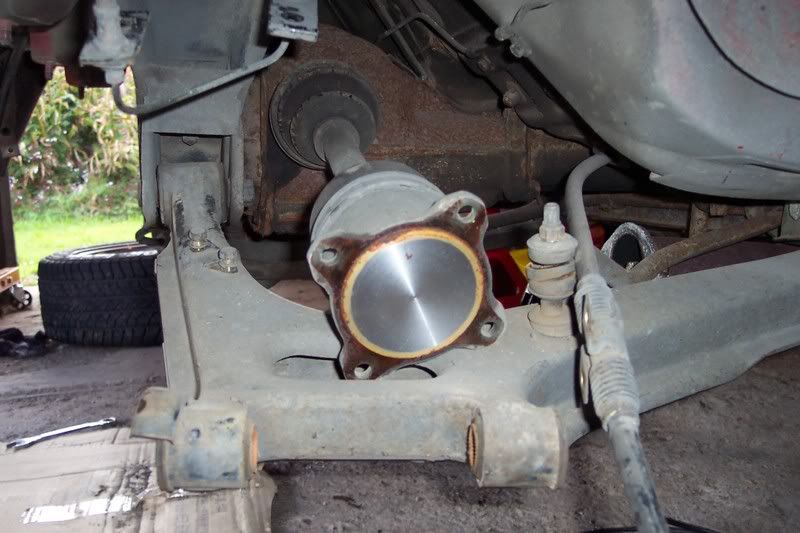
Drivers side rear hub off, gotta love those LCA bolts that are rusted in :( think i mite need new ones as mine may be a bit stuffed now :(
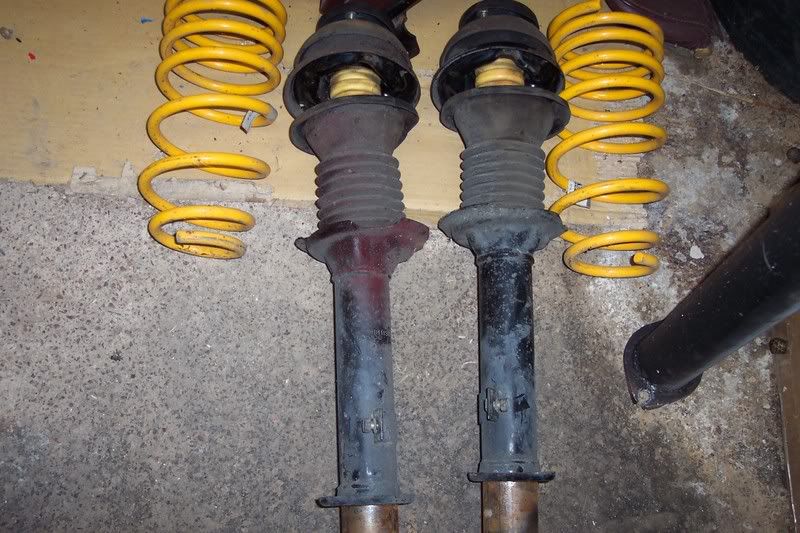
These shocks are well shot, they just sank down into the strut housing when i undid the top nut :o
Hub shot. These seem to be fine :)
On a random note my diff was only attached to the drivers side mount; the bolt on the passenger side one was nowhere to be found and hadnt been there for awhile from the amount of filth on it. Cant have been good :(
Last edited by Lunacy on Mon Jul 09, 2012 2:00 pm, edited 1 time in total.
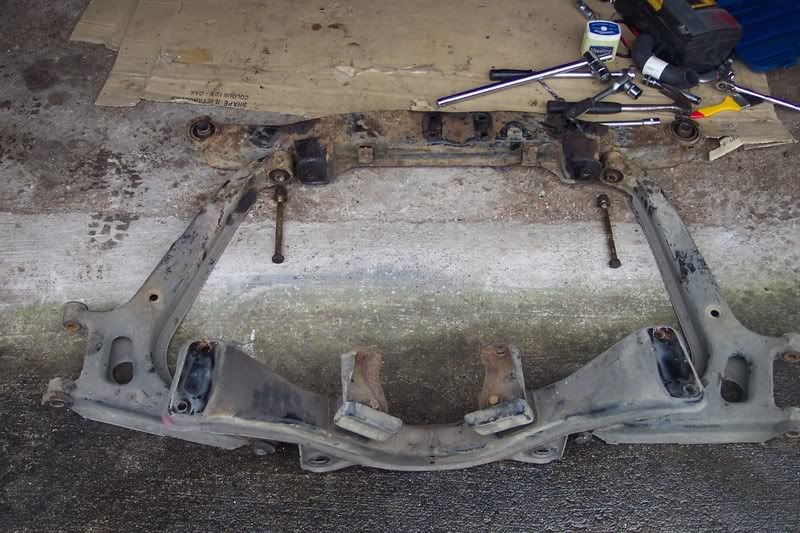
Well the subframes out now, just gotta burn the bushings out :)
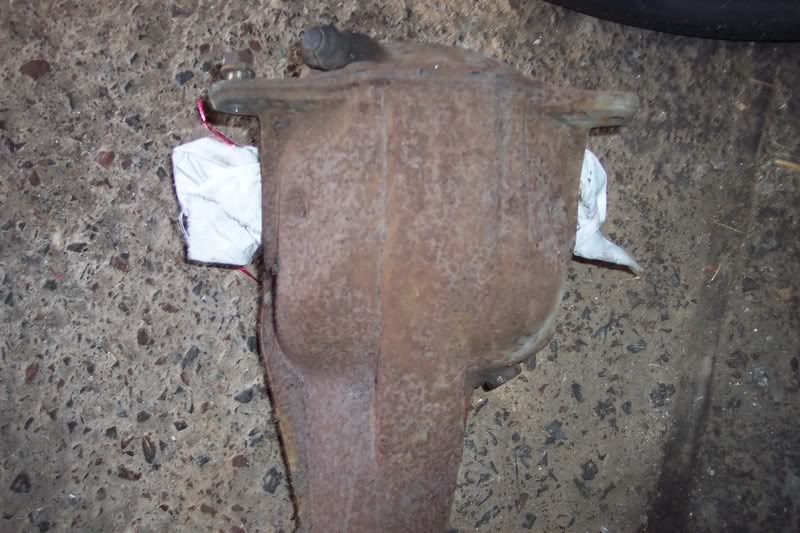
And gotta do something with the diff and torque tube, talk about rusty on the outside!!!!
Very rare to find a LSD here too :)
Will hopefully get the bushes burned out tomorrow and get all the bits off to the powder coaters.
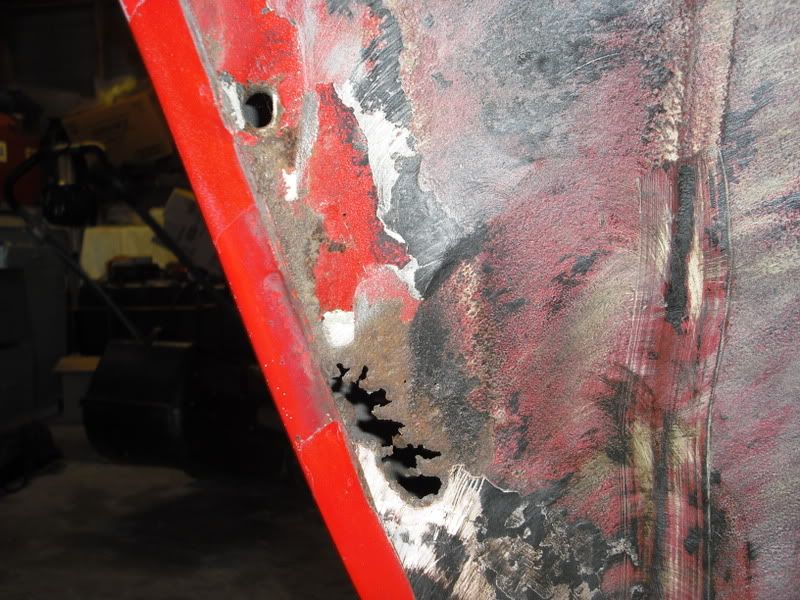
On another note saw a bit of paint peeling in the passenger wheel well, so gave it a tap with a screwdriver and lo and behold a heap of filler and rust fell out so looks like il have to cut that out and weld in a new piece. :( Really need to buy a welder
Last edited by Lunacy on Mon Jul 09, 2012 2:01 pm, edited 1 time in total.
Well finally got all the bushes out today and all the bits off to the powdercoaters so couple of weeks and they should be back all nice and shiny.
Professor quests guide to bush replacement is gold and definitely a good read for anyone attempting this.
Heres a couple of pics from last day or so.
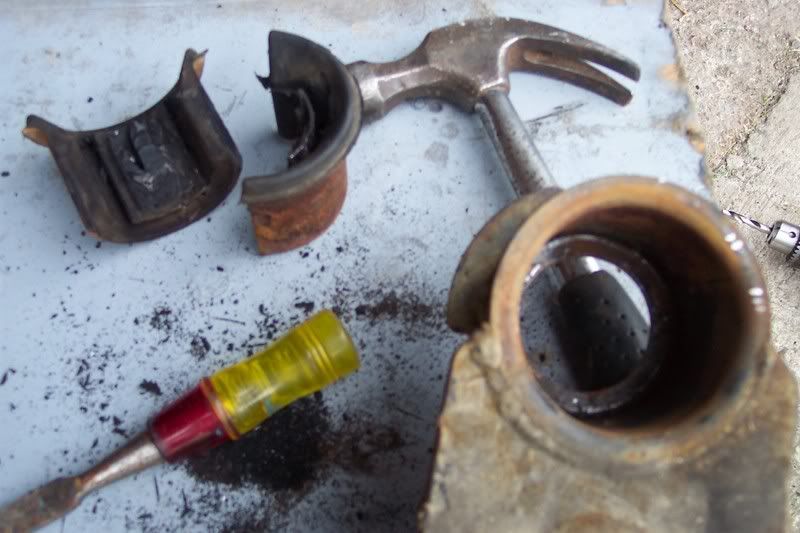
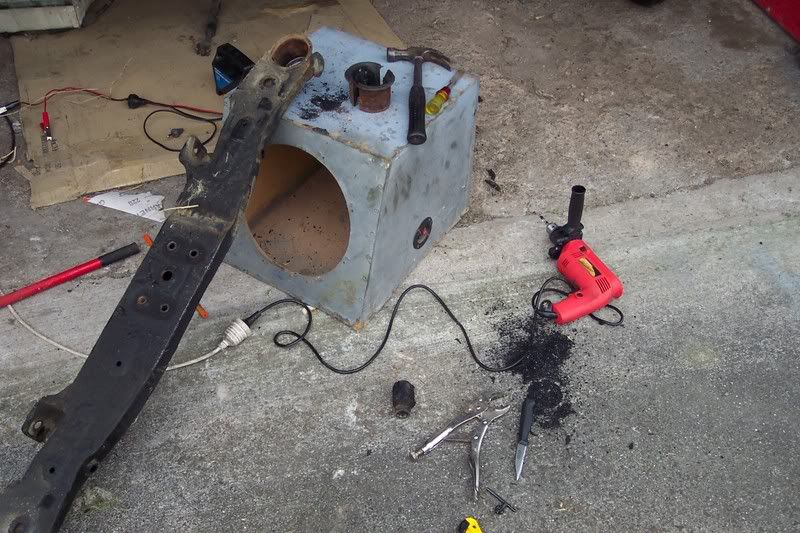
Getting the crossmember bushes out - these were rusted in solid!!! took alot of heat and prying.
Halfway thru the 2nd one
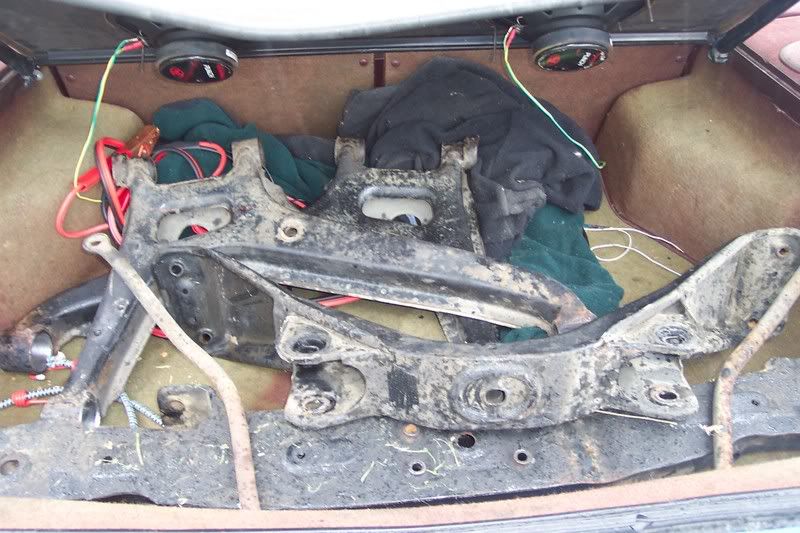
All the bits in the boot ready to be powdercoated
For anyone doing this a small wire brush on a drill is a essential piece of equipment for gettin the last bits of rubber out of the bush holes and for cleaning up the metal.
My new bushes (stedebani), pistons (mahle) and arp bolts showed up a few days back too so might have to get onto doing the engine soon, well as soon as i find some eagle rods for a decent price. Also have mookeehs camber plates on the cards for next payday :)
In the meantime though, will wirebrush and clean the underside of the body, and respray it with tough underbody paint.
Will update again soon :)
Last edited by Lunacy on Mon Jul 09, 2012 2:25 pm, edited 2 times in total.
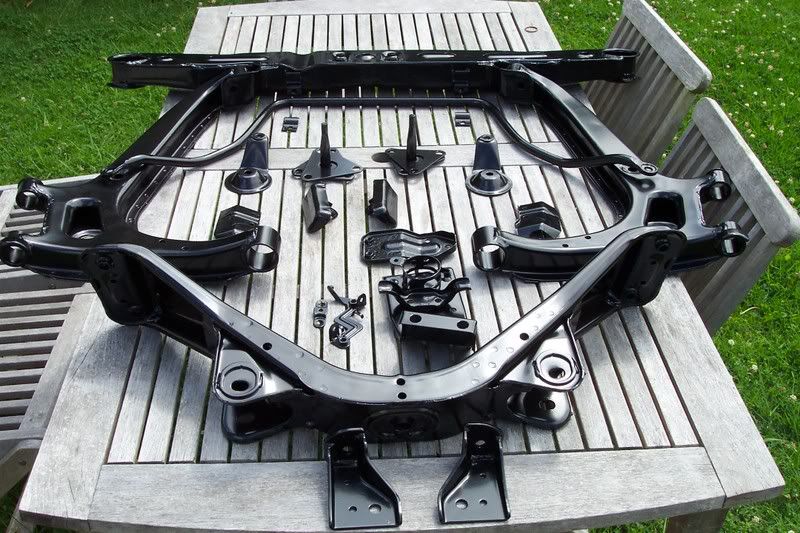
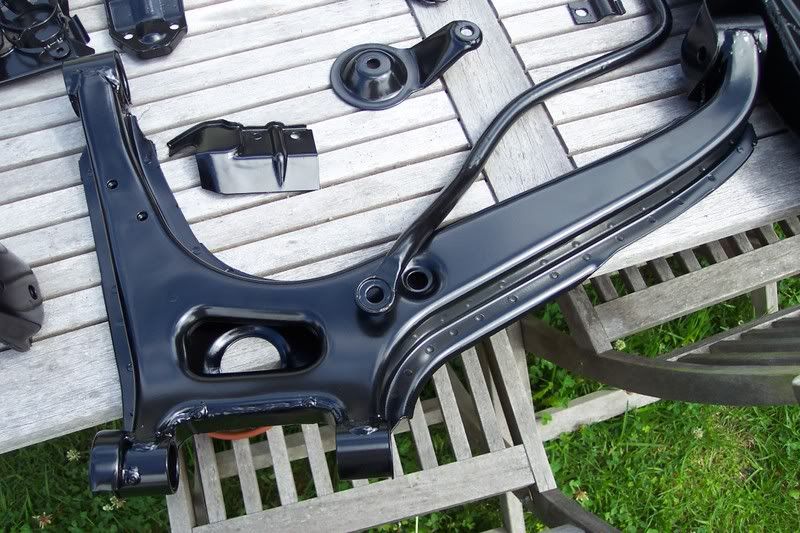
Well got all the subframes back from the powder coaters today and man what a difference.
Pics tell the story:
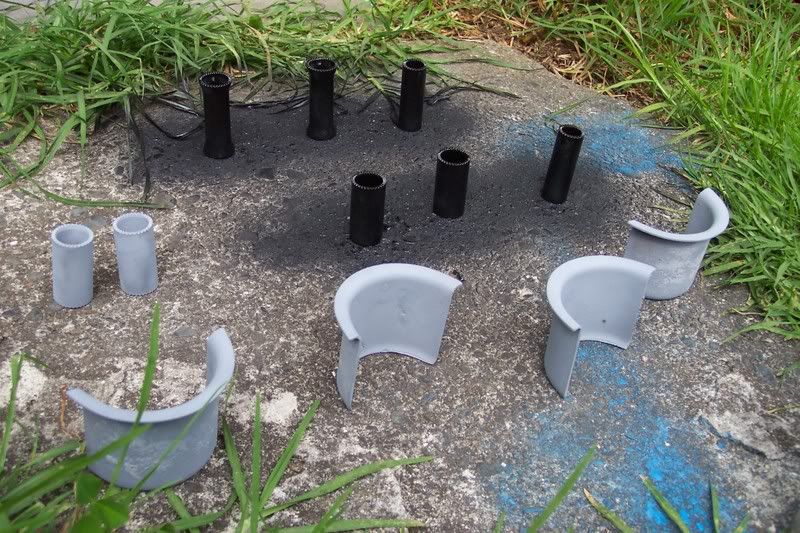
And heres the sleeves that ive removed all the rubber from, and then wirebrushed, primered and painted
Next is get under the car and wirebrush and redo the underside which got on hold due to me having to do 4 days straight on my wifes car as it died :(
Pics tell the story:
And heres the sleeves that ive removed all the rubber from, and then wirebrushed, primered and painted
Next is get under the car and wirebrush and redo the underside which got on hold due to me having to do 4 days straight on my wifes car as it died :(
Last edited by Lunacy on Mon Jul 09, 2012 2:25 pm, edited 1 time in total.
Man that rear end look mint!!!!! Well done :beer
1984 Sigma Super, Turbo Wagon
1990 GSR-VR 50,000ks
1984 GSR II 4G63 302kw atw at 24psi
http://www.facebook.com/marvinmartiannz
1990 GSR-VR 50,000ks
1984 GSR II 4G63 302kw atw at 24psi
http://www.facebook.com/marvinmartiannz
- livestarquest
- [P] Plates
- Posts: 32
- Joined: Thu Jul 03, 2008 10:12 am
- Location: Houston, Texas USA
- Contact:
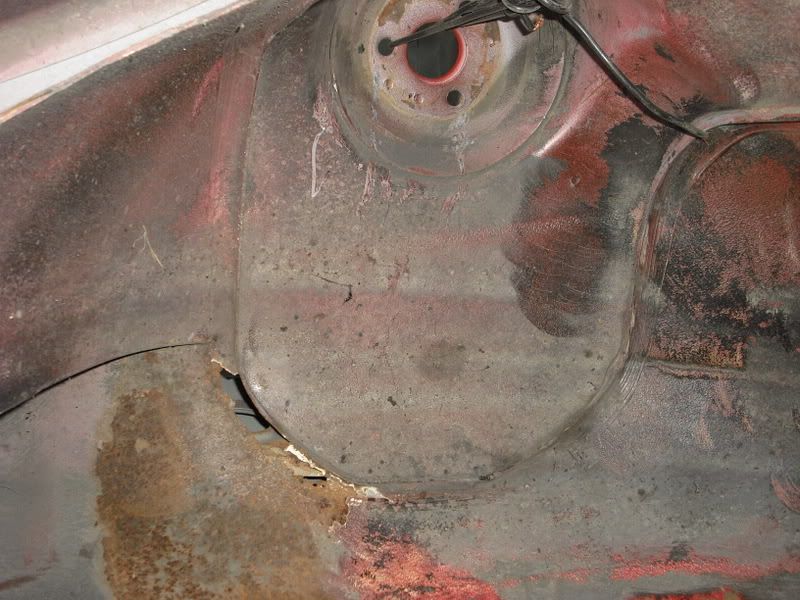
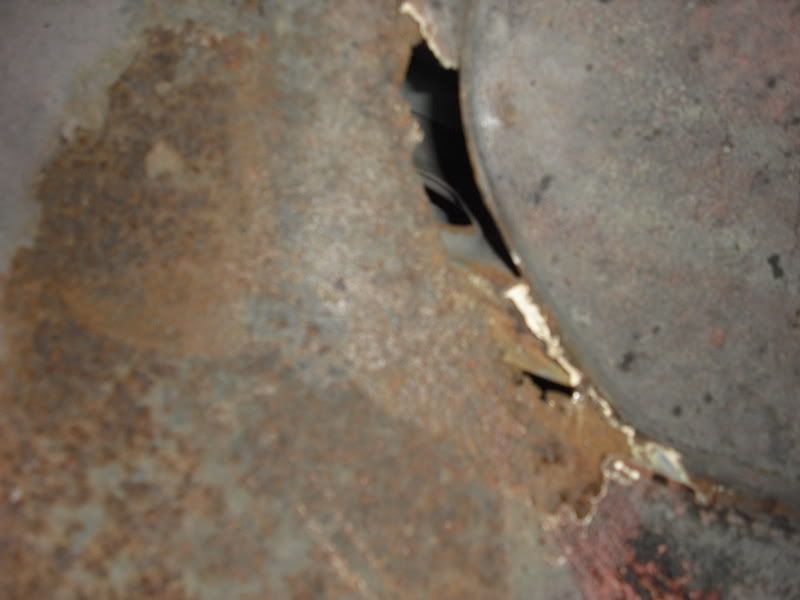
Well managed to get under the car yesterday and today and start sanding back the crap off the underside and unfrotunately this is what i found in the left rear wheel well:
A heap of rust, and filler :( So thats gonna add to the bill to have all that cut out and replaced :( And puts me back a few weeks now $$$ wise :(
Plus i just quit my job so next paychecks a while away so only doing cheap little jobs for next wee while haha
A heap of rust, and filler :( So thats gonna add to the bill to have all that cut out and replaced :( And puts me back a few weeks now $$$ wise :(
Plus i just quit my job so next paychecks a while away so only doing cheap little jobs for next wee while haha
Last edited by Lunacy on Mon Jul 09, 2012 2:34 pm, edited 1 time in total.
-
- Enthusiast
- Posts: 605
- Joined: Thu Apr 06, 2006 2:21 pm
- Location: Christchurch,New Zealand
Yeah got a new one within an hour of quitting the old one :) But onto monthly pays again so pays all over the place now. And yeah will be full time monkey for the next month or so, bar 1 week ive got to do back at sea :) Although this job of sanding and redoing the underside sux nuts, as in id rather be burning out suspension bushes again than doing this haha.kiwieurospec wrote:Quit your job? You got something to go to? or are you a full time Starion restorer now?
Cheers :D Got the bushes from the USA, they are Stedebani ones that seem to pop up in a group purchase on SQC each year.Junkers wrote:Man that's looking great, where did you get the bushes for the rear sub frame?
The Mk1 bushes on US ebay are supposed to be pretty good too, but with the exchange rate the way it is are getting up toward $400 now.
Well its been awhile but just got decent paycheck so getting a bit done now.
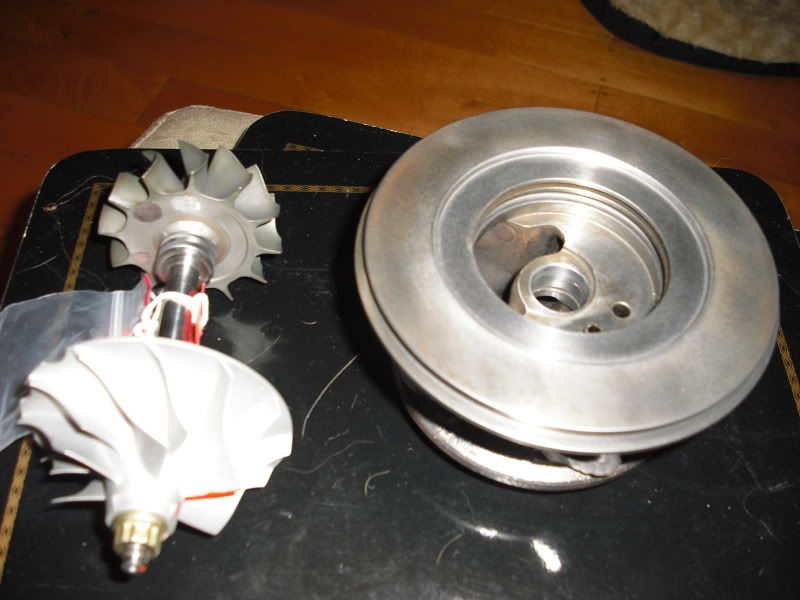
Just got turbine and compressor wheels back from being bead blasted, polished and balanced.
Also sent my twincam head off to shop to have it hardness and vacuum tested, and providing they check out ok, will have it hot tanked, skim the face, decarbonise everything, replace valve stem seals and check guides, springs and retainers.
As for cams, im eyeing up a set of billet 264s at the moment with adjustable gears :)
Have also just bought ARP head studs and new RWD water pump as well so parts are all coming together.
Last edited by Lunacy on Mon Jul 09, 2012 2:35 pm, edited 1 time in total.
Who is online
Users browsing this forum: No registered users and 13 guests