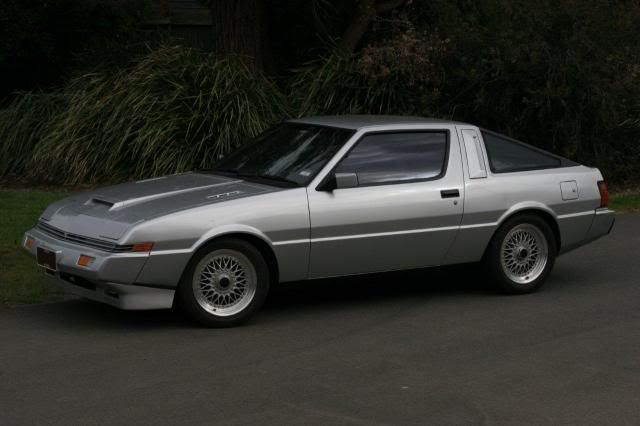
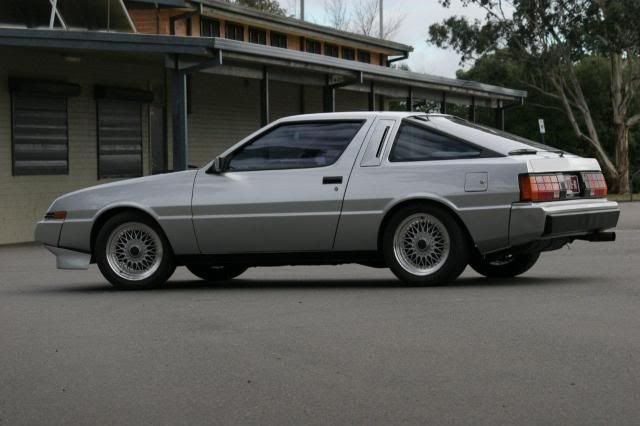
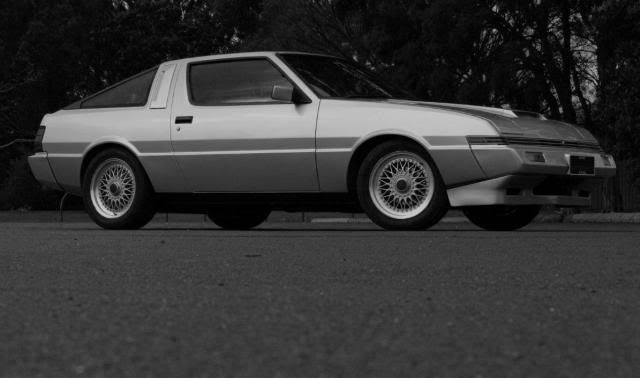
Als POS
Boost Bleed Valve install
My elcheapo Boost bleed valve kit.
Festo 10351 exhaust valve and an adaptor to 5mm, cable ties, 1/4" brass tee, 5mm aluminium restrictor and 5mm vacuum/boost hose. There are plenty of bleed valve out in the world but I think they want way too much money for them. This is the cheap ass way.
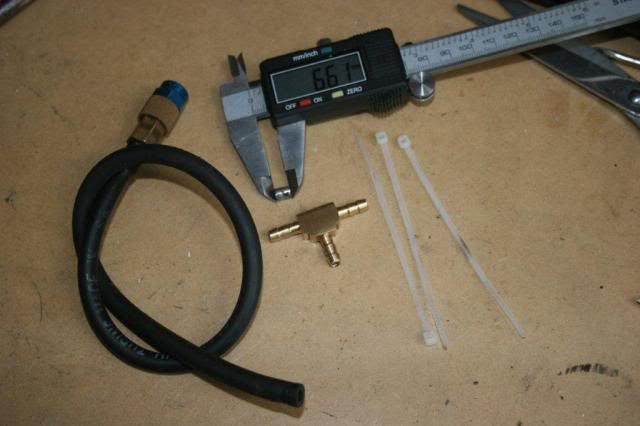
Found a brass tee at the local bearing supplier for $5. Tried Masters/Bunnings but the only stuff they have is plastic garden type stuff....and I don't want something that will melt.
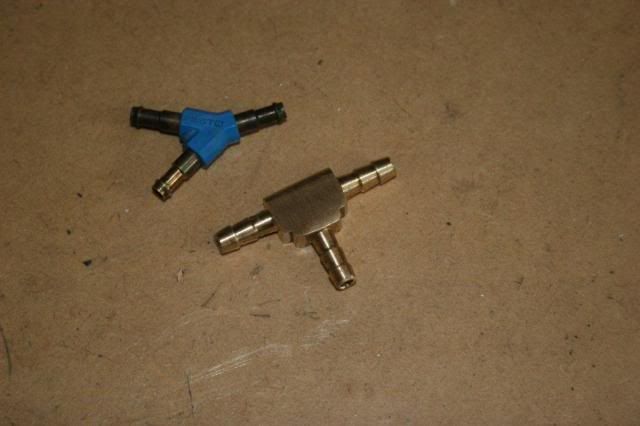
New brass tee. I think it's 1/4 inch...the last lobe on it measures 6.35mm across...the other lobes are 5.5mm. I think almost any 5mm-6mm-1/4" tee will suffice. The stock hose from the compressor housing to the wastegate actuator is normally 5mm IIRC.
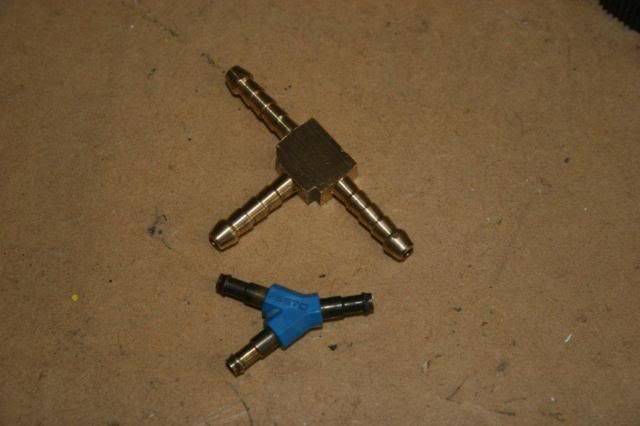
So I ground 2 lobes off each leg and took the sharp edges off the body.
Now find the hose from the compressor housing to the wastegate actuator. Mine is attached to the fitting in the centre of the pic. Stock one is a small fitting on the front side of the turbo.
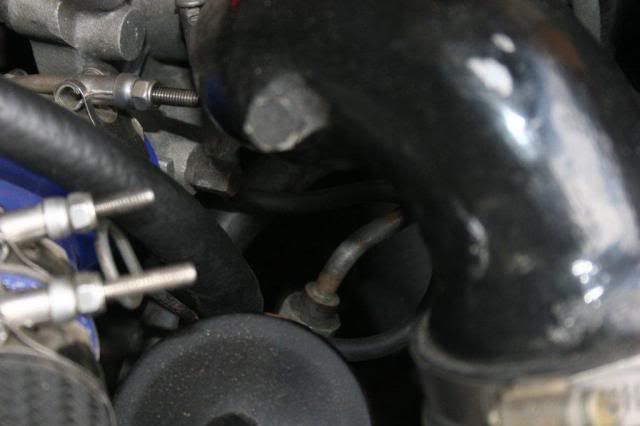
Chop it!
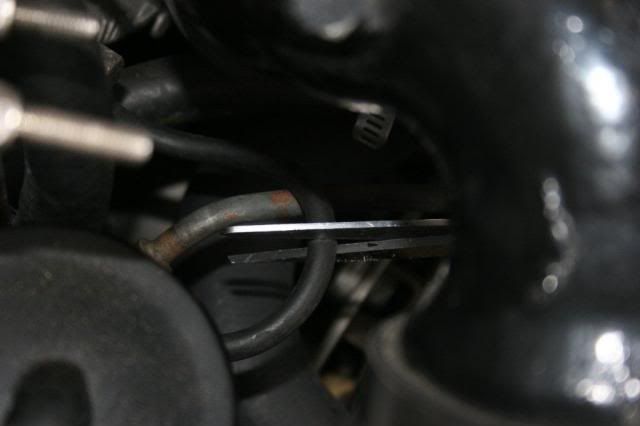
Now the important bit. I machined a small slug that fits into the hose. It is 5mm diameter, about 6mm long and has a 1.5mm hole drilled through the centre. This slug restricts the volume of air moving and that can escape from the bleed valve when installed. Some bleed valves cannot release enough flow to make a difference to what the actuator sees....the slug helps remedy that and makes the adjustment of the valve more precise. The system will work without it, but you may run out of adjustment.
Press the slug into the hose that leads FROM the turbo.
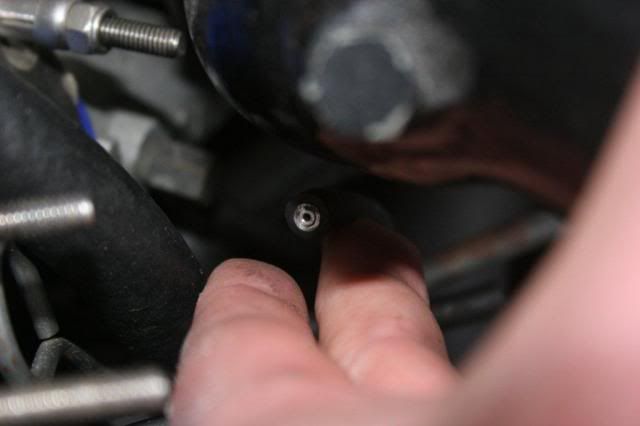
Push the tee into place.
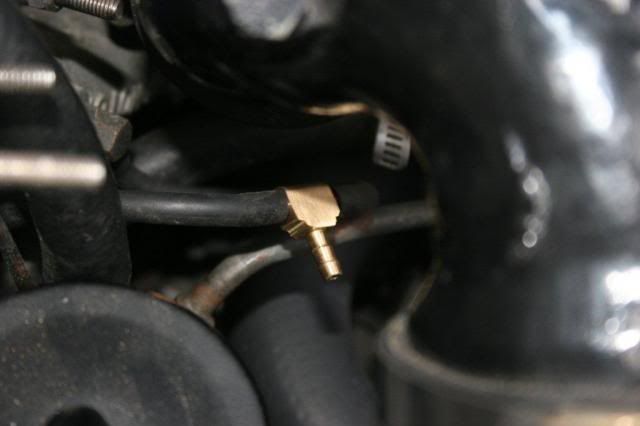
And cable tie the legs once all connected.
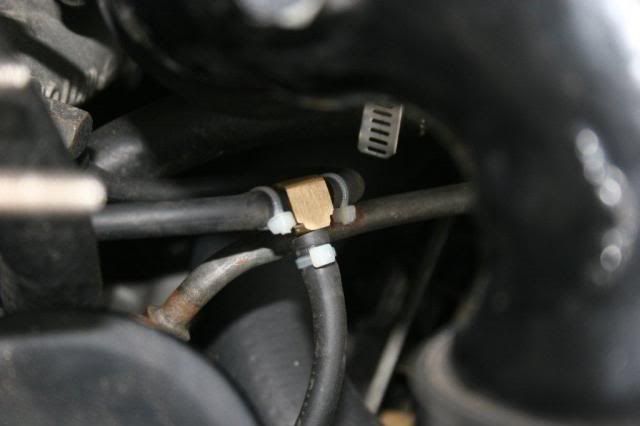
Then run the bleed valve to a convenient place and attach.
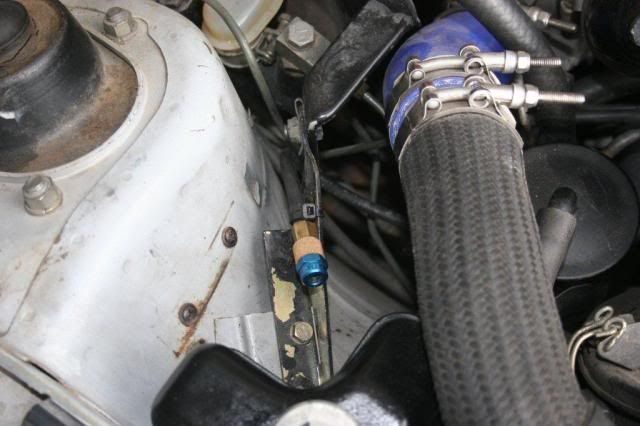
Adjustment is simply by unscrewing the screw in the centre of the bleed valve. Do it a 1/4 turn at a time and test drive until you get close to the desired boost level. Then 1/8 of a turn to fine tune it to the exact boost you want.
Festo 10351 exhaust valve and an adaptor to 5mm, cable ties, 1/4" brass tee, 5mm aluminium restrictor and 5mm vacuum/boost hose. There are plenty of bleed valve out in the world but I think they want way too much money for them. This is the cheap ass way.

Found a brass tee at the local bearing supplier for $5. Tried Masters/Bunnings but the only stuff they have is plastic garden type stuff....and I don't want something that will melt.
New brass tee. I think it's 1/4 inch...the last lobe on it measures 6.35mm across...the other lobes are 5.5mm. I think almost any 5mm-6mm-1/4" tee will suffice. The stock hose from the compressor housing to the wastegate actuator is normally 5mm IIRC.

So I ground 2 lobes off each leg and took the sharp edges off the body.

Now find the hose from the compressor housing to the wastegate actuator. Mine is attached to the fitting in the centre of the pic. Stock one is a small fitting on the front side of the turbo.

Chop it!

Now the important bit. I machined a small slug that fits into the hose. It is 5mm diameter, about 6mm long and has a 1.5mm hole drilled through the centre. This slug restricts the volume of air moving and that can escape from the bleed valve when installed. Some bleed valves cannot release enough flow to make a difference to what the actuator sees....the slug helps remedy that and makes the adjustment of the valve more precise. The system will work without it, but you may run out of adjustment.
Press the slug into the hose that leads FROM the turbo.

Push the tee into place.

And cable tie the legs once all connected.

Then run the bleed valve to a convenient place and attach.

Adjustment is simply by unscrewing the screw in the centre of the bleed valve. Do it a 1/4 turn at a time and test drive until you get close to the desired boost level. Then 1/8 of a turn to fine tune it to the exact boost you want.
-
JDSTAZ45
- almost postwhore
- Posts: 1250
- Joined: Sat Feb 12, 2005 10:00 pm
- Location: Inner West, Sydney
Can you please explain what's happening with the front JD lip? Why isn't it attached to the guard without a gap??
I'll be doing this shortly with a recently acquired Series II JA :)
And if you don't mind, I'm still going to pester you on some decals on your car :D Having a 'Austarion" sticker on your car defies the purpose of not letting people know what car it is?? :D :D
BTW, your car inspired me to get a JA :beer
Imports.
88 GSR-VR Widebody 2.6L
87 GSR-V 12V Dash 2.0L
88 GSR-VR Widebody 2.6L
87 GSR-V 12V Dash 2.0L
The short answer is where the back of the bumper mounts there is a bolt and a bulge that I can't get flat. Also, the bottom of the guard and bumper aren't exactly in line for whatever reason. I had two choices, chop the spoiler to fit or make some small wedges from aluminium and put them in. The wedges were easier and less damaging! I think I'll paint them silver soon to blend them in instead of the black vinyl wrap.JDSTAZ45 wrote:Can you please explain what's happening with the front JD lip? Why isn't it attached to the guard without a gap??
I'll be doing this shortly with a recently acquired Series II JA :)
The sticker is shiny....I like shiny...... :PJDSTAZ45 wrote:And if you don't mind, I'm still going to pester you on some decals on your car :D Having a 'Austarion" sticker on your car defies the purpose of not letting people know what car it is?? :D :D
JDSTAZ45 wrote:BTW, your car inspired me to get a JA :beer
Why thank you *bows*
Another answer to a question nobody asked.
My seat wobbled. It annoyed me. Sorry for the crappy phone pics.
Remove the two screws in the bottom of the seat back.
Pull the seat back downwards.
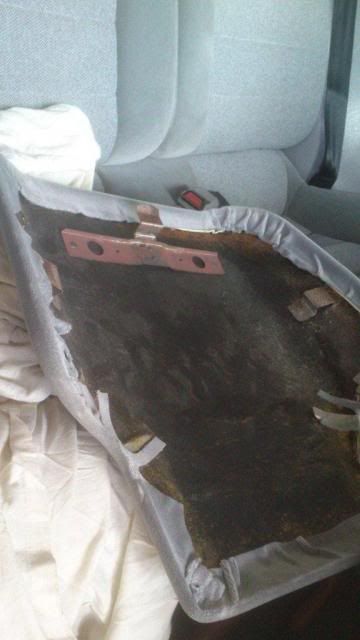
This exposes the seat innards.
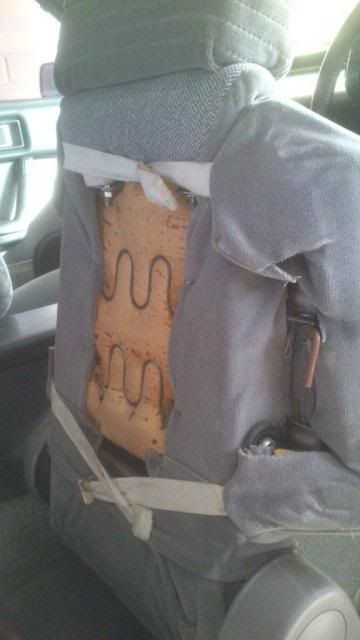
There are 2 8mm allen key bolts in each side of the seat. Pull the material out of the way, do them up tight. Done!
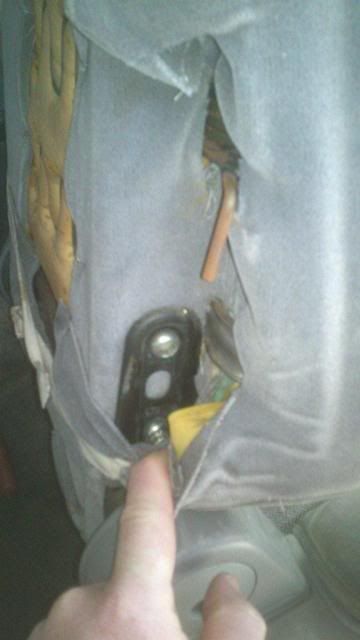
My seat wobbled. It annoyed me. Sorry for the crappy phone pics.
Remove the two screws in the bottom of the seat back.
Pull the seat back downwards.

This exposes the seat innards.

There are 2 8mm allen key bolts in each side of the seat. Pull the material out of the way, do them up tight. Done!

Inspired by Gormzz' .....Bosozoku Style exhaust!
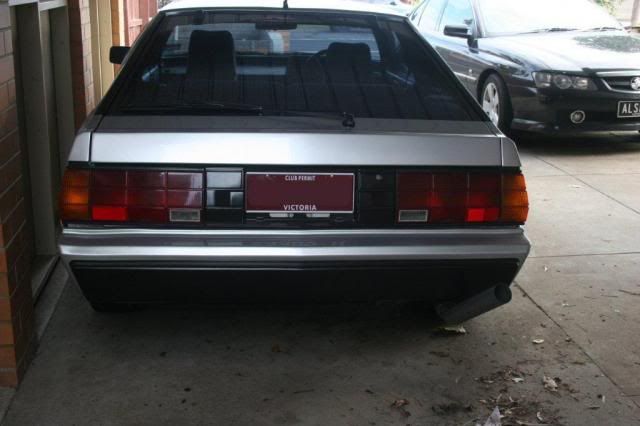
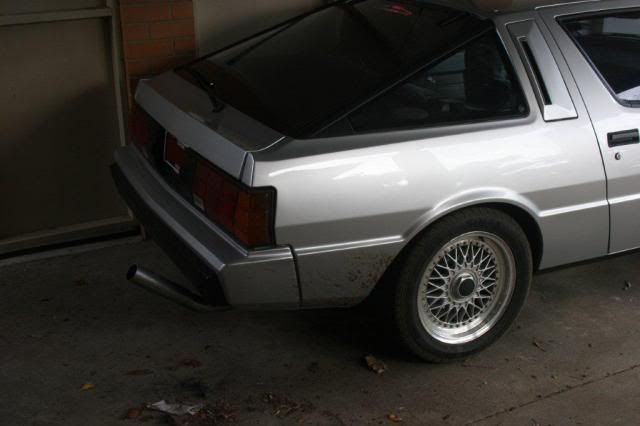
No...seriously, I was sick of looking at the shitty chrome/rust tip on my exhaust and also shooting soot all over the carport wall...so I chopped it off and dumped it instead.
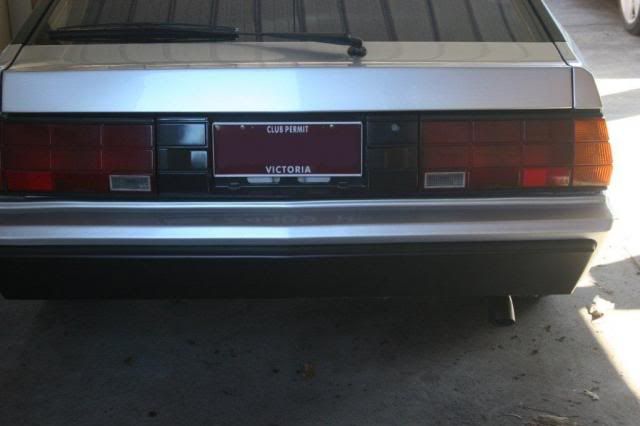
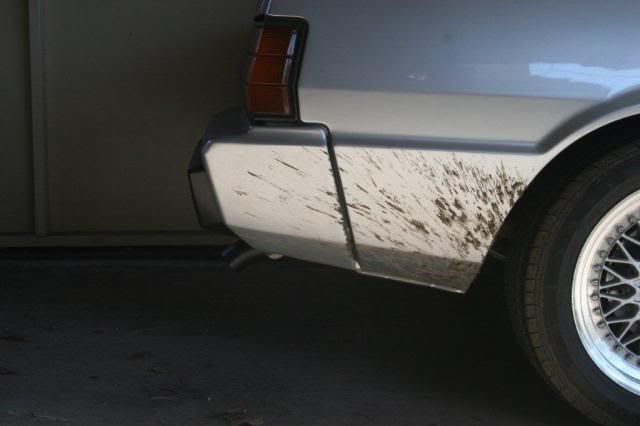
Much nicer I think.


No...seriously, I was sick of looking at the shitty chrome/rust tip on my exhaust and also shooting soot all over the carport wall...so I chopped it off and dumped it instead.


Much nicer I think.
Last edited by Alspos on Sat Oct 05, 2013 2:20 pm, edited 1 time in total.
-
redzone
- racking my brains
- Posts: 5900
- Joined: Thu Oct 06, 2005 10:46 pm
- Location: sunshine coast qld
- Contact:
I dont think Al's compensating for anything :PGormzZ wrote:aww and to think i thought you left it going up! *dreams shattered*
Fibreglass airdams $370, fibreglass front bumpers $260, reco drag links $165, alloy radiators $925 (unpolished), h/l switch rebuilds $125, all plus freight.
Coxs Automotive (07)54433507 3/5 Service st Maroochydore Q
www.facebook.com/coxsautomotive
www.coxsautomotive.com.au
Coxs Automotive (07)54433507 3/5 Service st Maroochydore Q
www.facebook.com/coxsautomotive
www.coxsautomotive.com.au
S'pose I should tell everyone a story. Grab a cup of hot chocolate and sit back.
Once upon a time two wordly adventurers went to a wreckers. Using his amazing powers of observation, one of the explorers spotted a part that was of interest to the other, the reason for their trip together. But this part was a bit different than was intended.
The intrepid lads managed to extract the part and noticed a few intriguing things going on. But as time was against them they decided to take the part they had extracted and called it a day.
That first part.....
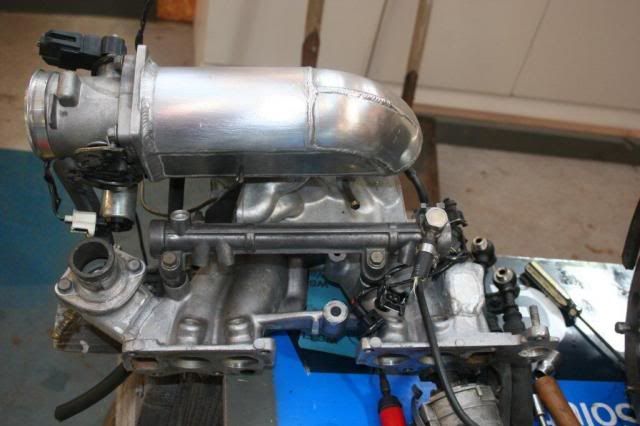
Overnight the explorer thought many things and it was decided explore further and to go back and relieve the wreckers of the head. So it was done.....but more discoveries were found. This time, rain was the enemy so the explorer scurried away with his booty.
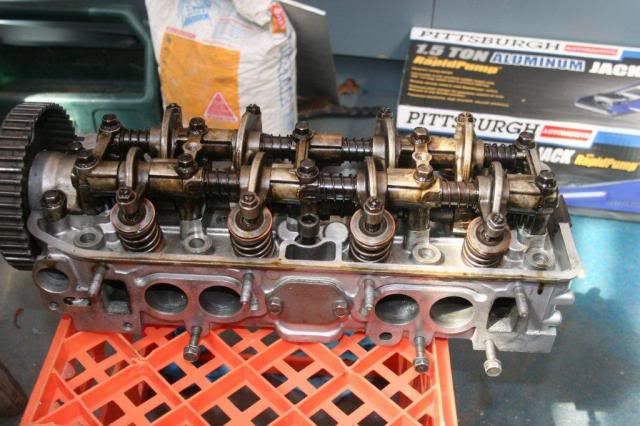
And his mind ticked more and with some bad influence from the eagle eyed explorer, a plan was hatched to bite the bullet and dig deeper into the, so far rewarding, treasure chest.
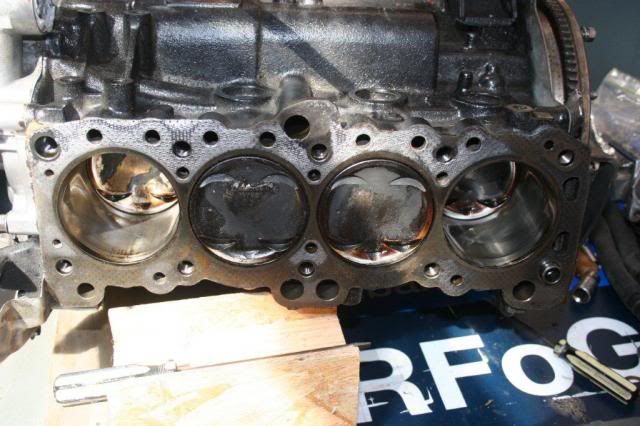
The booty was grabbed, and it's metallic shell was cracked open.
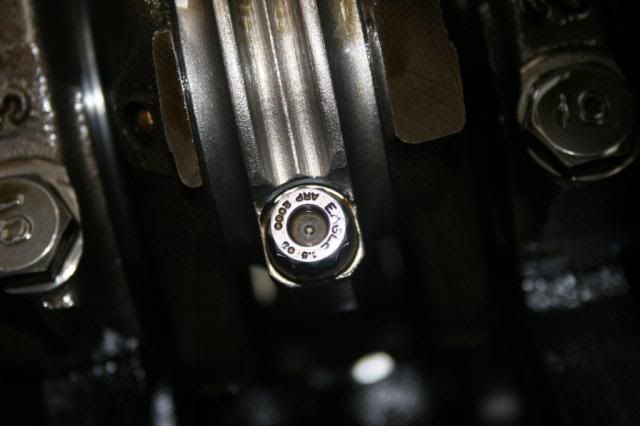
Ably assisted by the apprentice, bolts were undone, parts extracted to find if the explorer had bought an anchor or a gem.
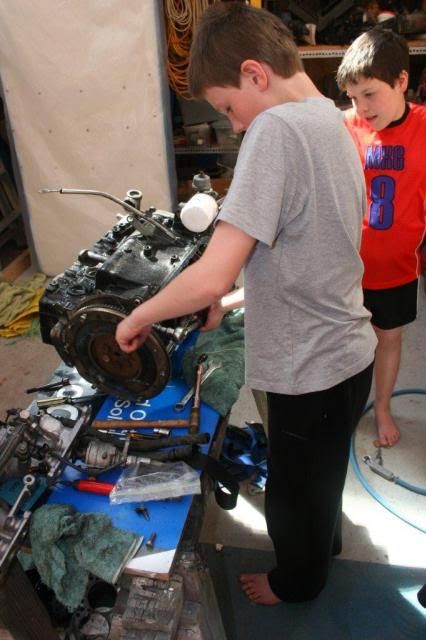
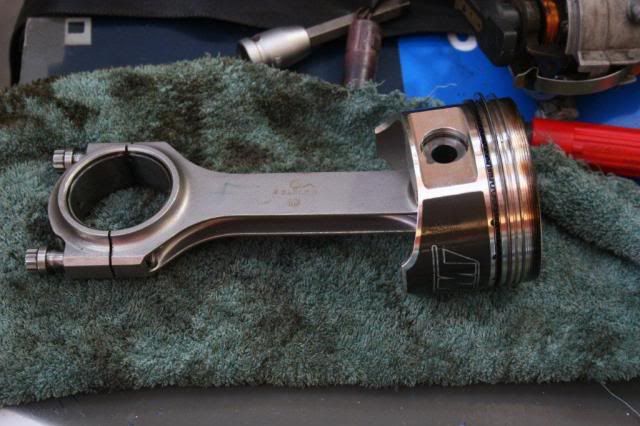
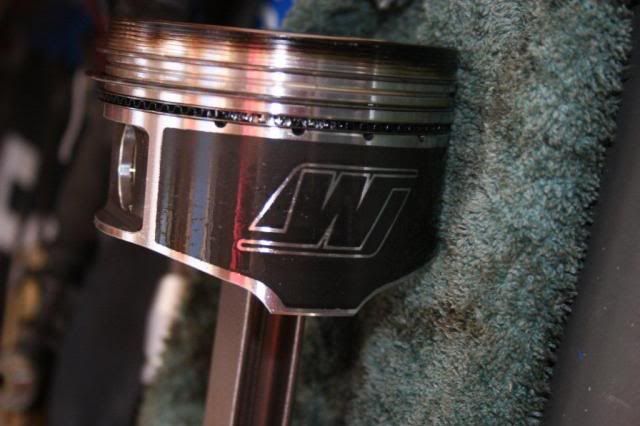
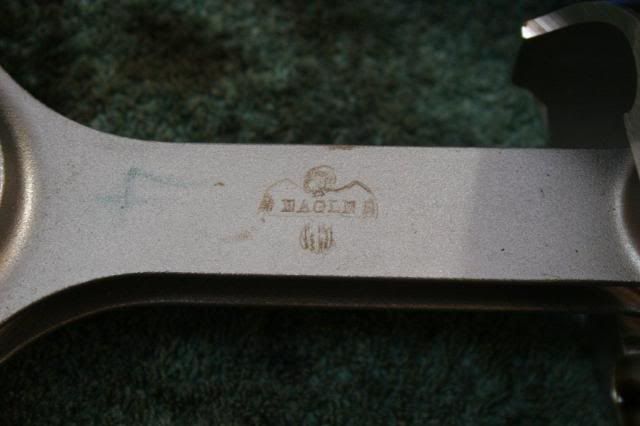
So, it appears that the treasure hunt the explorers set upon was rewarding after all, but now the initial thoughts of a small upgrade have changed somewhat.
Stay tuned......
Once upon a time two wordly adventurers went to a wreckers. Using his amazing powers of observation, one of the explorers spotted a part that was of interest to the other, the reason for their trip together. But this part was a bit different than was intended.
The intrepid lads managed to extract the part and noticed a few intriguing things going on. But as time was against them they decided to take the part they had extracted and called it a day.
That first part.....

Overnight the explorer thought many things and it was decided explore further and to go back and relieve the wreckers of the head. So it was done.....but more discoveries were found. This time, rain was the enemy so the explorer scurried away with his booty.

And his mind ticked more and with some bad influence from the eagle eyed explorer, a plan was hatched to bite the bullet and dig deeper into the, so far rewarding, treasure chest.

The booty was grabbed, and it's metallic shell was cracked open.

Ably assisted by the apprentice, bolts were undone, parts extracted to find if the explorer had bought an anchor or a gem.


So, it appears that the treasure hunt the explorers set upon was rewarding after all, but now the initial thoughts of a small upgrade have changed somewhat.
Stay tuned......
:)
.......
.....
...
:D
.......
.....
...

.......
.....
...
:D
.......
.....
...
quest wrote:don't try explaining that to her tho..... just leave. lolWANTSOM wrote:Personally, I find sloppy boxes very unsatisfying. I like them tight and taught to the point that if you dont have to push to get it in then its probably too old and time to get a new one :P
-
WidebodyWoody
- Woodwide
- Posts: 3133
- Joined: Thu Jan 08, 2004 6:24 pm
- Location: Gold Coast
- Contact:
Who is online
Users browsing this forum: No registered users and 14 guests
