
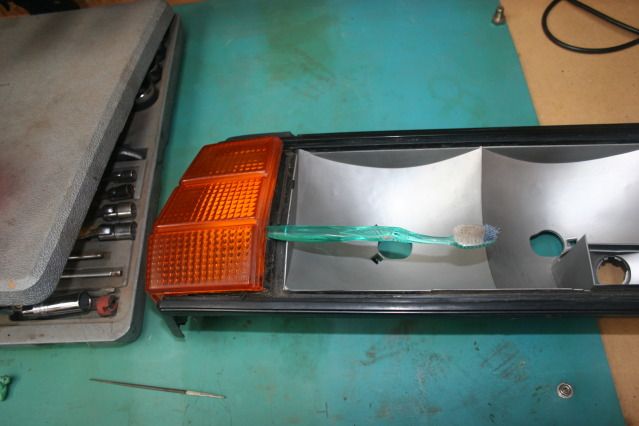
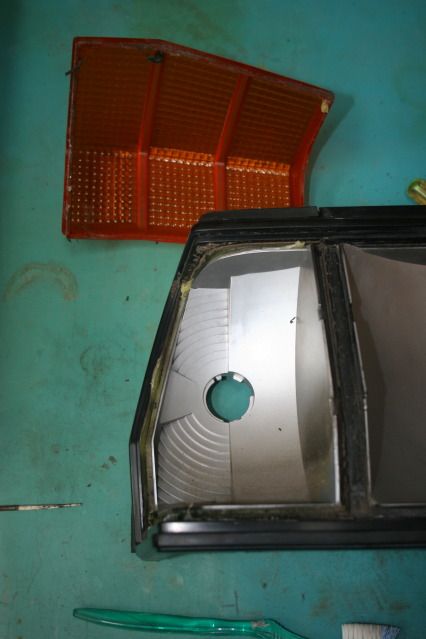
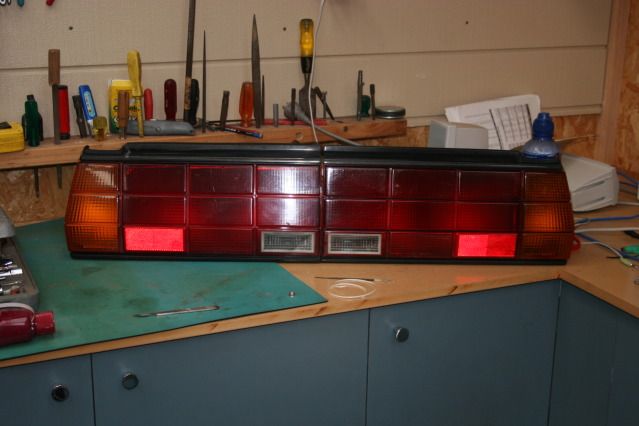
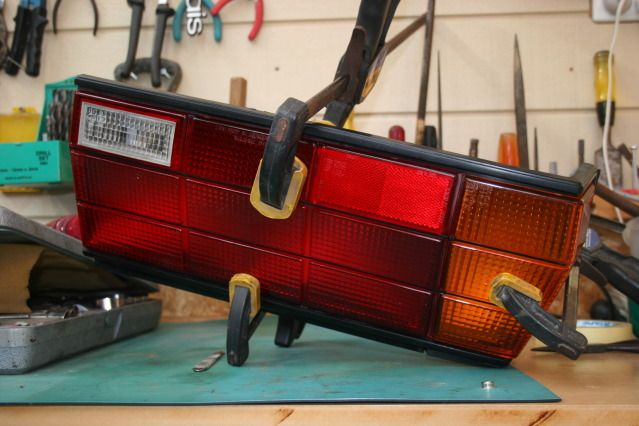
The red lens on my tail lights was falling off so I figured I should fix it instead of let it fall off onto the road some day. Also a good chance to clean all the crap out from inside it.
My tail lights had been resealed some time in the past and the person figured that too much glue would not be enough. I spent a couple of hours with a scalpel and small screwdriver digging glue out of the channels on the tail light base. I went to refit the red lens and of course it would not seat because the indicator lens was sitting too high....because of the masses of glue holding it in.
So....the indicator lenses also have to come out.
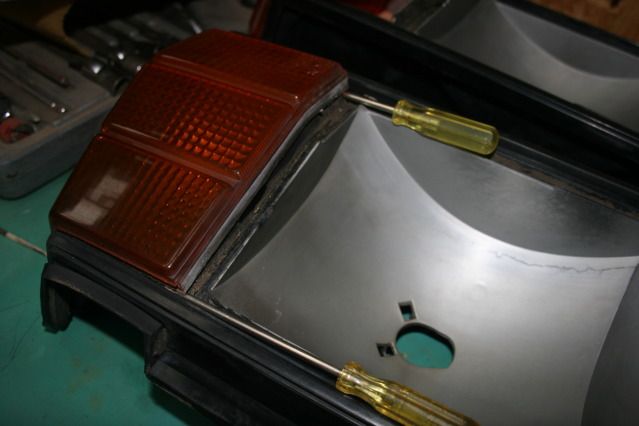
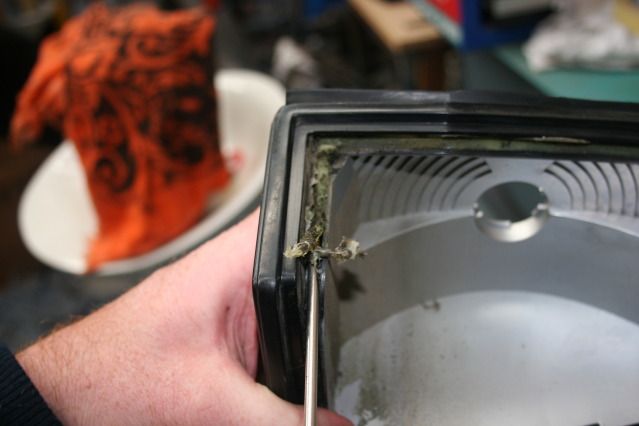
The key is to be patient.....incredibly patient so you don't break or crack the lens. I used a toothbrush to lever the lens up, scalpel and long small screwdriver to try and seperate the lens from it's gluey home.
After a while the lens finally starts to let go.
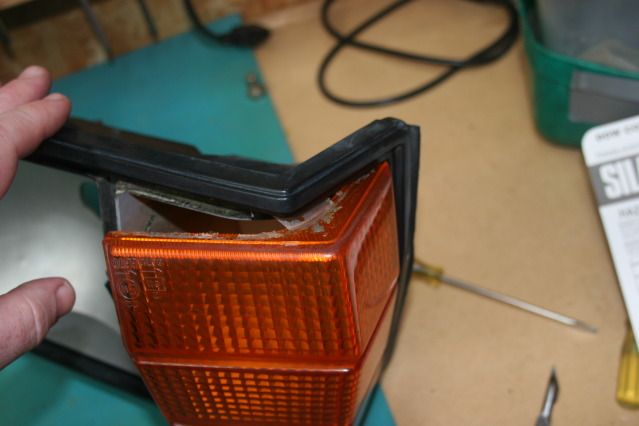
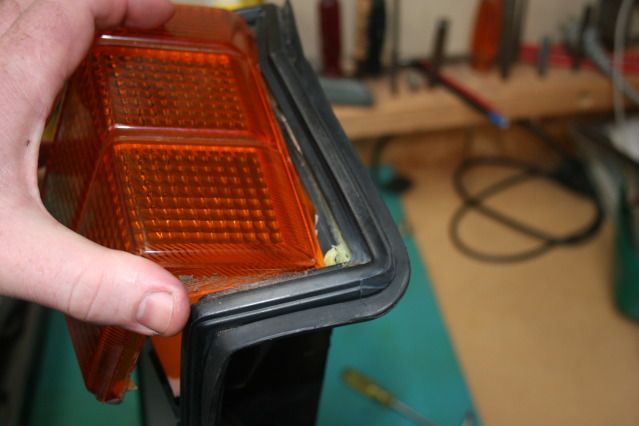
The lens finally out. As I couldn't cut the glue under the side of the lens, I had to be patient and wobble, pull and gently coax it out.
Removing the glue from the channel. Fun job, again, be patient. I used the scalpel to cut down the sides and screwdriver to lever it out.
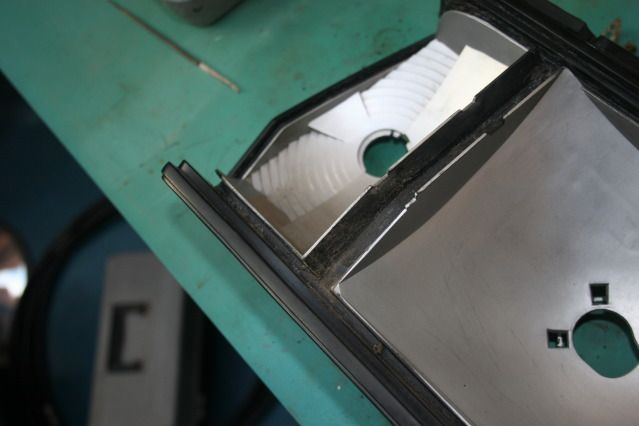
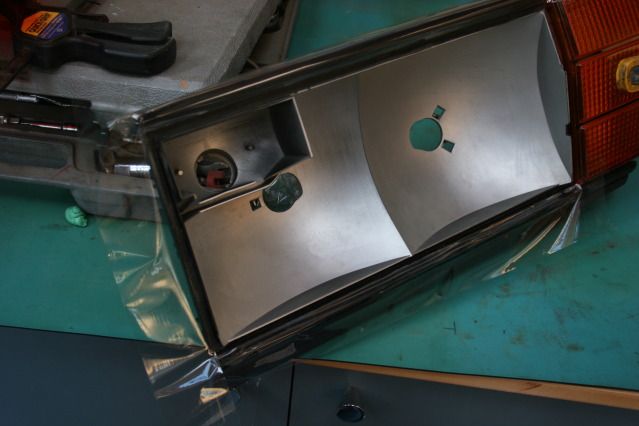
Clean channels
Then I scraped all the glue crap off the lens itself. Again, I used the scalpel to scrape it off, carefully so I avoided cutting into the lens or scratching it.
Also note, there are small dots on the edges of the lens, do not cut them off, they are there so when the lens is refitted, there is a gap under the lens for the sealant to do it's work.

Then, clean everything........casings, lenses, the whole lot. Be careful, the silver inside the casing will mark if you scrape anything on it. Normal detergent and a cloth or fine scourer will get rid of the dirt and algae etc. Then, test fit it all back together.
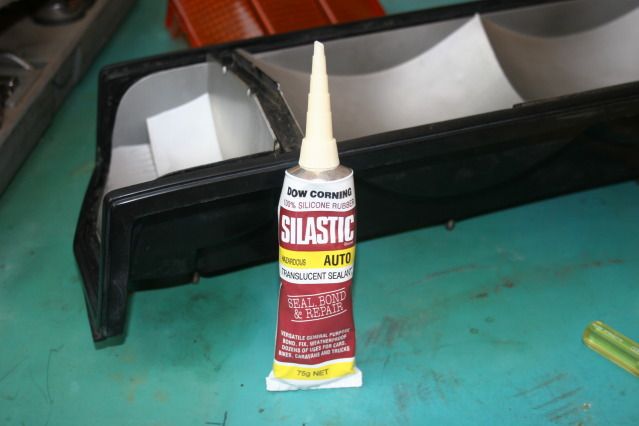
Dow Corning Auto Silastic....says it will do what I want.
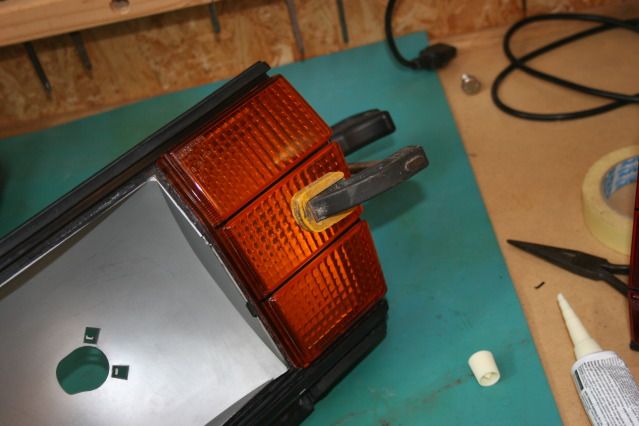
Run a small bead along the edge of the lens.
Also, one thing I noticed after taking this photo, there are small indents on the edges of the lenses. The indicator lens has one on the bottom, the red lens has 4 on the top edge and 5 on the bottom edge. I can only assume the factory put these in so that any water that gets in can drain or evaporate off. I made sure I did not put any sealant on the indents so hopefully the lights won't fill up with water in future.

I taped up around the edge of the base so I didn't accidentally get sealant on the base.....you get a bit shaky in your old age.

Slip the lens in to place, side edge first and then lightly clamp it in place once it's seated.
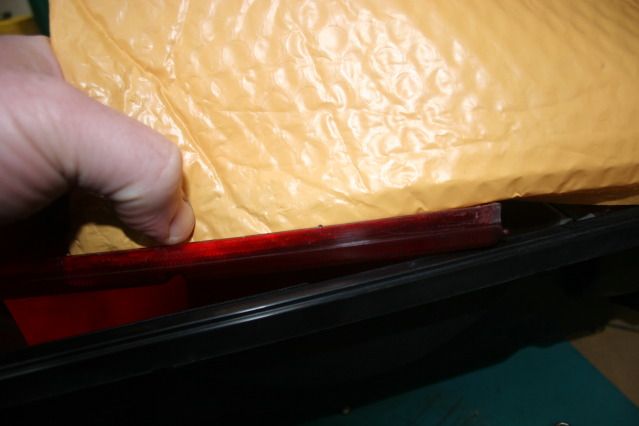
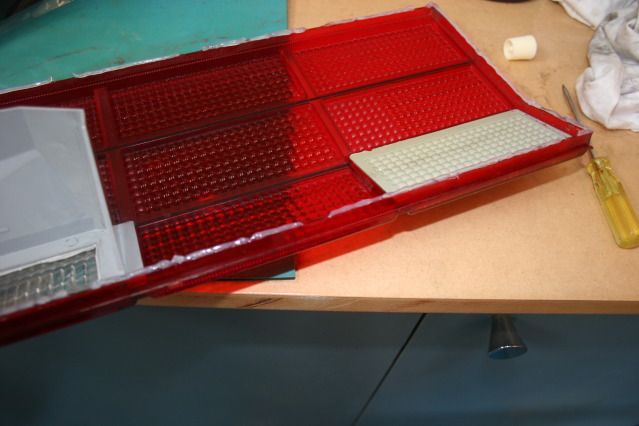
Then, same procedure with the red lens. A bead along the edge of the lens, leaving a gap where the drainage indents are. Mask up the base. Once the lens is in place, remove the tape then press the lens into it's final resting place.....or you'll catch the tape and it will be a bitch to pull out.
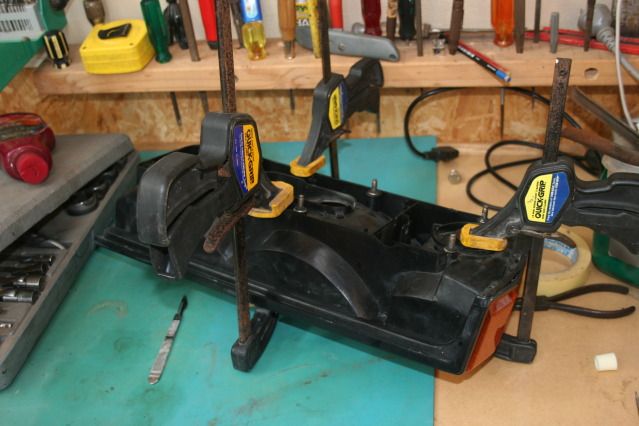
Then clamp it all together and wait till the sealant cures fully...the tube says 24 hours. As I only have 3 clamps....I'll be putting the other light together tomorrow.
Well....I'll see how it goes and hopefully I'll have no issues in future.

