Drilled 2 new holes in the deck of the block to allow water flow to the extra water galleries in the twin cam head using the head gasket at a giude.
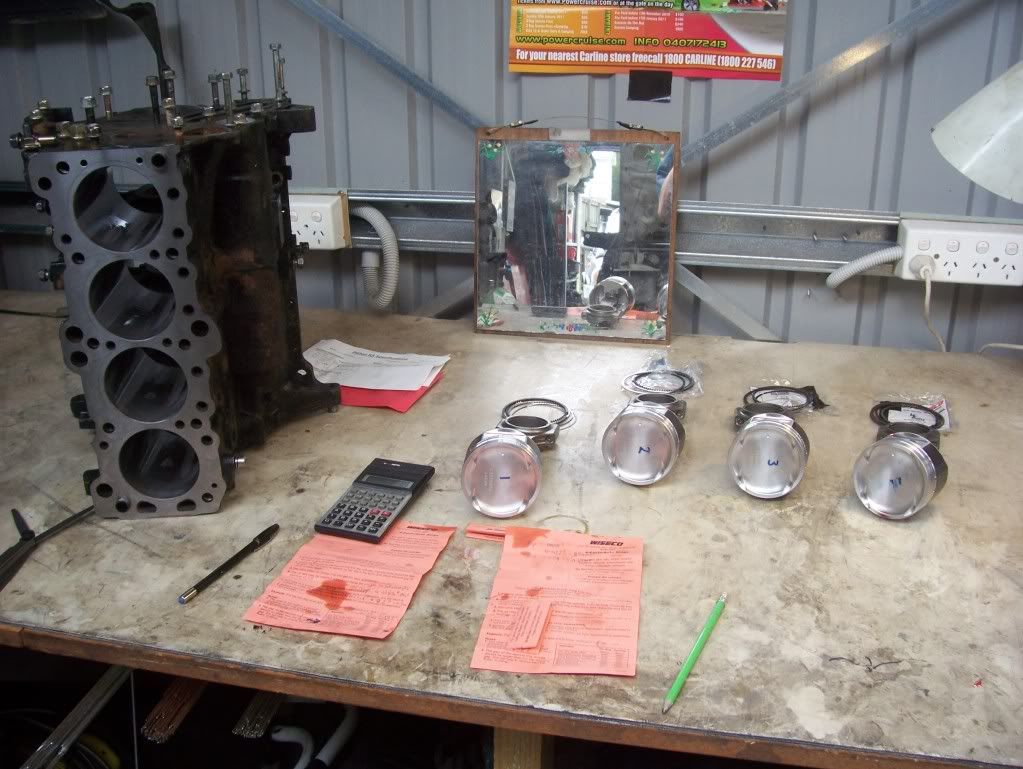
The rings are gapped, and then the pistons are pushed in
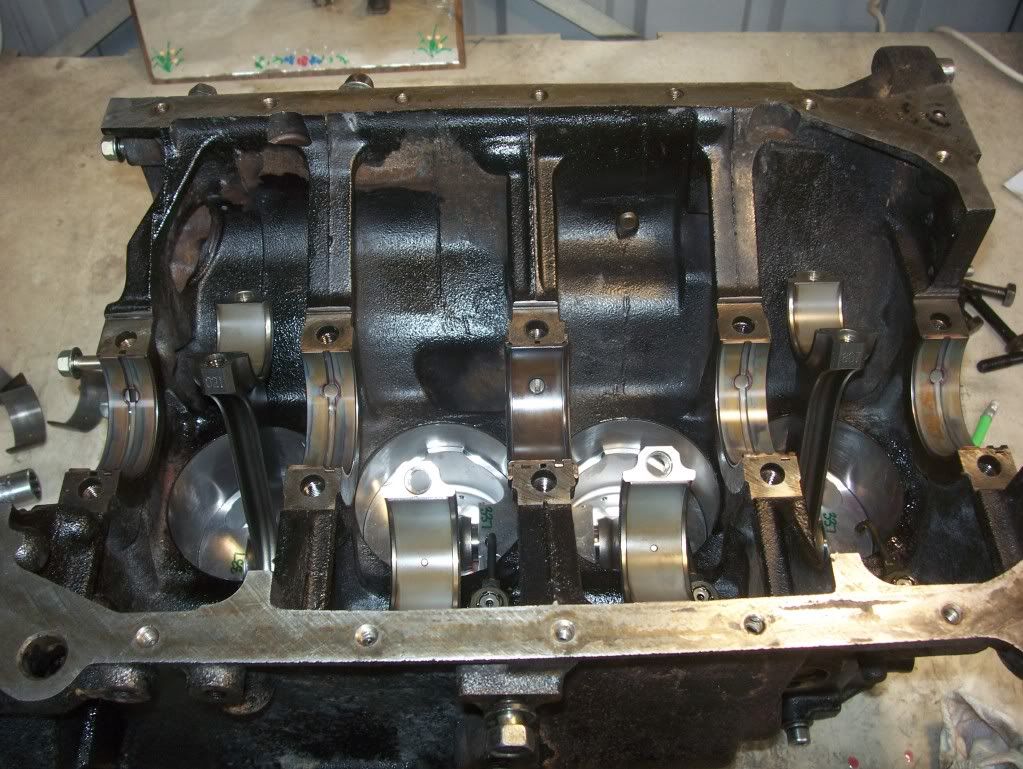
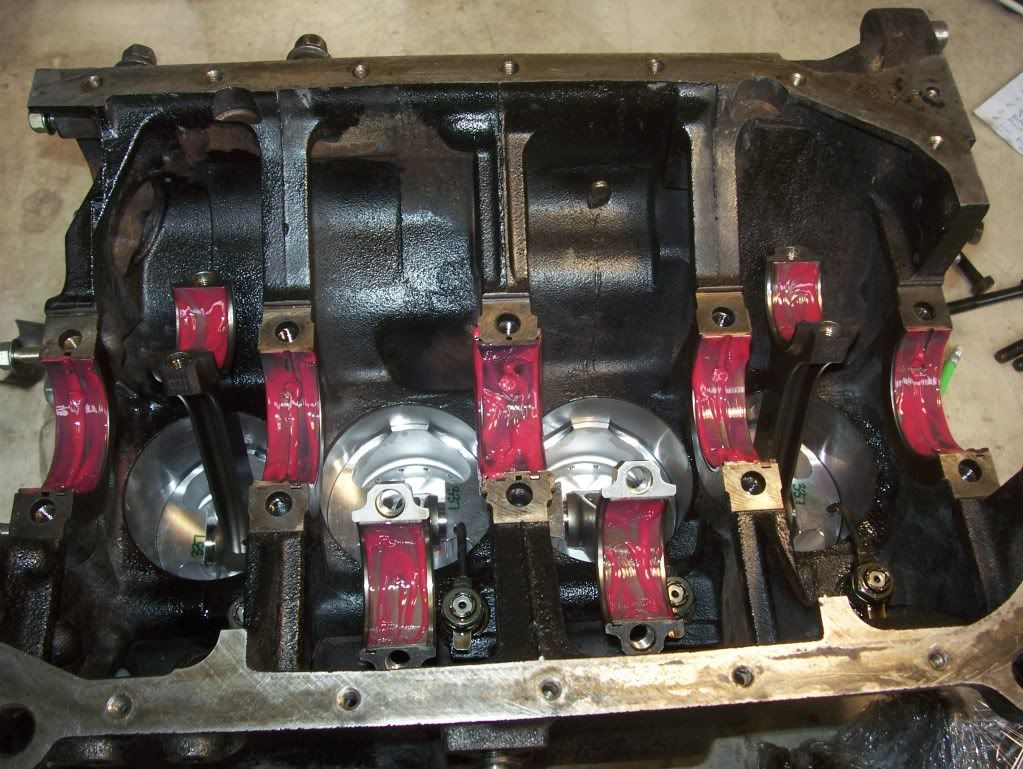
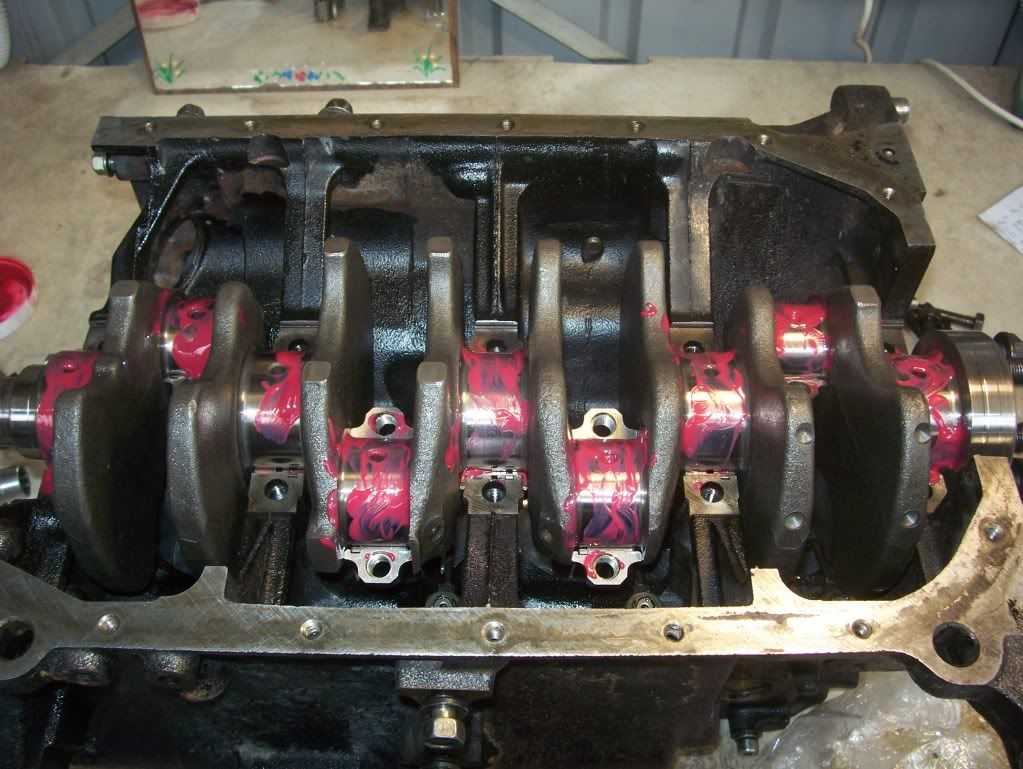
New bearings coated with assembly lube.
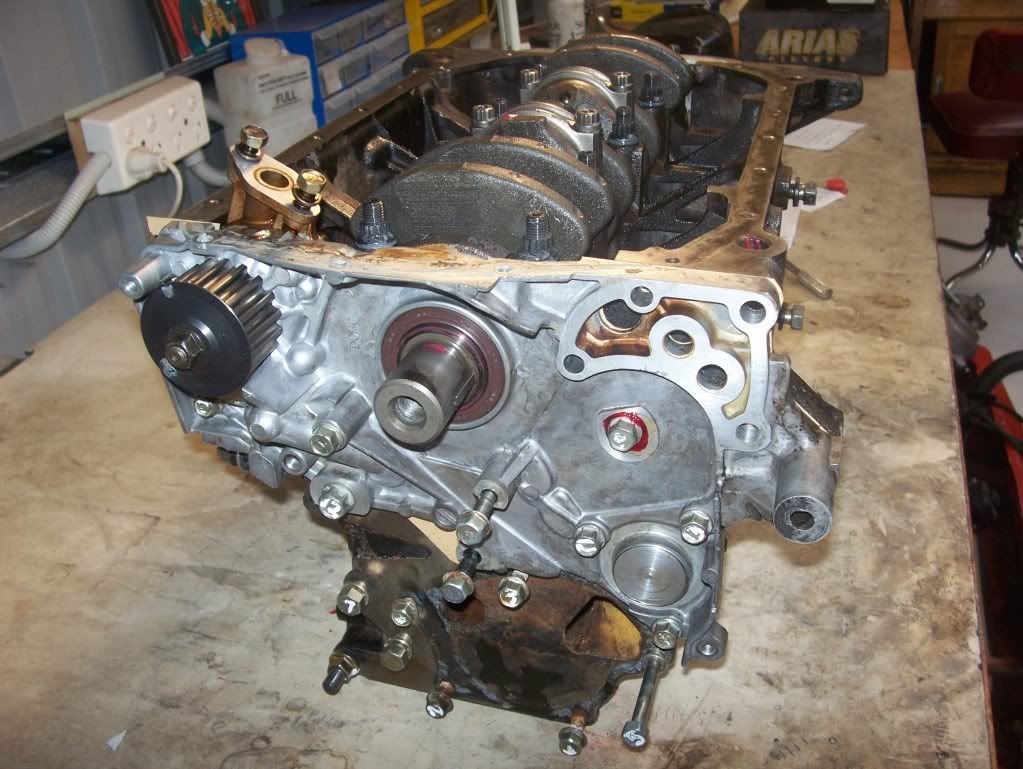
VR4 Crank shaft fitted in place.
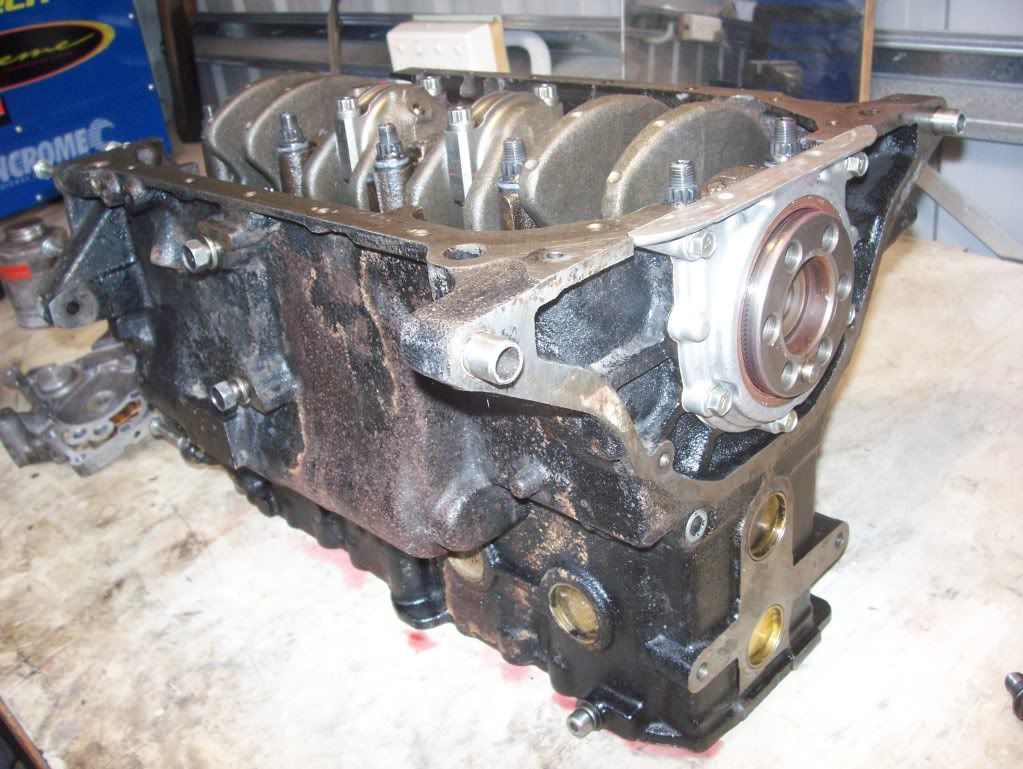
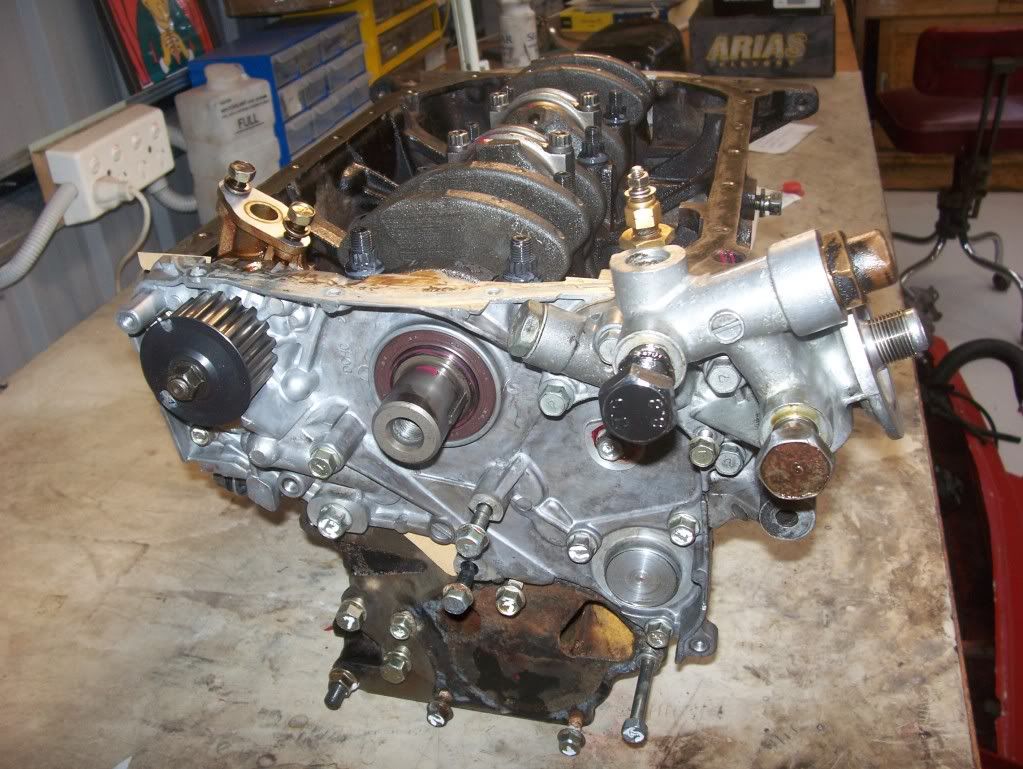
ARP main bearing studs. Eagle conrods, should be good.

The studs stick up a bit high when it comes time to fit the starion sump.. The sump needs a little panel beating to make room for the studs.
Hyundai Sonata (1995 model) front plate fitted, Note the aluminium plug I had made up to plug the balance shaft hole.
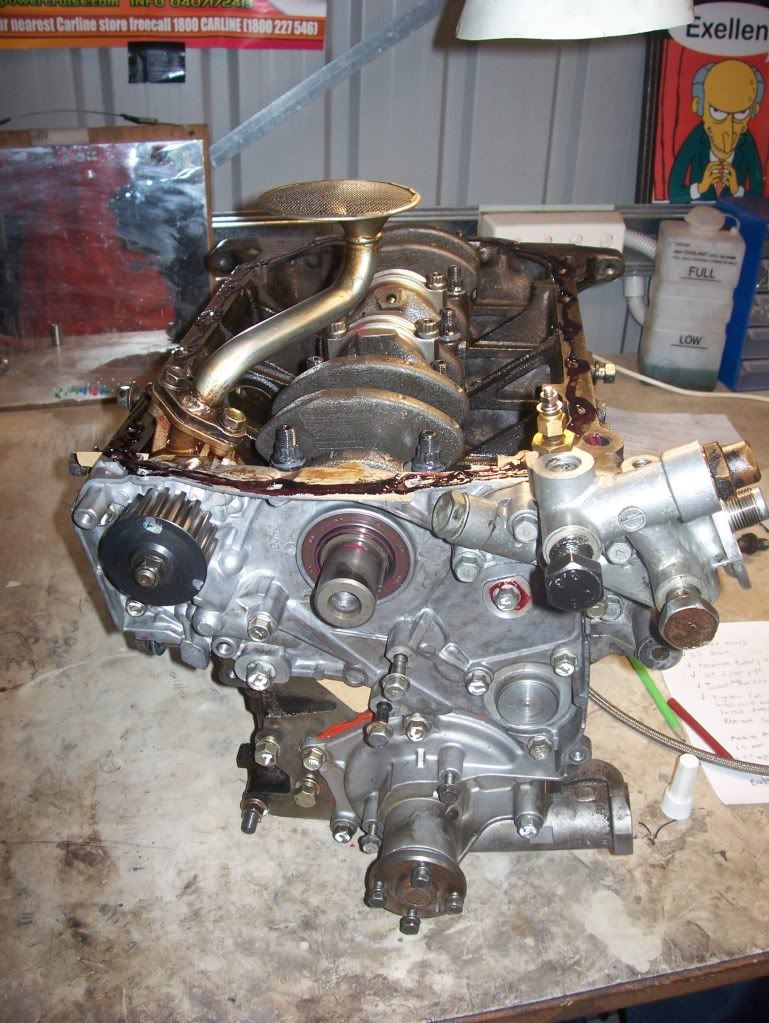
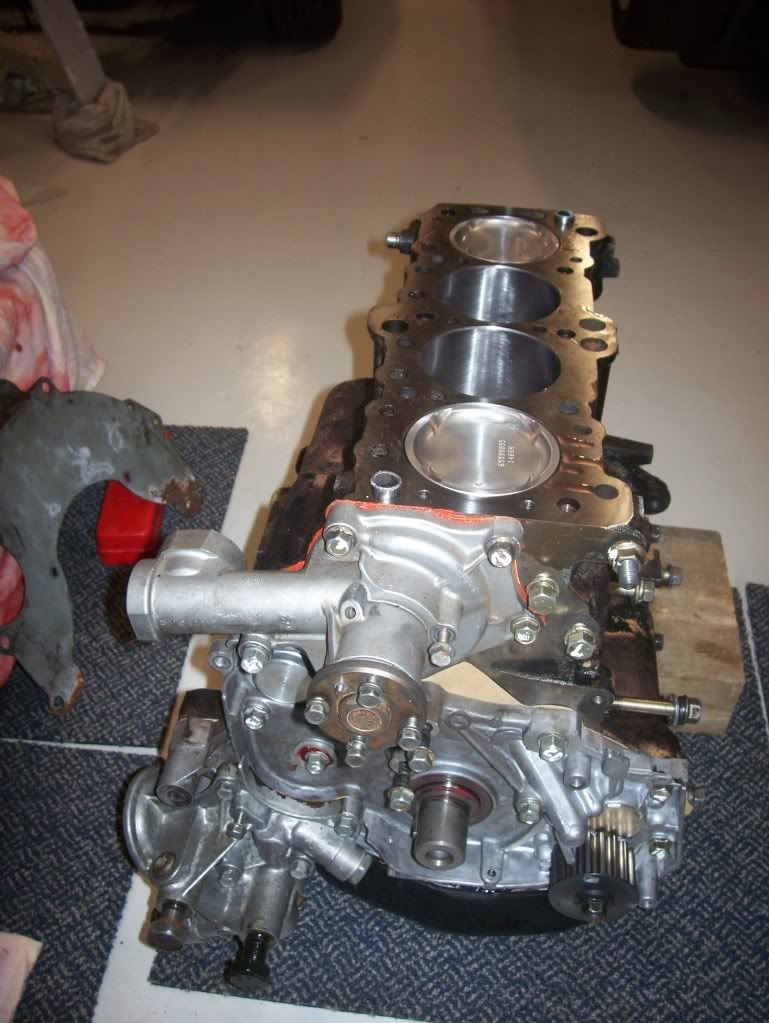
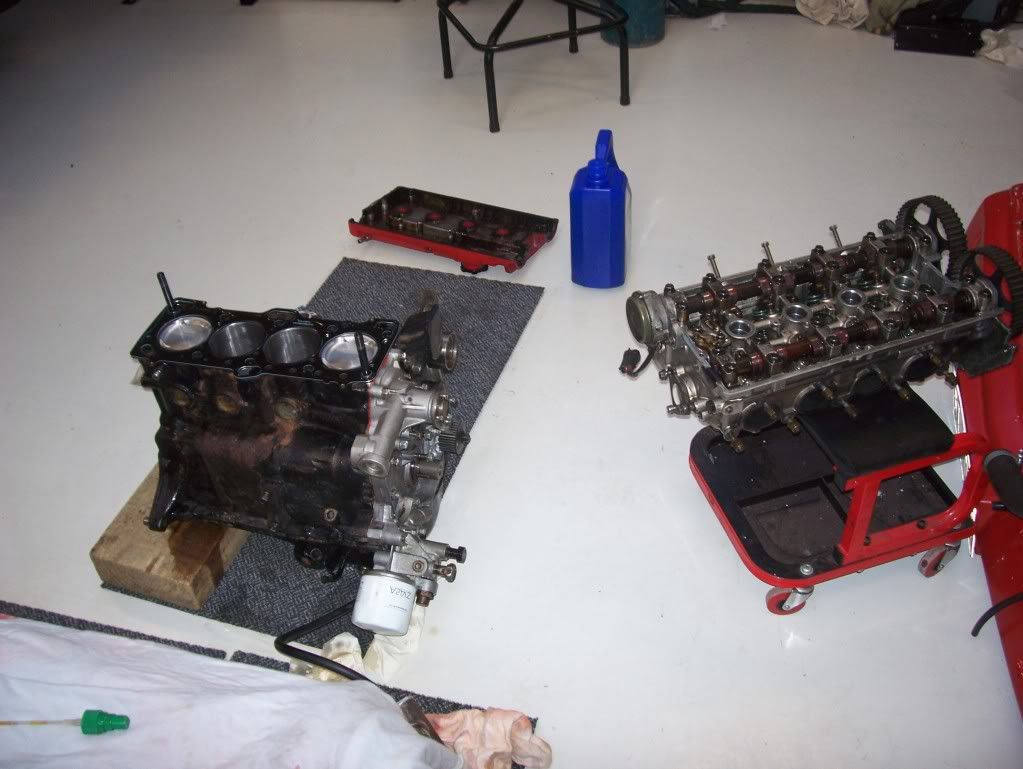
Oil filter housing fitted
VR4 water pump was fitted
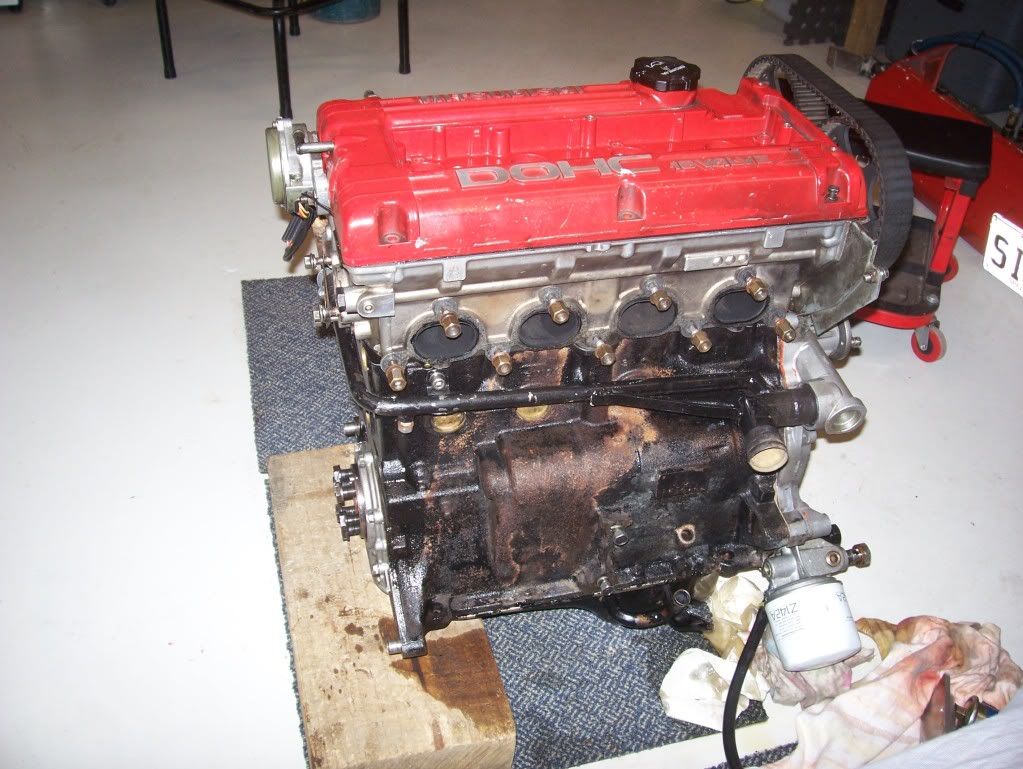
ARP head studs, 3 layer metal head gasket. On with the head...
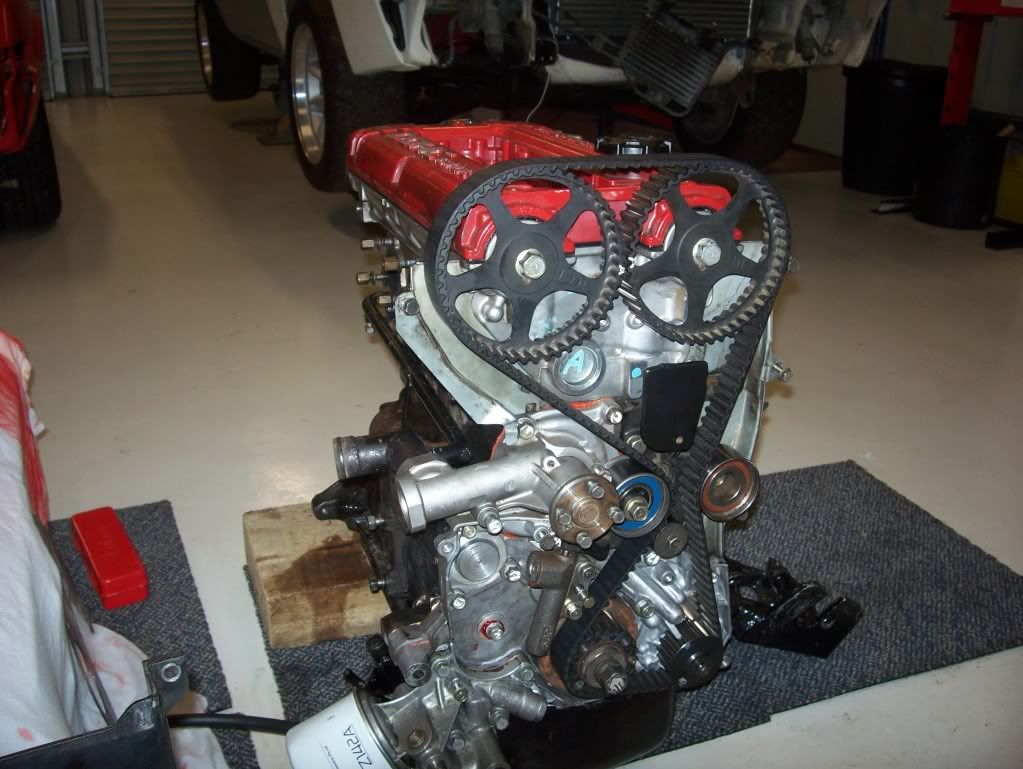
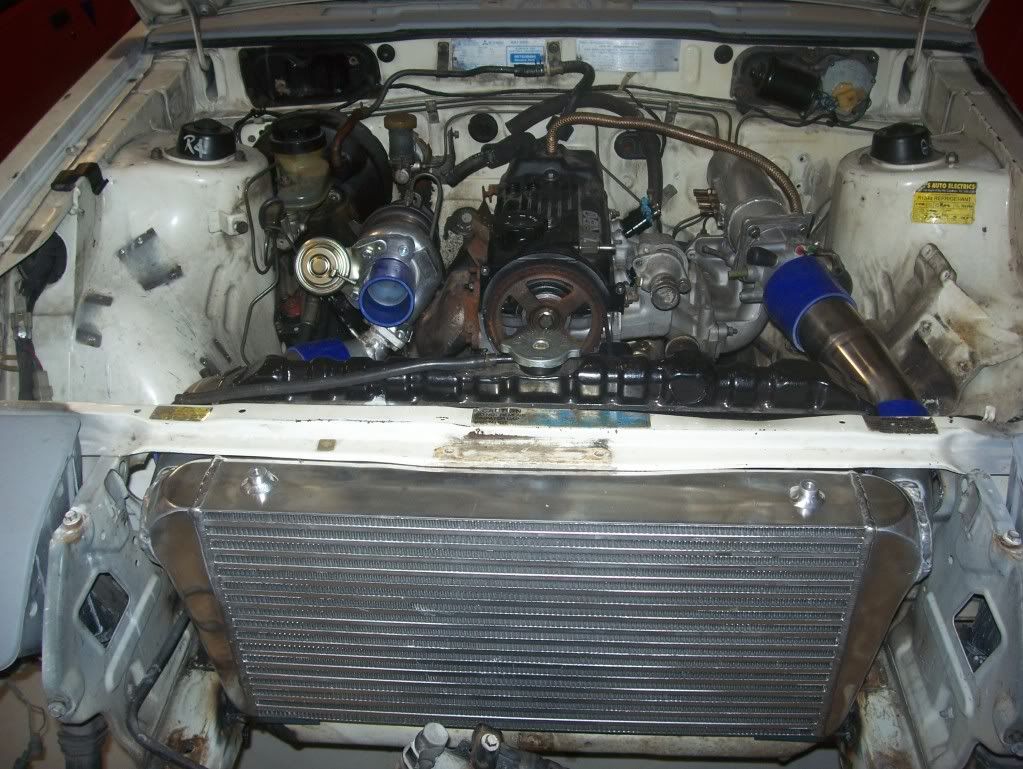
Note the modified water pipe.
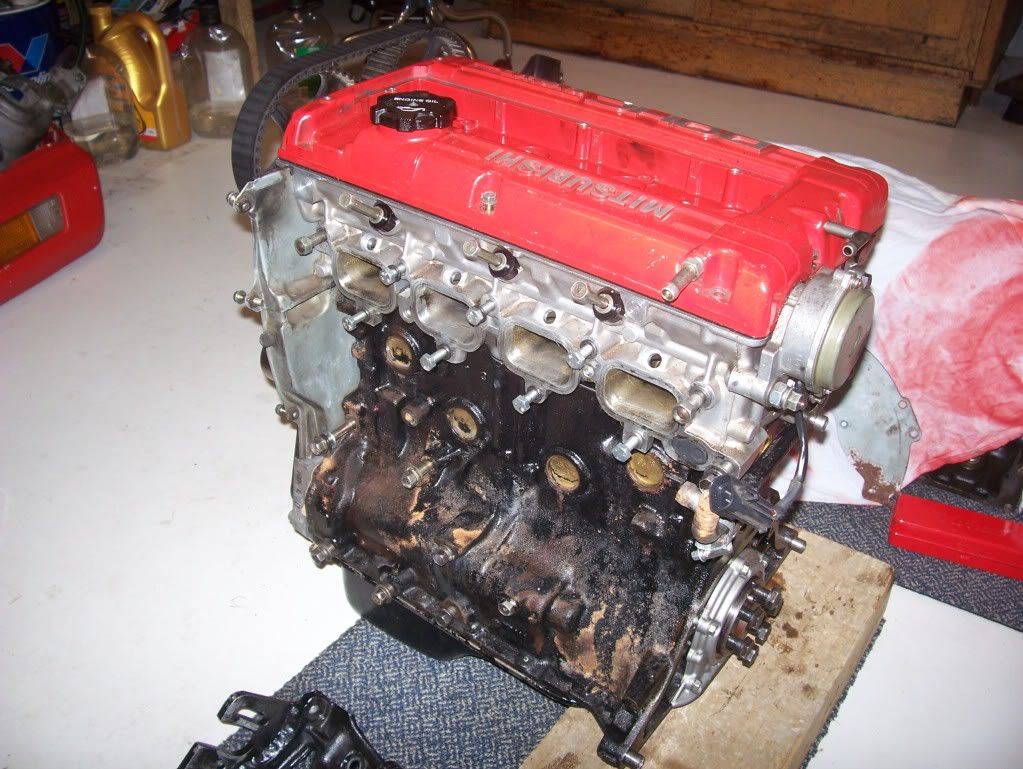
This is my head water outlet pipe. This is connected to a old corolla thermostat housing.
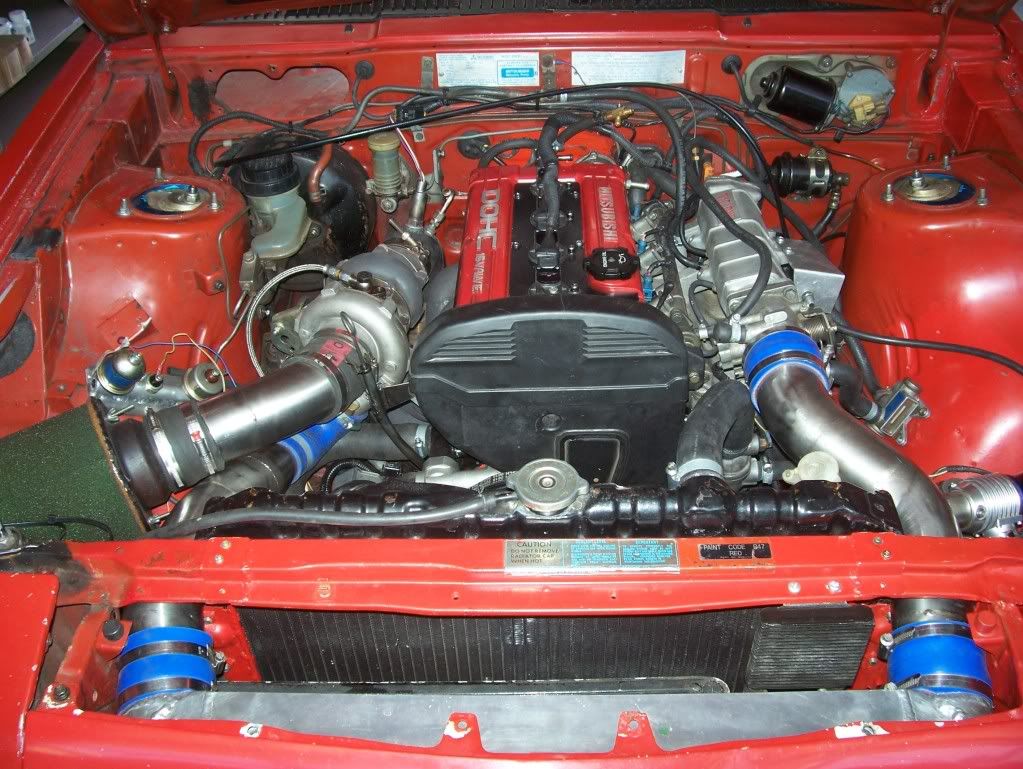
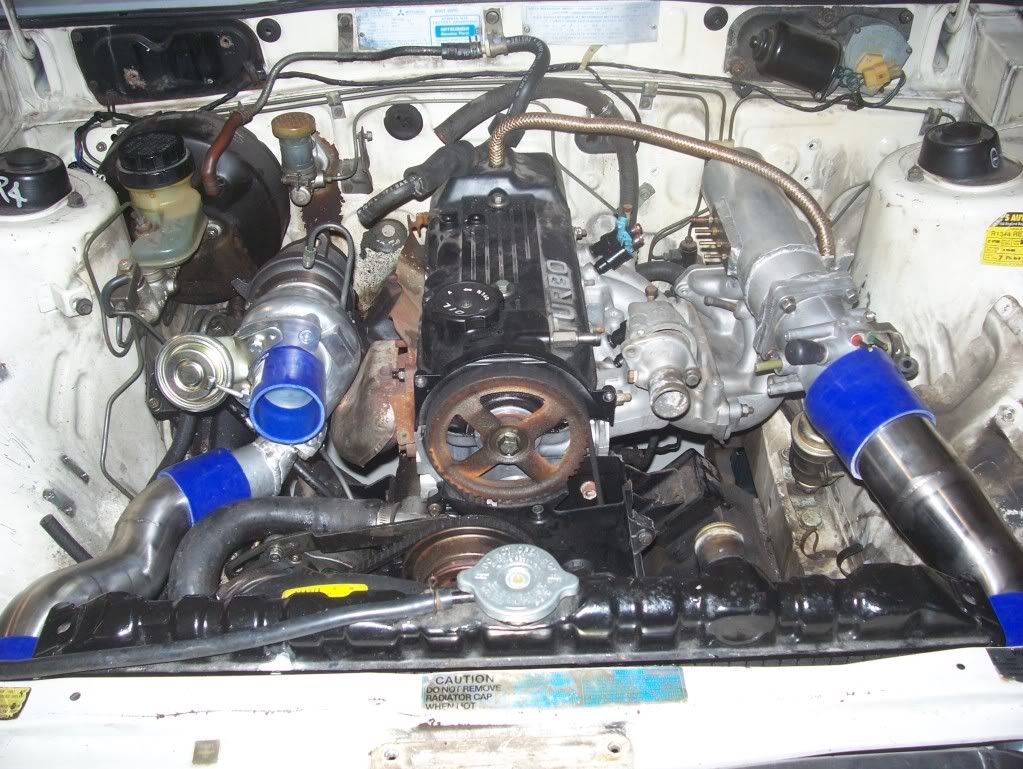
I made the panel in front of the radiator removable for convenience.