I thaught I might update you all on whet im up to with my green JB. I havent posted for a while so there have been a few changes since I did multi point. Last year I crashed it so I thaught it was time for a major overhaul.
Here are some pics of some of whats been done so far:
http://photobucket.com/faz24
I am doing a single cam build.
Engine:
- The block has been bored to 85.5mm bore and decked and the balance shaft bearings replaced.
- Crank has been ballanced and and bolts replaced with arp studs.
- King Bearings big and small end
- CP pistons
- Eagle Rods stock stroke.
- New seals gaskets belts....
- New water pump
- Cometic metal head gasket
- ARP head studs with machined spacers
- Non jet valve head crack tested, ported, polished, decked, and reground valve seats.
- Heavier valve springs
- Camtech stage 2 cam 278 duration
- Adjustable cam pully
- Ground flywheel
- Exedy coushened button clutch.
.....i think thats it at the moment.
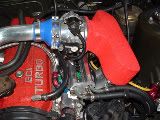
oh and the turbo:
- New TD06-20G on stock ported manifold.
- New dump pipe and exhaust.
- HKS evc-s
and also:
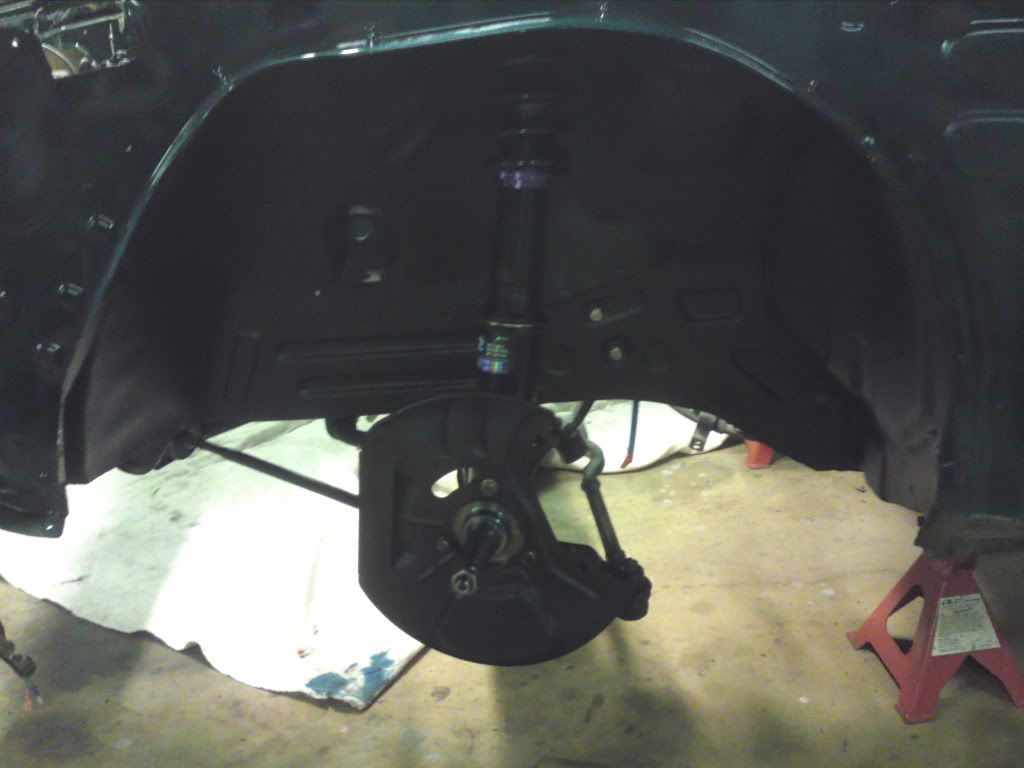
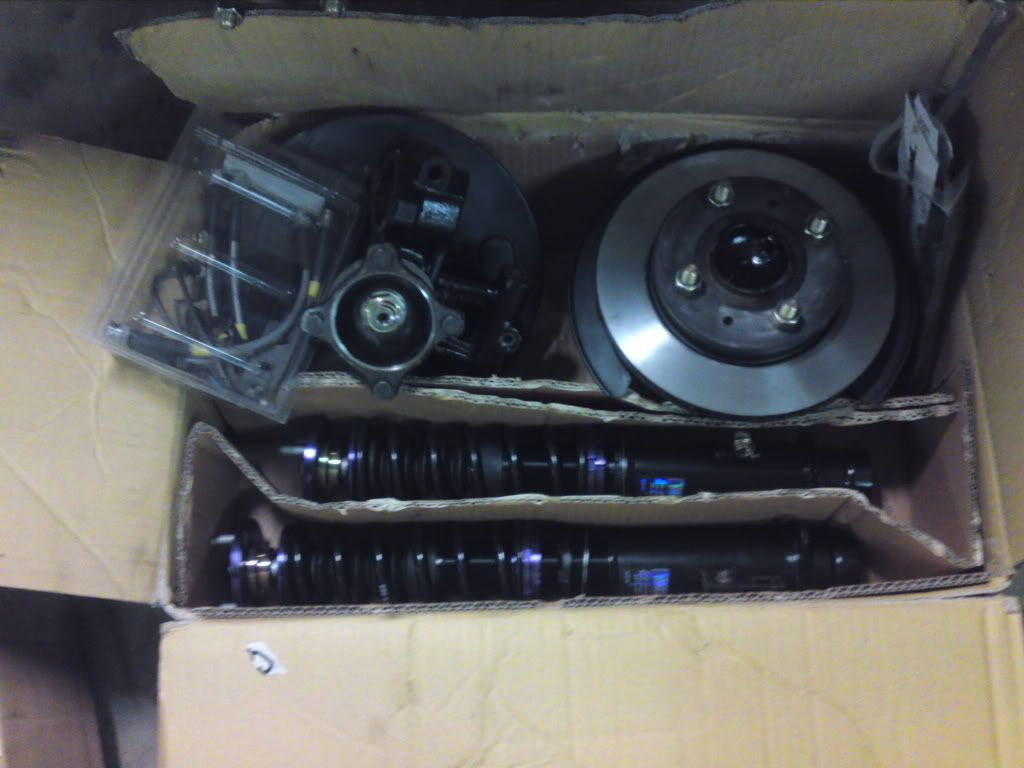
- D2 coilovers
- full urithane bushes, new ball joints and bearings.
- rebuilt brakes and rotors and braided lines
- rebuilt steering box
- New brake master
- New clutch master and slave
- Custom front and back strut brace
- Still need to get heavier anti roll bars.
- New wheels 17inch Rota's
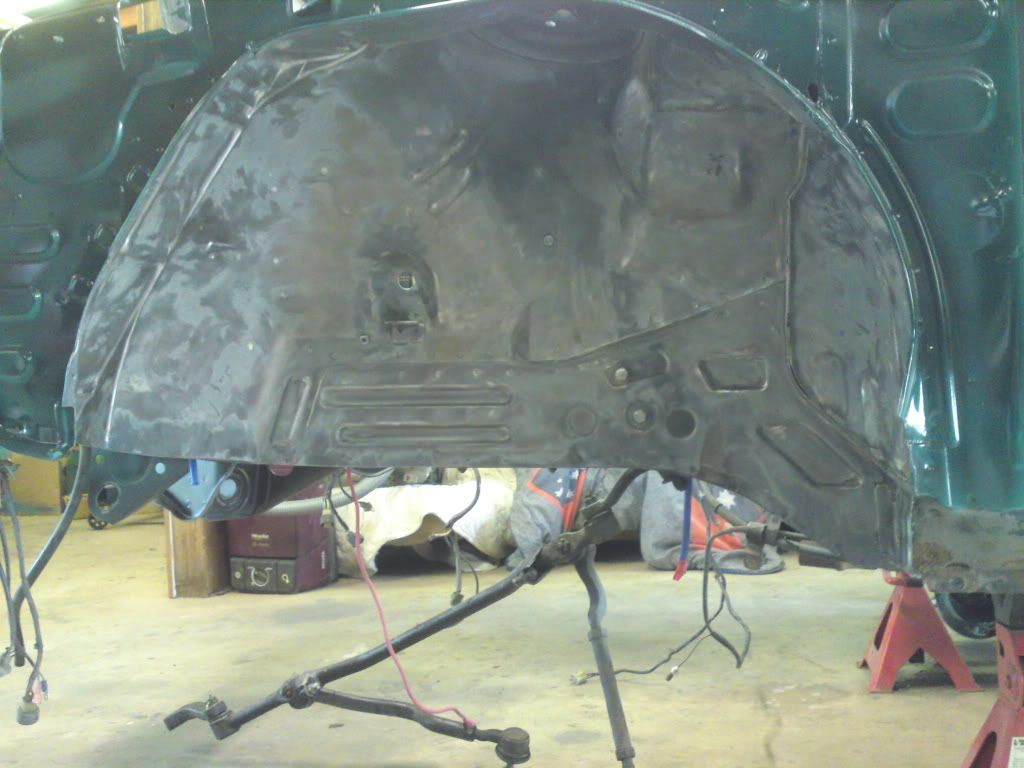
At the moment I am preparing the body removing any speck of rust and preping for paint. Im doing the whole car including the engine bay. Im sure there is something els that ill think of later that iv done and forgot about.
:D
The green Machine
-
groupAralliart
- BATHURST LEGEND 07
- Posts: 948
- Joined: Sun Feb 18, 2007 4:46 pm
- Location: Brisbane
-
enthuzed
- Austarion Occupant
- Posts: 3578
- Joined: Tue Apr 06, 2004 1:21 pm
- Location: Melborno
- Contact:
You've been busy! That's going to be far better that what it was before, look better, handle a bit better, go a lot better!
Clearly you've got some skills, the brace is great because it won't twist much.
Do you have a plate behind the firewall to bolt it to? It's pretty thin material but will get some strength from the seam below it.
Clearly you've got some skills, the brace is great because it won't twist much.
Do you have a plate behind the firewall to bolt it to? It's pretty thin material but will get some strength from the seam below it.
Reduce fuel costs by 15-20% & cut emissions by 1/3rd...
Increase engine performance & prolong engine life...
How?
Click the website button below & watch the 3 minute video.
Increase engine performance & prolong engine life...
How?
Click the website button below & watch the 3 minute video.
-
John196701
- I like starions
- Posts: 108
- Joined: Fri Jun 18, 2010 9:36 pm
- Location: Camden
Very nice job, why did you leave the balance shafts in the engine, i would have been a perfect time to remove them, less spinning weight, did you remove any weight from the flywheel while you where having it ground.
What EDI are you using
The D2's made a huge difference to my car, i think you will be happy with them
What EDI are you using
The D2's made a huge difference to my car, i think you will be happy with them
JB Starion Black, owned since 1988
JB Starion Black, track car build
-
DrDeath

- I like starions
- Posts: 108
- Joined: Sat Sep 30, 2006 1:03 pm
- Location: Sunshine Coast
- Contact:
Yea I put a plate about 300 long behind the fire wall to support the brace with nuts welded to the back to bolt into.
I want to leave the ballance shafts in because they make the motor run smooth. The extra bit of torque from removing them is easily negated by the droning at 100kmh on the highway.
The fly wheel had about 1mm ground off. It doesnt feel much lighter.
Im using an EMS stinger ECU with quad coil ignition, and 550cc evo injectors. The tune I have on it was running 160hp at the wheels with extreamly leeky valves and a tc06-11a boost creeping like mad. The wast gate could not open completely so the tuner controlled the boost with the timing. Can't wait to get it back onto the dyno and not have to worry about cracking glass pistons, boost creep, ect...
I don't know how much power ill be able to run yet but it should be scary enough.
Today is the first day in weeks thats sunny so im off to paint now. :D
-
redzone
- racking my brains
- Posts: 5900
- Joined: Thu Oct 06, 2005 10:46 pm
- Location: sunshine coast qld
- Contact:
you'll get a responsive 300+hp at the wheels with that setup :)
i'm pretty excited to see this thing back on the road Michael, hurry up! LOL
i'm pretty excited to see this thing back on the road Michael, hurry up! LOL
Fibreglass airdams $370, fibreglass front bumpers $260, reco drag links $165, alloy radiators $925 (unpolished), h/l switch rebuilds $125, all plus freight.
Coxs Automotive (07)54433507 3/5 Service st Maroochydore Q
www.facebook.com/coxsautomotive
www.coxsautomotive.com.au
Coxs Automotive (07)54433507 3/5 Service st Maroochydore Q
www.facebook.com/coxsautomotive
www.coxsautomotive.com.au
-
DrDeath
- I like starions
- Posts: 108
- Joined: Sat Sep 30, 2006 1:03 pm
- Location: Sunshine Coast
- Contact:
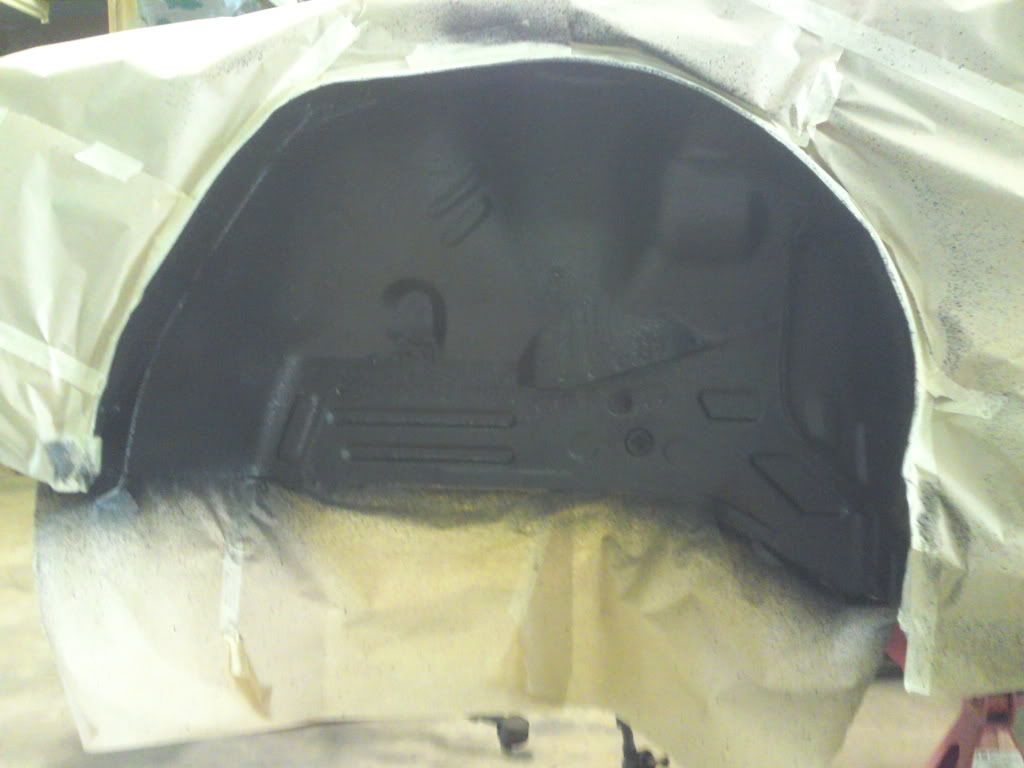
I just uploaded some pics of the engine bay. The new colour is HSV racing green pearl.
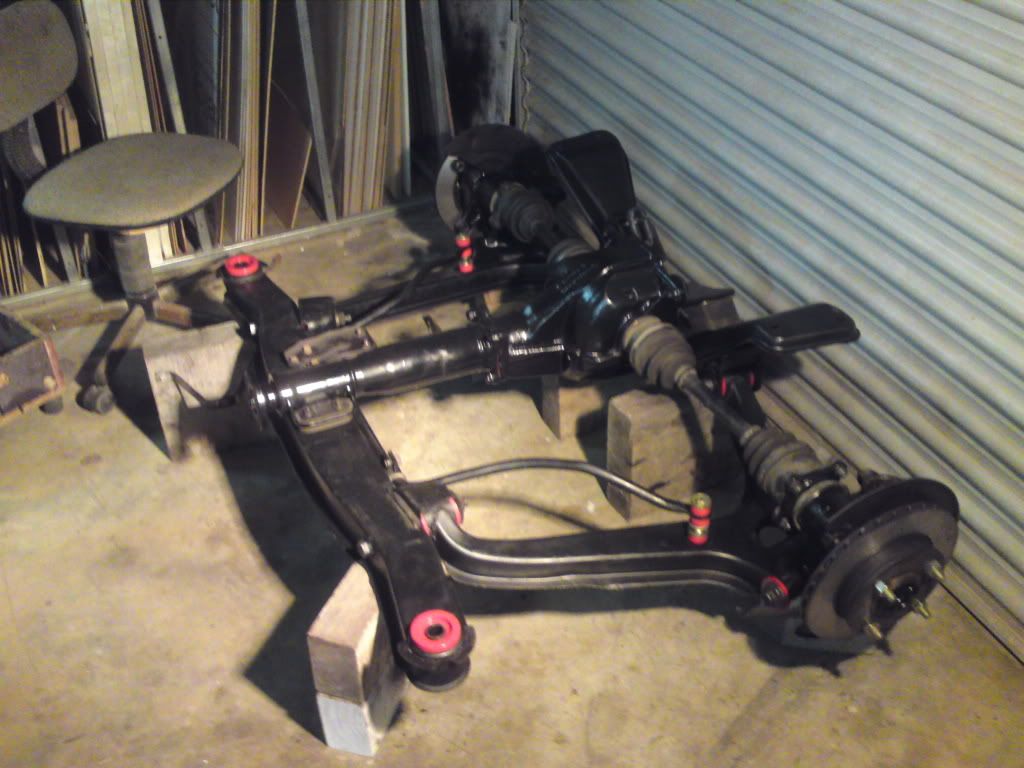
Today I rebuilt the whole front suspension assembly. It looks good with a lick of paint and new bushes. :D
I also spent an hour or so, chipping at the old stone guard in the guards. Its gonna take a while to get off. Does anybody know an easier way to get it off?
Hopefully wont be much longer before its finished Dave. :)
-
John196701
- I like starions
- Posts: 108
- Joined: Fri Jun 18, 2010 9:36 pm
- Location: Camden
I was only talking to 1320 ft the other day about this, he was trying to remove the sound deadening from the floor of his car, i suggested liquid nitrogen, he said he was using CRC freeze spray, spray it on, leave it for a minute, then use a rubber mallet and scraper
http://www.crcind.com.au/catalogue.nsf/ ... eeze+Spray
http://www.crcind.com.au/catalogue.nsf/ ... eeze+Spray
JB Starion Black, owned since 1988
JB Starion Black, track car build
nice work mate good to see the single cam still flying the flag!
FS: Ford 302ci Windsor. Race prepped block, Clevite bearings, ARP fixings, Hypertectic pistons, nitrided rods, knife edged crank, Gilmer drive, chrome moly rings, Yella Terra stage 3 heads, manly valves, Comp cams 294* solid roller, YT roller rockers, Funnelweb manifold, 2 inch spacer, Proform 830cfm carb, K&N 10" stack, ICE ignition. - 0437900210
-
redzone
- racking my brains
- Posts: 5900
- Joined: Thu Oct 06, 2005 10:46 pm
- Location: sunshine coast qld
- Contact:
dry ice works the best but it's only really good on flat surfaces..
i can see the freeze spray working on a vertical surface, be pretty expensive though!
i can see the freeze spray working on a vertical surface, be pretty expensive though!
Fibreglass airdams $370, fibreglass front bumpers $260, reco drag links $165, alloy radiators $925 (unpolished), h/l switch rebuilds $125, all plus freight.
Coxs Automotive (07)54433507 3/5 Service st Maroochydore Q
www.facebook.com/coxsautomotive
www.coxsautomotive.com.au
Coxs Automotive (07)54433507 3/5 Service st Maroochydore Q
www.facebook.com/coxsautomotive
www.coxsautomotive.com.au
-
DrDeath
- I like starions
- Posts: 108
- Joined: Sat Sep 30, 2006 1:03 pm
- Location: Sunshine Coast
- Contact:
I have not posted for a while so I thaught I might update you all as to what iv been up to. Yesterday I got the TIG out and had a play and made a rear strut brace out of the remains of a Mookeeh front brace and some plate.

I have also completed stone guarding the underside and wheel arches and re-glued the joins in the panels. I ended up using stainless wire grinder disks. They are messy but quick.
Also finished assembling the IRS assembly with new bushes, bearings ect. and spent 3 hours unseizing one of the hand brake cables. I had the front and rear rotors machined and kitted the calipers. The rears were a complete pain to get appart and back together. You have to love the description in the maitnence manual... Use special tool to remove. I ended up winding the piston with an angle grinder tool. Then used a clamp to hold the spring down while I pushed the cam rod thingy back through its bearings. Im sure its not the right way but it worked.
Thats all for now. :beer
-
enthuzed
- Austarion Occupant
- Posts: 3578
- Joined: Tue Apr 06, 2004 1:21 pm
- Location: Melborno
- Contact:
Didn't realise this was a major rebuild you were undertaking until now.
Just a bit of a repair to the rear end and a lick of kermit coloured paint...
Just a bit of a repair to the rear end and a lick of kermit coloured paint...
Reduce fuel costs by 15-20% & cut emissions by 1/3rd...
Increase engine performance & prolong engine life...
How?
Click the website button below & watch the 3 minute video.
Increase engine performance & prolong engine life...
How?
Click the website button below & watch the 3 minute video.
-
DrDeath
- I like starions
- Posts: 108
- Joined: Sat Sep 30, 2006 1:03 pm
- Location: Sunshine Coast
- Contact:
So I finally got to the dyno today for a proper run in tune.
I ended up with 187.3HP @ 12.5psi. He was fighting fierce boost creep the whole time. Rob ended up using the timing map to keep the boost down. he thinks around 300ish HP at 20ish psi on the next tune. :D He also said that it wanted to come onto boost at 3000rpm but he had to retard it to stop it over boosting. Anyway here is the graph.
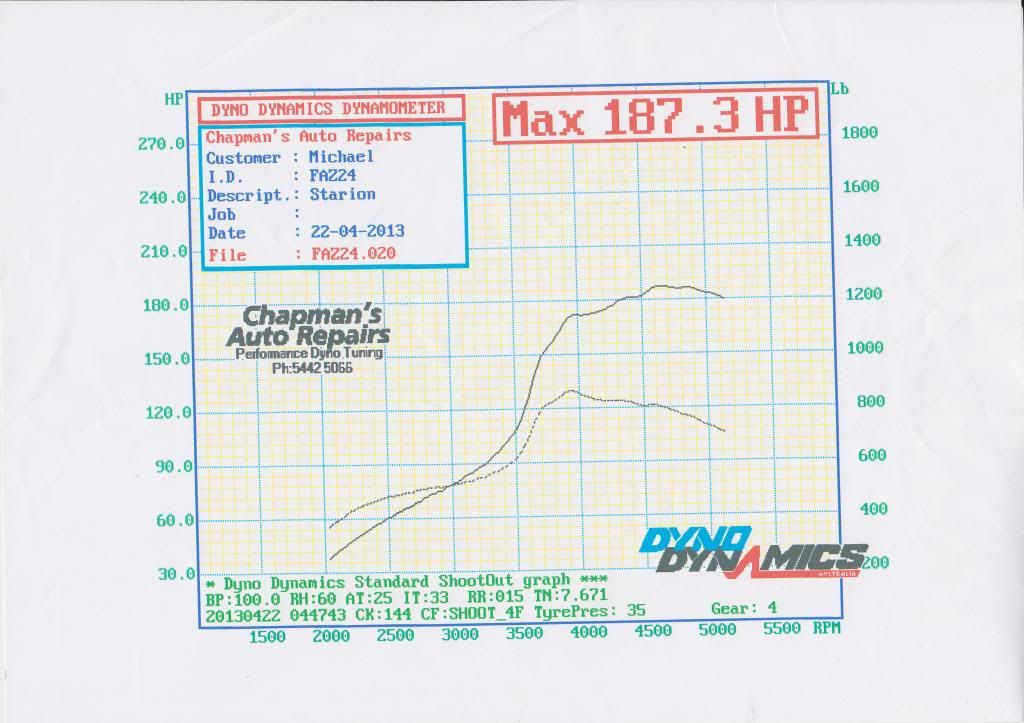
I ended up with 187.3HP @ 12.5psi. He was fighting fierce boost creep the whole time. Rob ended up using the timing map to keep the boost down. he thinks around 300ish HP at 20ish psi on the next tune. :D He also said that it wanted to come onto boost at 3000rpm but he had to retard it to stop it over boosting. Anyway here is the graph.

Who is online
Users browsing this forum: No registered users and 1 guest